Are you struggling to find the right tape to mount your studio foam securely? Choosing the wrong tape can lead to falling panels, damage to your walls, or wasted time and money.
You want a solution that holds strong, is easy to use, and won’t ruin your space. In this post, you’ll discover exactly which tapes work best for mounting studio foam, so you can create the perfect sound environment without any hassle.
Keep reading to find the tape that will make your setup simple and reliable.
Credit: www.soundassured.com
Types Of Tape For Studio Foam
Choosing the right tape helps secure studio foam effectively. Different tapes offer various strengths and ease of use. Some tapes suit temporary setups, while others work for long-term mounting.
Understanding these tape types ensures a neat, strong hold without damage to walls or foam.
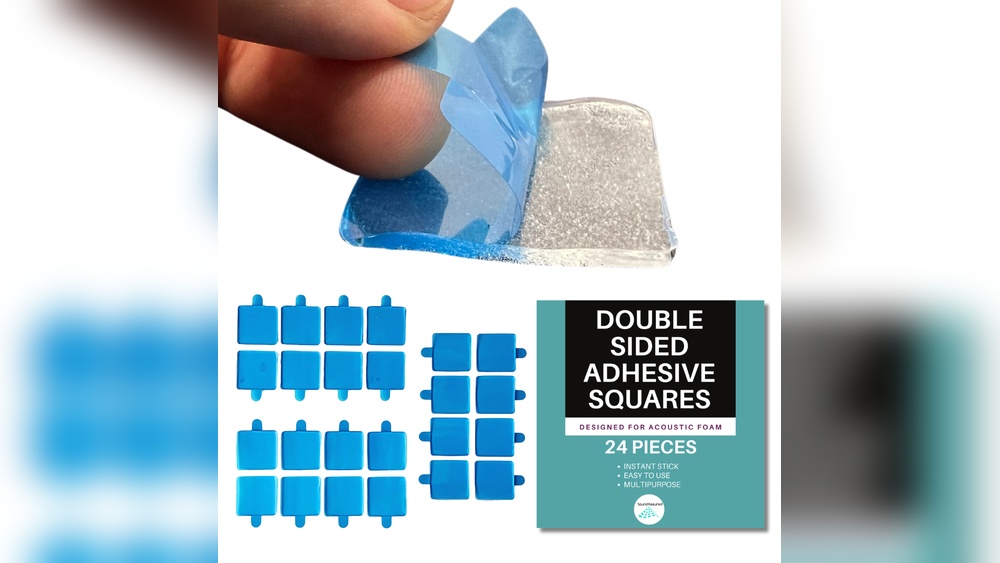
Double-sided Tape
Double-sided tape sticks foam to walls without showing. It offers a clean look and easy application. This tape works well for light to medium foam panels. It leaves minimal residue and removes cleanly.
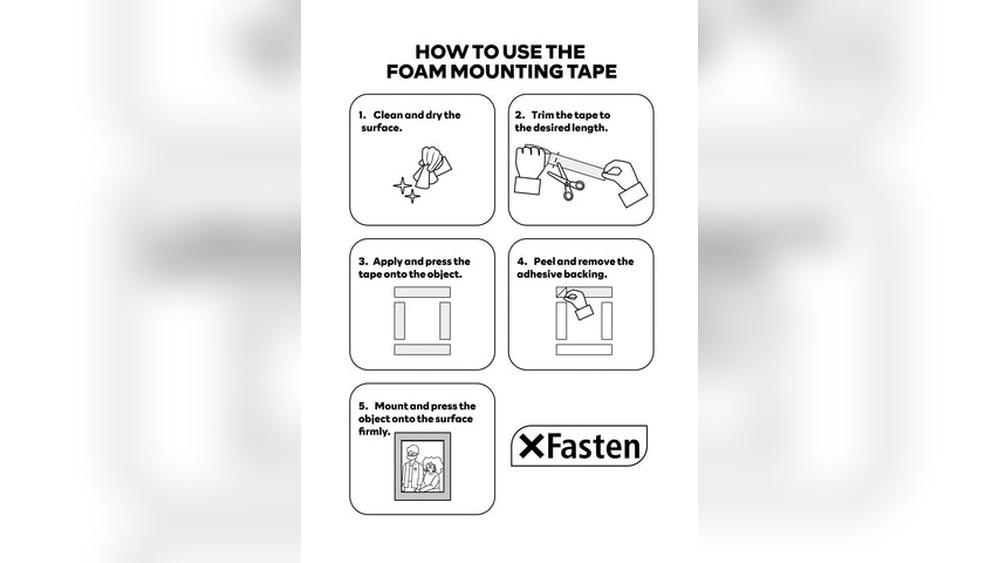
Foam Mounting Tape
Foam mounting tape is thicker and stronger than regular tape. It provides extra cushioning and grip for heavier foam pieces. This tape adapts to uneven surfaces and holds firmly. It is perfect for long-lasting mounting needs.
Velcro Strips
Velcro strips offer a reusable mounting solution. They allow easy removal and repositioning of foam panels. Velcro works best for temporary setups or frequently moved foam. It provides a secure hold without damaging surfaces.
Painter’s Tape
Painter’s tape is gentle on walls and easy to remove. It suits temporary or test placements of foam panels. This tape does not hold well for heavy foam. It is useful for short-term use and adjustments.
Command Strips
Command strips provide strong adhesion without wall damage. They support medium to heavy foam panels safely. These strips peel off cleanly, leaving no marks. Command strips are ideal for renters and non-permanent mounts.

Credit: www.amazon.com
Factors To Consider When Choosing Tape
Choosing the right tape for mounting studio foam matters a lot. It keeps the foam in place and protects your walls. Many types of tape exist, but not all work well for this job. Consider some key factors before picking your tape. These points help you find the best option for your setup.
Adhesion Strength
Adhesion strength shows how well tape sticks to surfaces. Strong adhesion keeps foam panels secure. Weak tape may cause panels to fall. Choose tape with high adhesion for safety. Avoid tape that loses stickiness over time.
Surface Compatibility
Surfaces vary from painted walls to wood or drywall. Not all tapes stick well to every surface. Check if tape works with your wall type. Some tapes damage delicate or textured surfaces. Match tape to the surface to avoid problems.
Removability And Residue
Good tape removes easily without leftover glue. Sticky residue can ruin walls or paint. Look for tapes labeled “removable” or “clean peel.” This helps keep your space neat after foam removal or rearrangement.
Moisture Resistance
Studio rooms can have humidity or moisture. Tape that resists water lasts longer. Moisture-resistant tape prevents loosening and damage. Avoid tapes that weaken or peel with dampness.
Weight Of Foam Panels
Foam panels differ in size and weight. Heavy panels need stronger tape for support. Light foam can use thinner, less strong tape. Match tape strength to foam weight to keep panels stable.
Preparing Surfaces For Mounting
Preparing surfaces for mounting studio foam is key to a strong hold. Proper preparation stops panels from falling off or getting damaged. It also makes sure the tape sticks well and lasts longer.
Cleaning The Wall
Start by cleaning the wall where you will place the foam. Dust, dirt, and grease reduce tape’s grip. Use a damp cloth or mild cleaner. Let the wall dry completely before mounting.
Condition Of The Wall Surface
Check the wall for cracks, holes, or rough spots. Smooth surfaces work best for tape. Fill holes with putty and sand rough areas. Avoid wet or damp walls. A dry surface helps tape stick firmly.
Foam Panel Preparation
Make sure the foam is free of dust and debris. Lightly press the tape on the foam edges. Avoid touching the sticky side to keep it clean. Proper foam prep keeps the tape strong and secure.
Step-by-step Mounting Process
Mounting studio foam requires care and the right steps for a secure hold. Following a clear process helps avoid mistakes. This section explains the step-by-step process for mounting foam using tape.
Measuring And Marking
Start by measuring the wall space where you want to place the foam. Use a tape measure for accuracy. Mark the spots with a pencil or light marker. These marks guide you during the mounting process.
Applying The Tape
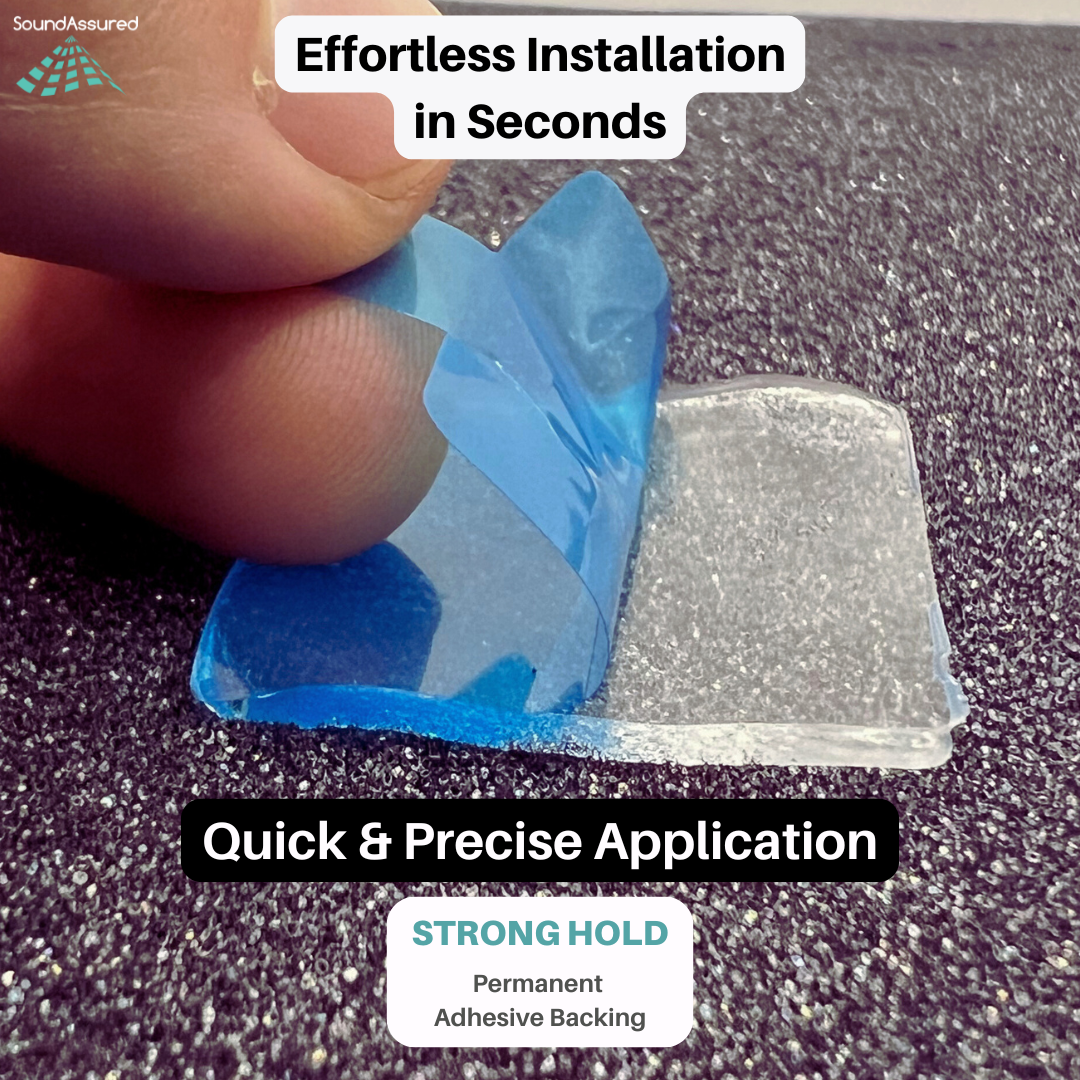
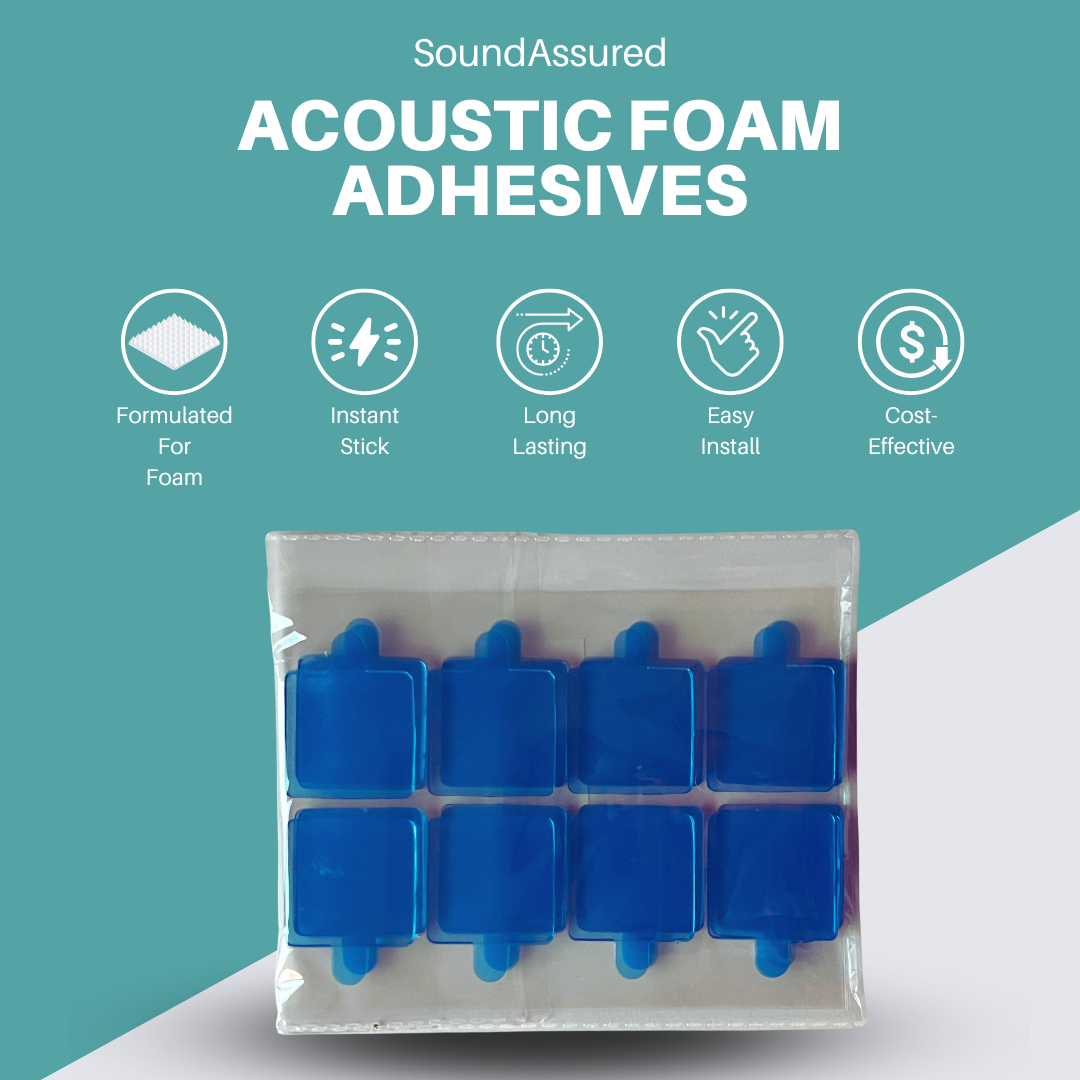
Choose double-sided tape designed for foam mounting. Cut strips to fit the foam’s edges or back. Press the tape firmly onto the foam surface. Ensure the tape covers enough area for strong adhesion.
Pressing And Securing Foam
Align the foam with your marks on the wall. Press the foam firmly against the surface for 30 seconds. Apply even pressure to all parts of the foam. This helps the tape stick properly and avoid air gaps.
Curing Time For Adhesion
Allow the tape to set and bond with the wall. Wait at least 24 hours before touching or adjusting the foam. Proper curing ensures the foam stays securely in place over time.
Common Mistakes To Avoid
Mounting studio foam requires care and the right materials. Many make mistakes that cause foam to fall or lose stickiness. Avoiding these errors saves time and keeps your studio neat. Below are common mistakes to watch out for.
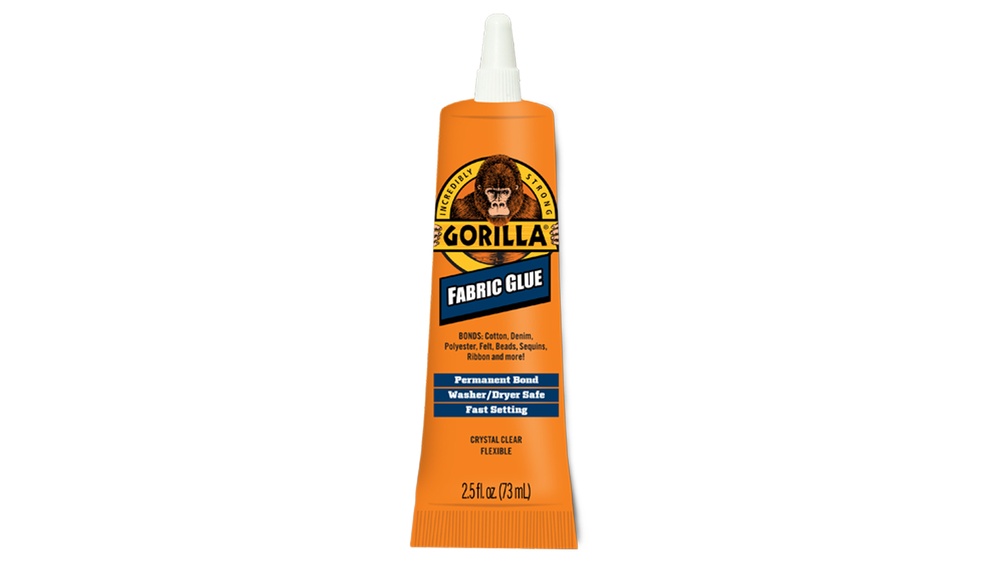
Using Incompatible Tape
Not all tapes work well with studio foam. Some tapes lose grip on foam’s soft surface. Choose tape made for foam or fabric. Avoid regular duct or masking tape. They fail to hold foam firmly and leave residue.
Skipping Surface Preparation
Clean the wall before applying tape. Dust, grease, or paint flakes reduce tape’s stickiness. Use a cloth and mild cleaner to wipe the surface. Wait for it to dry completely. This step helps tape stick better and longer.
Overloading Tape With Heavy Foam
Some foam panels are thick and heavy. Using thin tape on heavy foam causes it to fall. Match tape strength to foam weight. Use strong double-sided or mounting tape for heavy panels. This prevents foam from dropping unexpectedly.
Ignoring Temperature And Humidity
Extreme heat or moisture weakens tape. High humidity makes tape lose stickiness. Cold temperatures make adhesive hard and brittle. Apply tape in normal room conditions. Store foam and tape in dry, cool places before use.
Alternative Mounting Options
Studio foam needs to be mounted securely for best sound results. Some people prefer tapes, but there are other ways to attach foam panels. These alternative options can suit different walls and preferences. They provide strong hold without much damage. Here are some common choices for mounting studio foam.
Adhesive Sprays
Adhesive sprays offer a quick and easy way to stick foam to walls. They create a thin, even layer of glue that holds well. Sprays work best on clean, flat surfaces. Avoid spraying too much to prevent mess. This option leaves little residue when removed carefully.
Nails And Pins
Nails and pins give a solid hold for heavier foam pieces. Small finishing nails or push pins work well. They cause minimal wall damage and are easy to remove. Use a hammer or thumb to fix foam in place. This method allows repositioning without losing grip.
Mounting Clips
Mounting clips attach foam without using adhesives or nails. Clips grip foam edges and fasten to the wall with screws or hooks. This keeps foam secure and easy to adjust. Clips are ideal for renters or temporary setups. They also prevent foam from flattening over time.
Maintaining And Replacing Foam Panels
Maintaining and replacing foam panels is key for a good sound setup. Over time, the tape holding the panels may lose grip. This can cause panels to fall or shift, reducing their effectiveness. Keeping an eye on the tape helps keep your studio foam secure.
Checking Adhesion Over Time
Check the tape every few months. Look for signs of peeling or loosening. Press the edges of the foam gently to test the hold. Sticky tape should keep the panel firmly in place. If panels feel loose, it is time to act.
Removing Tape Without Damage
Remove old tape carefully to avoid damage. Pull the tape slowly at a low angle. Use a hairdryer to warm the tape. Warm tape comes off easier without leaving marks. Avoid harsh scraping or pulling that can tear foam.
Reapplying Or Replacing Tape
Use new double-sided tape for a strong hold. Clean the wall and foam surface before applying tape. Press firmly for several seconds to secure it. Replace tape every year or when it loses stickiness. Proper tape helps keep foam panels stable and effective.
Credit: www.soundassured.com
Frequently Asked Questions
What Tape Is Best For Mounting Studio Foam?
Double-sided foam tape is best for mounting studio foam. It provides strong adhesion and prevents damage to walls. This tape is easy to apply and holds foam securely in place.
Can Painter’s Tape Hold Studio Foam Effectively?
Painter’s tape is not recommended for mounting studio foam. It lacks strong adhesive strength and may cause foam to fall off. Use stronger tapes like double-sided foam tape instead.
How To Remove Tape From Studio Foam Without Damage?
Gently peel off the tape at a slow angle. Use a hairdryer to soften the adhesive if needed. Avoid pulling forcefully to prevent foam tearing or damage.
Is Duct Tape Suitable For Mounting Acoustic Foam?
Duct tape is not ideal for mounting acoustic foam. It is too sticky and can damage foam surfaces. Opt for double-sided foam tape or mounting strips for better results.
Conclusion
Choosing the right tape makes mounting studio foam easy and secure. Double-sided foam tape sticks well without damaging walls. Painter’s tape works for temporary setups and quick changes. Avoid tapes that leave sticky residue or fail to hold. Test the tape on a small spot before full use.
Good tape helps your studio stay neat and soundproof. Keep your space quiet and professional with proper mounting. Simple steps lead to better sound and cleaner walls.