Are you struggling with your Kwikset keypad deadbolt and wondering how to remove it quickly and safely? Whether you need to replace it, fix a problem, or upgrade to a new lock, knowing the right steps can save you time and frustration.
In this guide, you’ll learn simple, clear instructions to remove your Kwikset keypad deadbolt without any hassle. By the end, you’ll feel confident handling the task yourself—no need to call a locksmith or worry about damaging your door. Keep reading to unlock the easy way to remove your Kwikset keypad deadbolt!
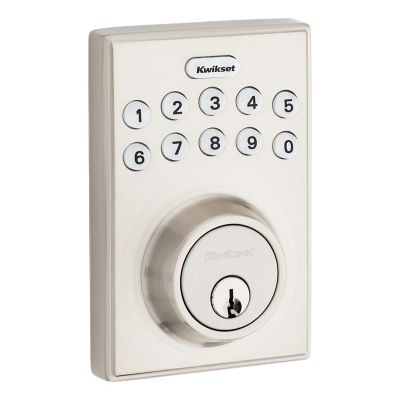
Credit: www.kwikset.com
Gather Necessary Tools
Gathering the right tools is the first step to remove a Kwikset keypad deadbolt. Having these tools ready makes the process smoother and faster. Each tool plays a specific role in the removal.
Missing one tool can slow down your work or cause damage. Prepare everything before you start. This section lists essential tools for this task.
Screwdriver Set
A screwdriver set is crucial. Most Kwikset deadbolts use Phillips or flathead screws. A good set helps you handle different screw types and sizes easily. Choose one with comfortable grips for better control.
Allen Wrench
Some Kwikset models use hex screws that need an Allen wrench. Check your lock to see if you need this tool. An Allen wrench set with various sizes is helpful for different locks.
Plastic Pry Tool
A plastic pry tool helps remove the keypad without scratching the door. It gently separates parts without damage. Avoid using metal tools to prevent marks or dents.
Needle-nose Pliers
Needle-nose pliers help pull out small parts or disconnect wiring. They provide a strong grip in tight spaces. This tool is useful if you need to handle delicate components.
Flashlight
A flashlight brightens dark areas around the lock. It helps you see screws and wires clearly. Good lighting reduces mistakes and speeds up the removal.
Power Off The Keypad
Powering off the Kwikset keypad deadbolt is the first step in removal. It stops the lock from working and keeps you safe during the process. Without power, the keypad won’t respond. This prevents accidental locking or unlocking while you work.
Turning off the power also protects the internal parts. It avoids damage from short circuits or electrical issues. The keypad uses batteries. Removing power means taking out these batteries carefully.
Locate The Battery Cover
Start by finding the battery cover on the keypad. It is usually at the back or bottom. Look for a small panel or door. Sometimes it slides open or lifts off. Use your fingers or a small tool.
Remove The Batteries
Take out the batteries from the compartment. Use gentle pressure to avoid breaking anything. Keep the batteries safe if you want to reuse them. If old, dispose of them properly.
Confirm The Keypad Is Off
After removing the batteries, press a button on the keypad. The screen should stay dark. No lights or sounds mean the power is off. If the keypad still works, check the batteries again.
Remove The Battery Cover
Removing the battery cover is the first step to take off a Kwikset keypad deadbolt. This part protects the batteries that power the lock. Without opening it, you cannot access the internal components or remove the lock properly.
The battery cover is easy to spot. It usually sits on the inside part of the keypad assembly. Gently removing it reveals the batteries and the screws you may need to undo next.
Locate The Battery Cover
Find the keypad on your door. Look at the back side of the keypad unit. The battery cover is a flat piece that snaps or slides off. It may have a small notch or tab to help you open it.
Slide Or Pry Open The Cover
Use your fingers or a flat tool to lift the battery cover. Slide it down or pry it gently at the notch. Avoid using too much force to prevent damage.
Remove The Batteries
After removing the cover, take out the batteries carefully. This step cuts power to the lock. It makes the next steps safer and easier.
Credit: www.kwikset.com
Detach The Interior Assembly
Detaching the interior assembly is a key step in removing a Kwikset keypad deadbolt. This part holds the lock’s electronics and battery. Removing it carefully allows access to the lock’s internal components.
Take your time and follow each step. Handle parts gently to avoid damage. Let’s start with locating the mounting screws.
Locate Mounting Screws
Look at the interior side of the deadbolt. You will see a small plate covering the lock mechanism. This plate is held by screws. Usually, two screws secure the plate firmly in place. These screws can be found near the edges of the plate. Use a flashlight if the area is dark. Knowing where these screws are is important for the next step.
Unscrew The Interior Plate
Use a screwdriver to remove the screws. Turn the screws counterclockwise. Keep the screws safe for later use. Once the screws are out, gently pull the interior plate away from the door. The plate may be tight at first. Wiggle it slightly to free it. Do not force it hard. Removing this plate exposes the lock’s inner parts and battery pack.
Disconnect Wiring Harness
Disconnecting the wiring harness is a key step to remove a Kwikset keypad deadbolt safely. The wiring harness connects the keypad to the lock’s internal mechanism. Removing it stops power from reaching the lock and prevents damage.
Handle the wiring harness gently to avoid breaking the wires or connectors. This step requires care but is simple once you know what to do.
Locate The Wiring Harness Connection
Open the interior cover of the deadbolt. You will see a small connector linking the wires to the lock. This is the wiring harness. It usually has plastic clips holding it in place.
Release The Wiring Harness Clip
Press or lift the clip on the wiring harness connector. Use your fingers or a small tool if needed. Do not pull the wires directly. The clip secures the connection and must be released first.
Gently Disconnect The Wiring Harness
Pull the connector straight out from the lock. Avoid twisting or bending it. Keep the wires straight to prevent damage. Set the wiring harness aside safely for later reinstallation.
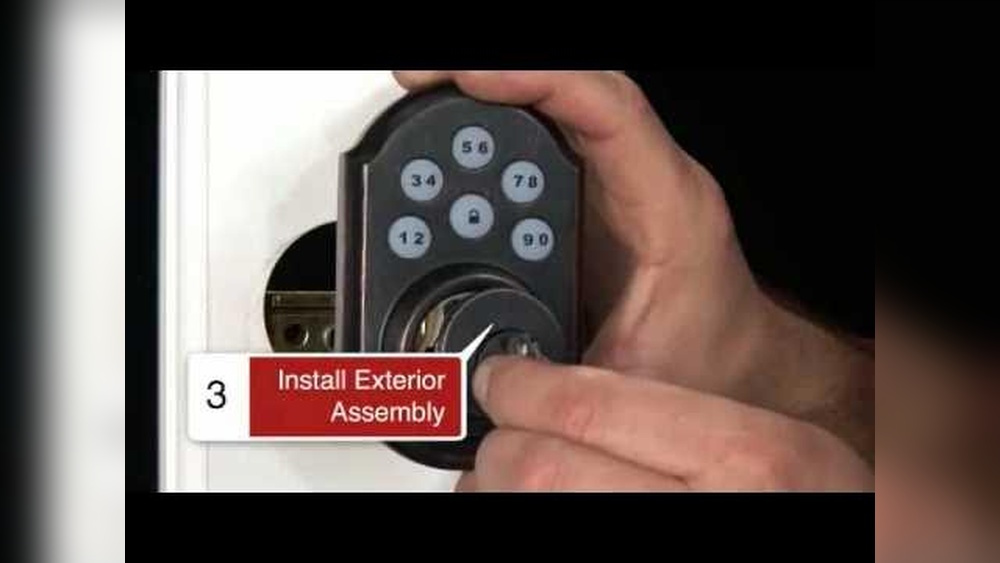
Remove Exterior Keypad
The first step in removing a Kwikset keypad deadbolt is to take off the exterior keypad. This part is mounted on the outside of your door and includes the buttons you press to enter your code.
Removing it carefully avoids damage to the lock and door. Follow these clear steps to remove the exterior keypad safely and easily.
Locate The Screws Holding The Keypad
Look around the keypad for small screws. These screws keep the keypad attached to the door. Use a flashlight if the screws are hard to see.
Use The Correct Screwdriver
Choose a screwdriver that fits the screws exactly. Most Kwikset keypads use a Phillips head screwdriver. Using the wrong tool can strip the screws.
Unscrew The Exterior Keypad
Turn the screwdriver counterclockwise to loosen each screw. Keep the screws in a safe place. The keypad will become loose as you remove the screws.
Gently Pull The Keypad Away From The Door
Once the screws are out, pull the keypad straight off the door. Do this slowly to avoid pulling on wires inside. Set the keypad aside carefully.
Unscrew The Deadbolt Mechanism
Start by finding the screws that hold the deadbolt mechanism in place. Use a screwdriver to remove these screws carefully. This step frees the deadbolt for easy removal.
Gather The Right Tools
Start by finding a screwdriver that fits the screws on your deadbolt. Usually, a Phillips head screwdriver works best. Having the right tool makes unscrewing easier and safer.
Locate The Screws Holding The Deadbolt
Look at the edge of the door where the deadbolt is installed. You will see screws on the faceplate and inside the keypad assembly. These screws keep the deadbolt firmly attached to the door.
Remove The Screws Carefully
Turn each screw counterclockwise to loosen it. Keep the screws in a small container so they don’t get lost. Take your time to avoid stripping the screw heads.
Separate The Deadbolt From The Door
After removing all screws, gently pull the deadbolt parts away from the door. The keypad and interior mechanism should come off easily. If it feels stuck, check for hidden screws or clips.
Take Out The Deadbolt
Removing the deadbolt from a Kwikset keypad lock requires some care and basic tools. This step is crucial before replacing or fixing the lock. The deadbolt is the part that slides into the door frame, locking your door securely.
Follow these clear steps to take out the deadbolt easily. Each step guides you to avoid damage to the door or lock.
Locate And Remove The Screws
Start by opening the door fully. Look at the edge of the door where the deadbolt is installed. You will see two screws holding the faceplate. Use a screwdriver to remove these screws carefully. Keep the screws safe for reassembly.
Pull Out The Deadbolt Mechanism
After removing the screws, gently pull the deadbolt mechanism straight out from the door edge. It should slide out smoothly. If it feels stuck, wiggle it lightly without forcing it. This part includes the bolt that moves in and out.
Inspect The Deadbolt And Door Edge
Check the deadbolt and the door edge for any damage or dirt. Clean if needed. This step helps if you plan to reuse the deadbolt or install a new one. Make sure the door edge is smooth and free of debris.
Troubleshooting Common Issues
Troubleshooting common issues can save time and effort when removing a Kwikset keypad deadbolt. Small problems often stop the process. Knowing how to handle these problems helps you finish the job quickly and safely.
Below are some common issues and simple solutions. They guide you through tricky parts without damage or stress.
Keypad Stuck Or Jammed
The keypad might stick if dirt or debris blocks its movement. Gently clean around the edges with a soft cloth. Avoid using water or harsh chemicals that can damage the keypad.
Try pressing the buttons several times to loosen any stuck parts. If the keypad stays jammed, remove the batteries to reset the system. Wait a few minutes, then reinstall them.
If it still does not move, check the manual for emergency release instructions. Sometimes, a small pinhole reset button is hidden on the keypad.
Screws Stripped Or Hard To Remove
Screws can become stripped or tight over time. Use a screwdriver that fits the screw head perfectly. This reduces the risk of damage.
Apply a small amount of penetrating oil to loosen stuck screws. Let it sit for 10 minutes before trying again. Use steady pressure and turn slowly to avoid stripping.
If screws are already stripped, try using a rubber band for extra grip. Place it between the screwdriver and screw head. This can help turn the screw without slipping.

Credit: www.youtube.com
Frequently Asked Questions
How Do I Safely Remove A Kwikset Keypad Deadbolt?
First, remove the batteries to power down the lock. Then, unscrew the interior mounting screws. Carefully detach the interior assembly and disconnect any cables before removing the exterior keypad.
What Tools Are Needed To Remove The Deadbolt?
You will need a Phillips screwdriver and a flathead screwdriver. A small pry tool may help to disconnect cables gently. These tools ensure safe and efficient removal.
Can I Remove The Keypad Without Damaging The Door?
Yes, by following the proper steps and using the right tools. Avoid forcing parts and handle cables gently to prevent damage to the door or lock components.
How Long Does It Take To Remove A Kwikset Deadbolt?
Removing a Kwikset keypad deadbolt typically takes 10 to 20 minutes. Time varies based on your experience and the door’s condition.
Conclusion
Removing a Kwikset keypad deadbolt is simple with the right steps. Take your time and follow each part carefully. Keep your tools ready and stay organized. This way, you avoid mistakes and save effort. Now, you can change or fix your lock easily.
Remember, safety matters. Always check your work before finishing. You can handle this task well with practice and patience.