Are you struggling to remove self-adhesive hooks from your walls without causing damage? You’re not alone.
These handy hooks seem perfect for hanging things, but when it’s time to take them down, they can leave behind sticky residue or even peel your paint. The good news is, with the right approach, you can get rid of them cleanly and easily.
Keep reading, because you’ll discover simple, effective methods to remove those hooks and restore your walls to their original look—no stress, no mess.
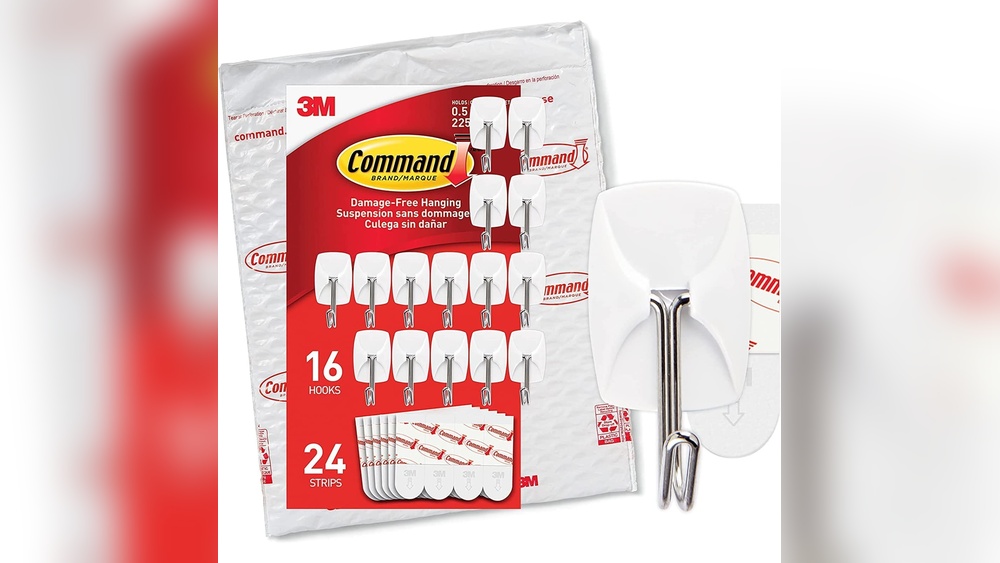
Types Of Self Adhesive Hooks
Self adhesive hooks come in various types. Each type suits different needs and surfaces. Knowing the types helps you remove them safely without damage.
Common Materials Used
Most self adhesive hooks use plastic or metal for the hook part. The adhesive pad is usually made from strong glue or gel. Some hooks have a rubber backing for extra grip. These materials affect how well the hook sticks and how easy it is to remove.
Surface Compatibility
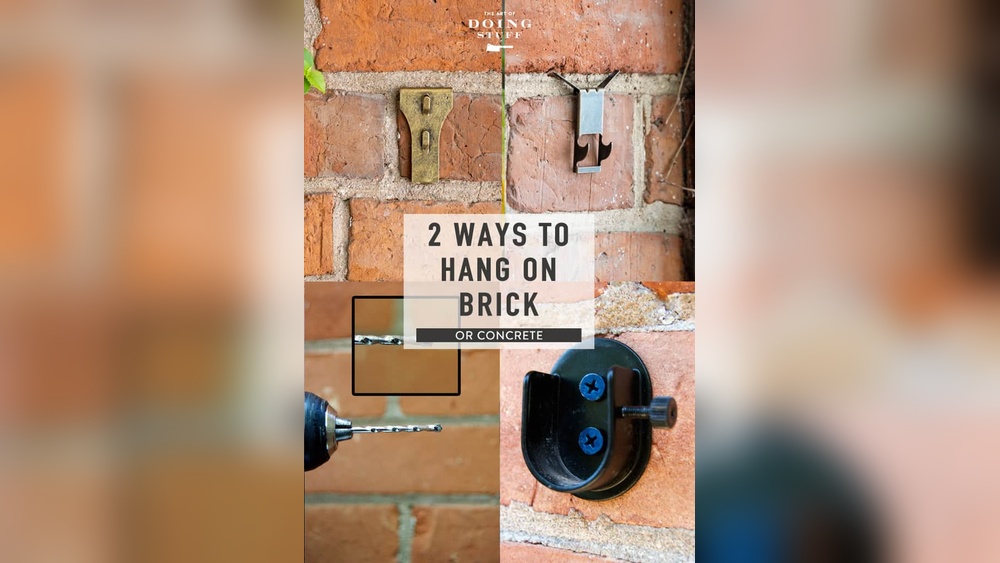
Hooks work best on smooth, clean surfaces. Walls made of glass, tile, or painted wood are ideal. Rough or porous walls like brick or textured paint may not hold well. Some hooks are designed for specific surfaces, so check before use. Surface type can change the removal method too.

Credit: shop.velcro.co.uk
Signs Of Safe Removal
Removing self-adhesive hooks from walls can be tricky. Knowing the signs of safe removal helps protect your paint and wall surface. This section explains how to spot when the hooks are ready to come off. It also gives tips to avoid damage during removal.
When Hooks Are Ready To Remove
Check if the hook feels loose. It should wiggle easily without much force. The adhesive strip may start to peel at the edges. If the hook stays stuck tightly, wait longer before removing.
Look for changes in the adhesive strip color or texture. It might turn clear or less sticky. This means the glue has weakened. Gently pull the hook to test if it slides off without pulling paint or wallpaper.
Avoiding Wall Damage
Pull the hook slowly and straight down. Avoid pulling sideways or quickly. Use your fingers to hold the wall next to the hook. This supports the paint and reduces stress.
If the adhesive resists, try warming it with a hairdryer. Heat softens the glue for easier removal. Do not use sharp tools to pry off the hook. This can scratch or peel the wall surface.
Tools Needed For Removal
Removing self-adhesive hooks from walls is simple with the right tools. Using the correct items helps avoid damage to your paint or wall surface. Some tools are common household items. Others are specialized tools designed to make removal easier.
Household Items
Common household items often work well for hook removal. A hairdryer can soften the adhesive, making it easier to peel off the hook. Dental floss or fishing line can slide behind the hook to cut the adhesive gently. Rubbing alcohol or vinegar helps dissolve sticky residue after the hook is removed. A plastic card, like an old credit card, can lift the hook without scratching the wall.
Specialized Tools
Special tools offer a safer, faster way to remove hooks. A plastic scraper or putty knife is designed to lift hooks and sticky pads carefully. Adhesive remover gels or sprays break down glue without harming paint. A heat gun provides controlled heat to soften adhesive in tough spots. These tools reduce the risk of wall damage and speed up the removal process.
Step-by-step Removal Methods
Removing self-adhesive hooks from walls can be tricky. Using the right method prevents damage to paint and surfaces. Follow these easy steps for safe removal.
Each method helps loosen the adhesive without leaving marks. Choose the best one for your wall type and hook size.
Peeling Off Slowly
Start by gently lifting one corner of the hook. Pull the hook slowly away from the wall. Keep the angle low to avoid wall damage. If the hook feels stuck, stop and try another method. Patience helps protect the wall finish.
Using Heat To Loosen Adhesive
Use a hairdryer on low heat to warm the adhesive. Hold it a few inches from the hook for about 30 seconds. Heat softens the glue, making removal easier. After heating, try peeling the hook slowly. Heat reduces the risk of paint peeling off.
Applying Dental Floss Or Thread
Take a piece of dental floss or strong thread. Slide it behind the hook’s base. Move it back and forth like a saw. This motion cuts through the adhesive gently. It helps release the hook without pulling hard on the wall.
Utilizing Rubbing Alcohol Or Oil
Apply a small amount of rubbing alcohol or oil near the hook base. Let it sit for a few minutes. This weakens the sticky glue. Use a cloth to wipe the area clean afterward. These liquids help remove residue and protect the wall surface.
Handling Stubborn Adhesive Residue
Removing self-adhesive hooks often leaves sticky residue on the wall. This residue can be tough to clean and may ruin paint or wallpaper. Handling stubborn adhesive residue carefully protects your wall’s surface. Using the right methods makes removal easier and safer. Below are two effective ways to deal with sticky leftovers.
Natural Cleaning Solutions
Natural solutions work well on mild adhesive residue. Warm soapy water softens the glue. Use a sponge soaked in soapy water to gently rub the residue. Avoid harsh scrubbing to protect the paint.
Another option is white vinegar. It breaks down sticky glue without damaging surfaces. Dab a cloth in vinegar and press it on the residue. Let it sit for five minutes, then wipe gently.
Olive oil or coconut oil also help loosen adhesive. Apply a small amount and wait a few minutes. Then rub with a soft cloth to remove the residue. These oils are safe for most walls and easy to find.
Commercial Adhesive Removers
For tough residue, commercial adhesive removers work quickly. Choose a remover suitable for your wall type. Test a small hidden area first to check for damage.
Apply the remover as directed on the label. Let it sit for the recommended time. Then use a soft cloth or scraper to remove the residue. Clean the wall afterward with soapy water to remove any leftover remover.
These products dissolve sticky glue effectively. Use them carefully and avoid inhaling fumes. Proper ventilation helps keep the air fresh during the process.

Credit: www.youtube.com
Preventing Wall Damage
Preventing wall damage is key when removing self-adhesive hooks. These hooks stick firmly but can pull paint or drywall off if removed carelessly. Taking steps before and after removal helps keep walls looking fresh and smooth. Simple care can save time and money on repairs.
Proper Hook Placement Tips
Place hooks on smooth, clean surfaces for better grip and less damage. Avoid textured or freshly painted walls. Stick hooks away from corners and edges where paint is weaker. Press hooks firmly but avoid twisting them. Use light items to reduce stress on walls and hooks.
Post-removal Wall Care
Remove hooks slowly by pulling the adhesive tab straight down. Do not pull outward or at an angle. Use a hairdryer to warm the adhesive and soften it. Gently clean leftover residue with warm soapy water or rubbing alcohol. Fill small holes or marks with spackling paste. Sand lightly after drying, then repaint if needed for a smooth finish.
Tips For Reusing Or Disposing Hooks
Removing self-adhesive hooks from walls creates a chance to reuse or dispose of them properly. Taking care of hooks helps save money and reduces waste. Some hooks work well again if cleaned carefully. Others may need to be thrown away safely.
Cleaning Hooks For Reuse
To clean hooks, start by peeling off any leftover sticky residue. Use warm, soapy water and a soft cloth to wipe the hook. Avoid harsh scrubbing to prevent damage. Let the hook dry completely before reusing it. Clean hooks stick better and hold items firmly. Check if the adhesive pad is still sticky. If not, replace it with a new adhesive strip. Proper cleaning keeps hooks effective and ready for reuse.
Safe Disposal Methods
Throw away hooks that no longer stick well or are broken. Place hooks in the trash bin if your local recycling does not accept plastic hooks. Avoid burning hooks, as they can release harmful chemicals. Wrap sharp parts in paper to protect garbage handlers. Dispose of adhesive strips separately if possible. Follow local rules for disposing of plastic and adhesive waste. Safe disposal protects the environment and keeps your home clean.

Credit: www.youtube.com
Frequently Asked Questions
How Do You Safely Remove Self-adhesive Hooks?
To safely remove self-adhesive hooks, gently pull the tab downward, parallel to the wall. Avoid pulling outward to prevent paint damage. Use slow, steady pressure until the adhesive stretches and releases from the surface cleanly.
What Tools Help Remove Adhesive Hooks Without Wall Damage?
Common tools include dental floss, hairdryer, and rubbing alcohol. Dental floss slides behind the hook to cut adhesive. A hairdryer softens glue, making removal easier. Rubbing alcohol dissolves residue for a clean finish.
Can Self-adhesive Hooks Damage Painted Walls?
Improper removal can damage paint or drywall. Pulling hooks outward or quickly may peel paint. Using the correct technique reduces risk. Always remove hooks slowly and use heat or adhesive remover if needed.
How To Remove Sticky Residue After Hook Removal?
Use rubbing alcohol or warm soapy water to clean residue. Apply gently with a cloth and rub until sticky traces disappear. Avoid harsh scrubbing to protect the paint and wall surface.
Conclusion
Removing self-adhesive hooks from walls does not have to be hard. Gently pulling and using heat can help loosen the adhesive. Taking your time prevents damage to paint or surfaces. Clean the area after removal to keep walls neat. These simple steps make the process quick and safe.
Now, your walls stay smooth and ready for new hooks. Easy and careful work brings the best results every time.