Have you ever flipped a light switch and nothing happened? It’s frustrating, especially when you’re in a hurry or the room is pitch dark.
Knowing how to check if a light switch is working can save you time and hassle. In this guide, you’ll discover simple, quick steps to test your switch safely and easily. By the end, you’ll feel confident handling this common household issue without calling a professional.
Keep reading—you’re just moments away from mastering a skill that can brighten your day.
Tools Needed
Checking if a light switch works needs the right tools. Having these tools ready makes the task easy and safe. You do not need many tools, just the basic ones and some safety gear.
Basic Tools
A screwdriver is the main tool you need. It helps to open the switch cover. Use a flathead or Phillips screwdriver, depending on the screws.
A voltage tester or multimeter checks if electricity flows through the switch. This tool tells you if the switch is live or dead. It is simple to use and very helpful.
Wire strippers can help if you need to remove some insulation from wires. They make the wires ready for testing or fixing.
Safety Gear
Safety is important when working with electricity. Use insulated gloves to protect your hands from shocks. They stop electricity from passing through your skin.
Wear safety glasses to protect your eyes from sparks or debris. Even small particles can hurt your eyes during work.
Work in a well-lit area to see everything clearly. Good light helps you avoid mistakes and keeps you safe.
Safety Precautions
Always turn off the power before checking a light switch. Use a tester to avoid electric shocks. Handle wires carefully to stay safe.
Turn Off Power
Always turn off the power before checking a light switch. This stops electric shocks. Find the right circuit breaker and switch it off. Use a tester to confirm no electricity flows. Never touch wires or terminals without checking power first.
Use Insulated Tools
Use tools with insulated handles to avoid shocks. These tools protect your hands from electricity. Avoid metal tools without insulation. Keep your hands dry and stand on a dry surface. Safety is key when working with electrical parts.
Visual Inspection
Visual inspection is the first step in checking if a light switch works. It helps spot obvious problems without tools. This simple check saves time and effort before moving on to complex tests.
Check For Damage
Look closely at the switch surface. Cracks or burn marks may show damage. A broken switch cover can expose wires. This is unsafe and needs fixing. Check if the switch feels loose or wobbly. These signs often mean the switch is faulty.
Look For Loose Connections
Turn off the power before touching the switch. Remove the switch plate gently. See if any wires are loose or disconnected. Loose wires stop electricity from flowing properly. Tighten any screws holding the wires. Secure connections improve the switch’s function and safety.

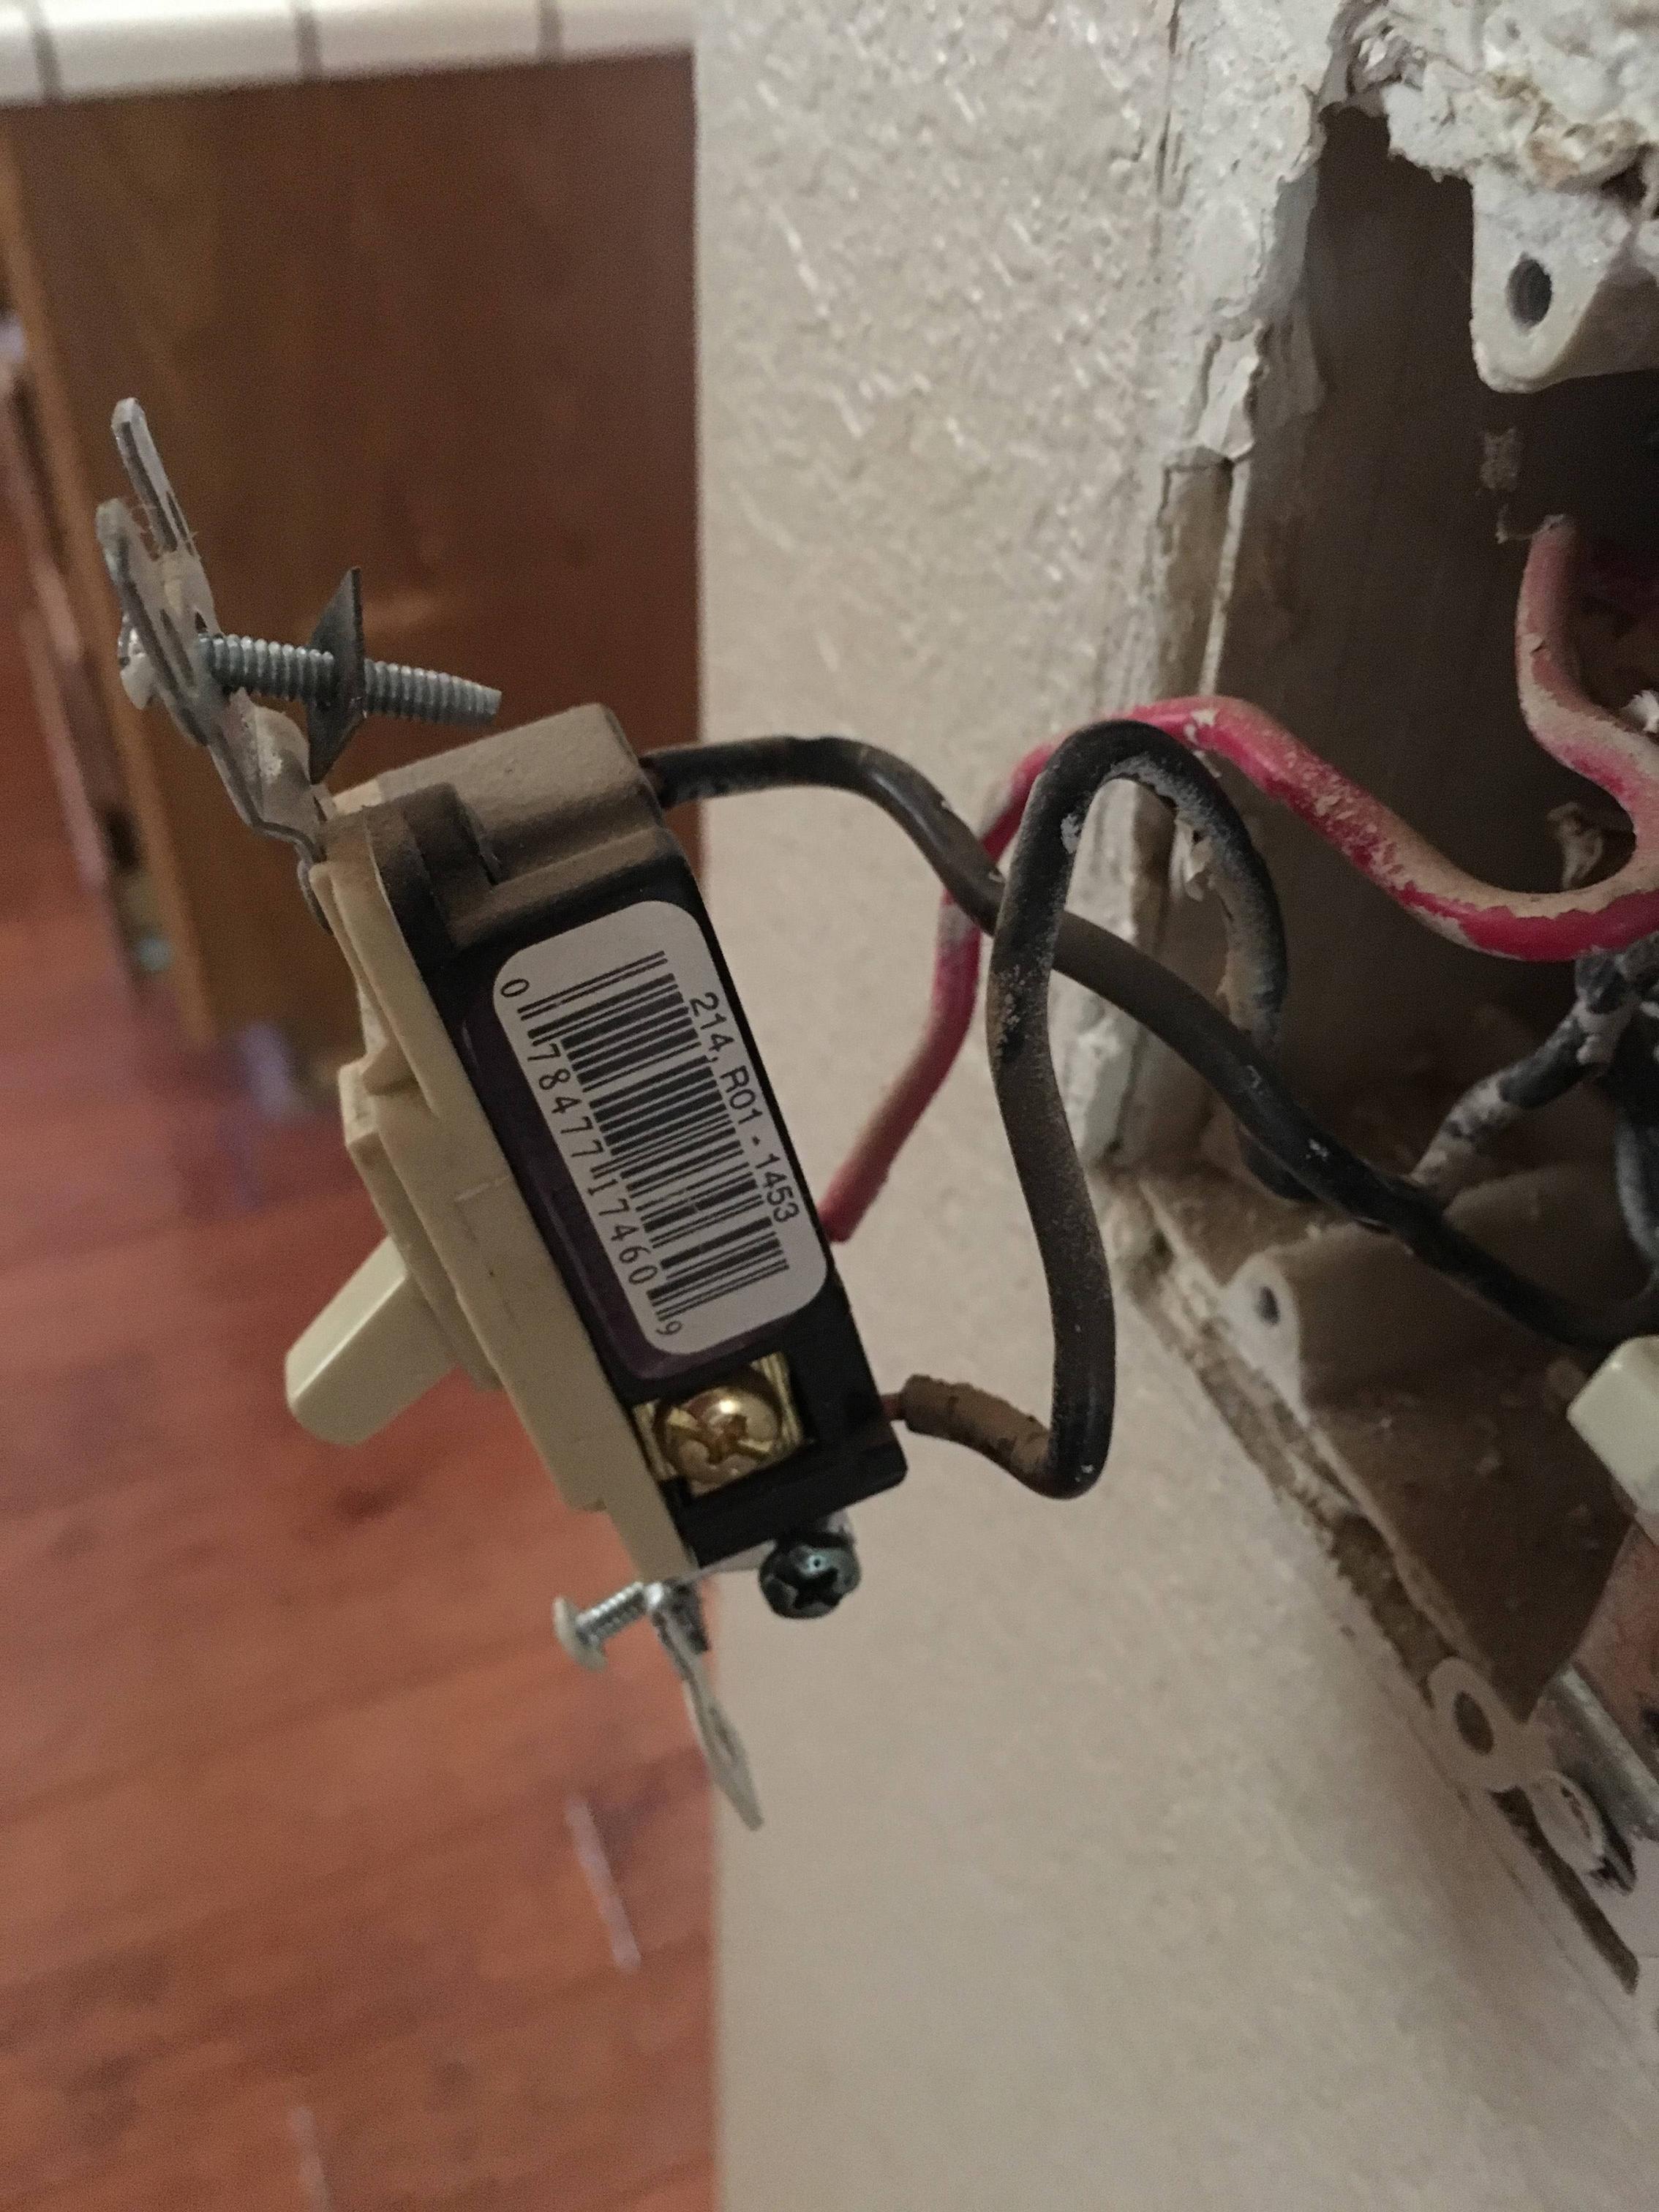
Credit: arcangelelectric.com
Testing With A Multimeter
Testing a light switch with a multimeter is a simple way to check if it works. A multimeter measures electrical properties. It helps find out if the switch passes electricity properly. This method is safe and accurate. You do not need advanced skills to try it.
Before testing, always turn off the power at the circuit breaker. This step keeps you safe from electric shock. Then, remove the switch cover to access the terminals. The multimeter will show if the switch makes a complete connection inside.
Set Multimeter To Continuity
Turn on your multimeter. Set it to the continuity test mode. The symbol looks like a sound wave or diode. This mode checks if electricity can flow through the switch. If the circuit is complete, the multimeter beeps or shows zero resistance.
Check your multimeter’s instructions if you are unsure about the setting. Using the right mode avoids wrong readings. Continuity mode is best for switches because it tests connection without voltage.
Test Switch Terminals
Touch the multimeter probes to the switch terminals. These are the screws or metal parts on the switch. Make sure the probes make good contact. Press the switch to the ON position. The multimeter should beep or show zero resistance.
Move the switch to the OFF position. The multimeter should not beep. This result means the switch breaks the circuit properly. No beep means no connection, so the switch works as it should.
If the multimeter always beeps, the switch is faulty. It may be stuck in the ON position. Replace the switch to fix the problem. Testing terminals with a multimeter saves time and money by finding faults fast.
Using A Voltage Tester
Using a voltage tester is a safe and easy way to check if a light switch works. This tool helps you find electrical current without touching wires directly. It gives a clear sign when power flows through the switch. Learning to use a voltage tester can prevent accidents and save time.
Identify Live Wires
Turn off the power at the breaker before starting. Remove the switch cover carefully. Touch the voltage tester to each wire near the switch. The tester lights up or beeps if the wire is live. Mark the live wires to avoid confusion. Never touch wires with your hands during this step. This process ensures you know which wires carry power.
Test Switch Operation
Turn the power back on at the breaker. Hold the tester on the live wire terminal of the switch. Flip the switch on and off slowly. The tester should show power when the switch is on. No power means the switch is off or not working. Repeat this test on all terminals. This confirms if the switch controls the flow of electricity properly.
Testing With A Test Light
Testing a light switch with a test light is a simple and effective way to check if it works. This tool helps you see if electricity flows through the switch. It gives a clear sign by lighting up when the switch is good. No special skills needed.
Connect Test Light
First, turn off power for safety. Then, remove the switch cover. Find the wires connected to the switch. Attach the test light’s clip to a ground wire or metal box. Touch the test light’s probe to each screw terminal on the switch. Make sure the probe touches metal parts.
Observe Light Response
Turn the power back on. Flip the switch on and off slowly. Watch the test light carefully. If the light glows when the switch is on, the switch works. If the light stays off, the switch may be faulty. Repeat the test to be sure.
Replacing A Faulty Switch
Replacing a faulty light switch is a simple task that anyone can do. It helps restore power and keeps your home safe. Before starting, always turn off the main power to avoid electric shocks. Use a tester to confirm no electricity flows to the switch.
Remove Old Switch
Start by unscrewing the cover plate with a screwdriver. Next, remove the screws holding the switch in place. Gently pull the switch out from the wall box. Take note of how the wires connect to the switch. Use a voltage tester again to be sure no current is present. Unscrew the wires from the old switch carefully.
Install New Switch
Attach the wires to the new switch in the same way as the old one. Tighten the screws to secure the wires firmly. Push the switch back into the wall box gently. Screw the switch into place and reattach the cover plate. Turn the main power back on and test the switch. The light should turn on and off smoothly.

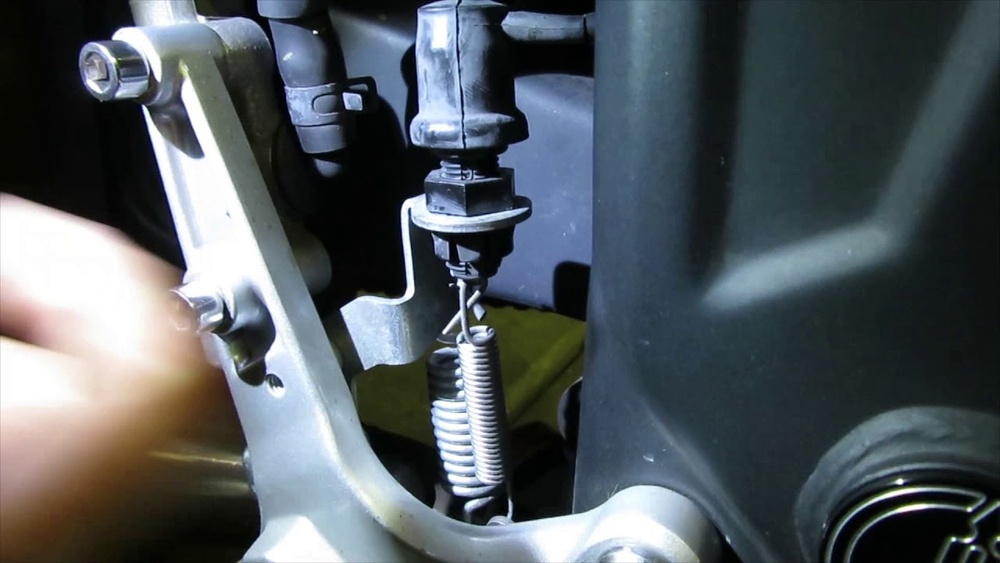
Credit: www.youtube.com
When To Call A Professional
Knowing when to call a professional is important for your safety and for fixing the problem correctly. Some light switch issues need expert help. Trying to fix complex wiring without the right skills can cause more damage. A professional electrician has the tools and knowledge to handle tricky situations safely.
Complex Wiring Issues
Light switches with complicated wiring can be hard to test and fix. Older homes might have outdated or unsafe wiring. A professional can identify hidden problems in the circuit. They can also make sure the wiring meets safety codes. Avoid guessing or poking around wires if you do not understand them.
Safety Concerns
Electricity can be dangerous. If you see sparks, burning smells, or hear buzzing sounds, stop and call a pro. Faulty switches can cause shocks or fires. Professionals know how to work safely around electricity. They use special tools and follow safety rules to protect you and your home.
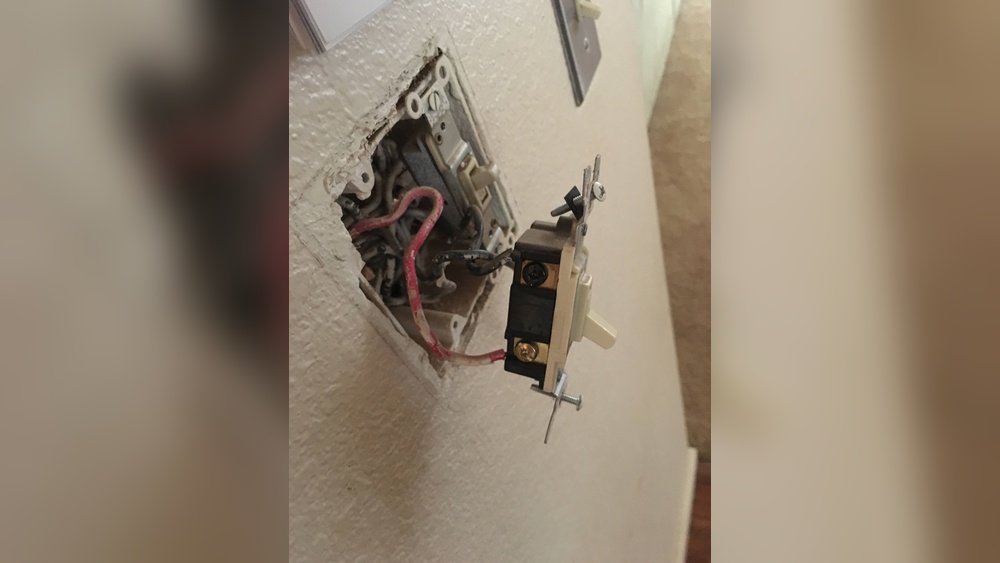
Credit: diy.stackexchange.com
Frequently Asked Questions
How Can I Test A Light Switch With A Multimeter?
Set the multimeter to continuity mode. Turn off power, remove the switch cover, and test terminals. A beep indicates a working switch.
What Are Signs Of A Faulty Light Switch?
Flickering lights, no response, or a burning smell indicate issues. These signs suggest the switch may need replacement or repair.
Can A Light Switch Cause A Circuit Breaker To Trip?
Yes, a short circuit in the switch can trip the breaker. Inspect the switch for damage and replace if necessary.
Is It Safe To Test A Light Switch Without Turning Off Power?
No, always turn off the power at the breaker before testing. This prevents electrical shock and ensures safety during inspection.
Conclusion
Testing a light switch is simple and important. You can find out if it works by using a few easy steps. Always stay safe and turn off power before checking. Knowing how to check helps you fix problems faster. It also saves time and money on repairs.
Keep these tips in mind whenever a switch acts up. Small checks can prevent bigger electrical issues later. So, don’t ignore a faulty switch. A quick test can keep your home safe and bright.