Have you ever wished your lights could turn off automatically, saving you time and energy? Changing your regular light switch to a timer is easier than you think.
Imagine never having to worry about forgetting to switch off the lights again. In this guide, you’ll discover simple steps to make your home smarter and more efficient. Keep reading, and you’ll be surprised how quickly you can take control of your lighting—and your electricity bill.
Tools And Materials Needed
Changing a light switch to a timer switch needs the right tools and materials. Having everything ready saves time and avoids problems. This guide covers the types of timer switches, essential tools, and safety gear needed for the job.
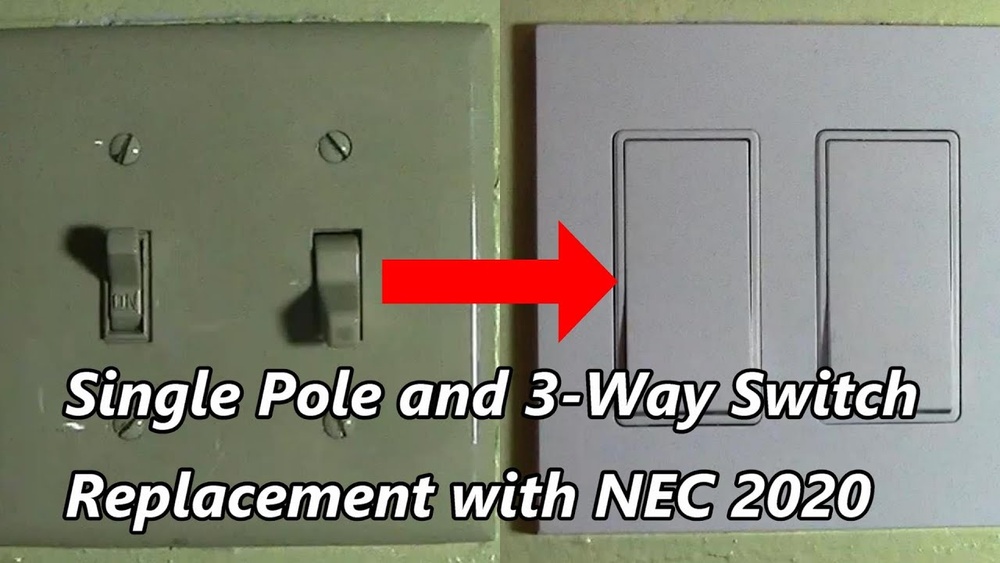
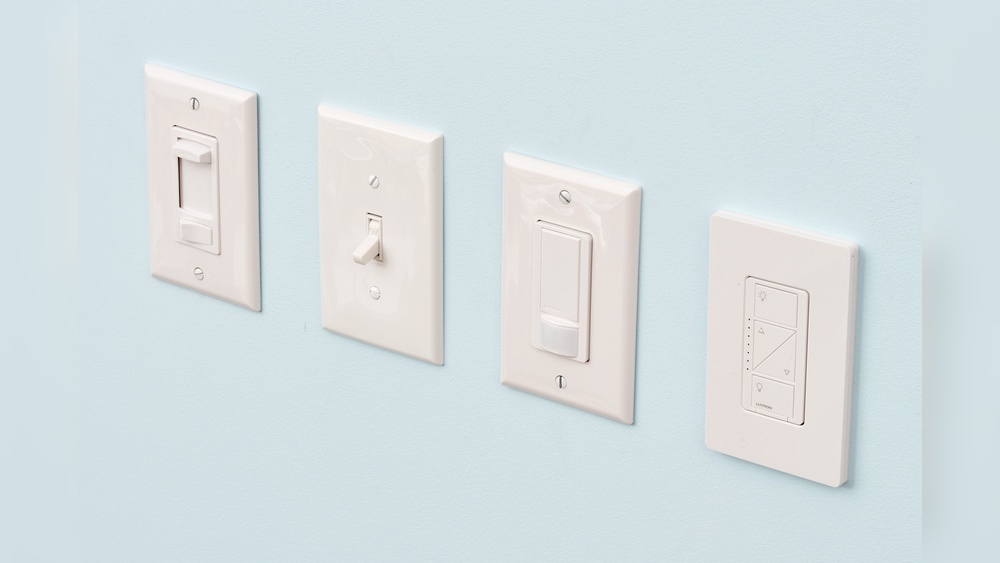
Timer Switch Types
There are several timer switch types to choose from. Mechanical timers use a dial to set the time. Digital timers have buttons and a screen for precise control. Some timers have motion sensors to turn lights on automatically. Choose one that fits your needs and skill level.
Essential Tools
You need a few basic tools for this project. A screwdriver set is important for removing and installing the switch. Wire strippers help expose the wire ends safely. Voltage testers check if wires are live to avoid shocks. Needle-nose pliers assist with bending and holding wires. Keep these tools close for a smooth process.
Safety Gear
Safety is a top priority. Wear insulated gloves to protect against electric shocks. Safety glasses shield your eyes from dust and debris. Use a sturdy ladder if the switch is high on the wall. Always turn off the power at the breaker before starting. These safety steps keep you secure during the change.

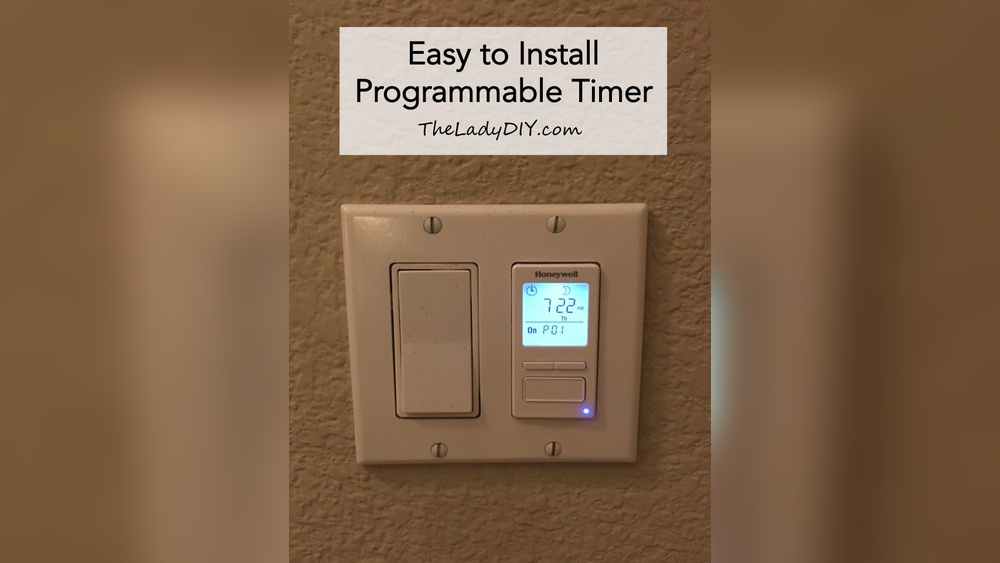
Credit: theladydiy.com
Turn Off Power Safely
Always switch off the power at the breaker before starting any electrical work. This step keeps you safe from shocks while changing the light switch to a timer. Double-check the power is off by testing the switch with a voltage tester.
Locate Circuit Breaker
Start by finding your home’s circuit breaker panel. It is usually in the basement, garage, or a utility closet. The panel controls power to different parts of your house. Look for the switch that controls the room with the light switch you want to change. This switch will often be labeled by room or area. Turning off this breaker stops electricity from flowing to the light switch, making it safe to work on.
Verify Power Is Off
After turning off the breaker, check that power is really off. Use a voltage tester or a simple plug-in device to test the light switch. Touch the tester to the wires or terminals. If the tester shows no power, it is safe to continue. Double-check to avoid any electric shock risk. Always assume wires can be live until tested.
Remove Existing Light Switch
Start by turning off power at the breaker box to avoid shocks. Safety is the first step in any electrical work.
Removing the old switch makes room for the new timer switch. This process is simple but requires care.
Unscrew Switch Plate
Use a screwdriver to remove the screws holding the switch plate. Keep the screws safe for later use.
Gently pull off the switch plate. This reveals the switch and wires behind it.
Disconnect Wires
Check the wires connected to the switch. Note their positions or take a photo for reference.
Use a screwdriver to loosen the terminal screws. Carefully disconnect each wire from the switch.
After wires are loose, remove the switch from the wall box. The old switch is now free to be replaced.
Prepare Timer Switch Wiring
Start by turning off the power to the switch at the circuit breaker. Identify and label the wires before connecting the timer switch for safety and accuracy.
Identify Wire Types
Start by turning off the power at the circuit breaker. Safety first. Remove the old switch cover plate. Use a voltage tester to check no electricity flows. Look inside the switch box. You will see several wires. Usually, black wires carry power. White wires are neutral. Green or bare wires are ground. Note their colors and positions. Take a photo for reference. This helps avoid mistakes later.
Match Timer Connections
Check the instructions that come with your timer switch. Each wire on the timer has a label or color. Connect the black wire from the timer to the black power wire in the box. Connect the white wire from the timer to the white neutral wire. Attach the green or bare wire to the ground wire. Some timers have a red wire for the load. Connect it to the black wire going to the light fixture. Use wire nuts to secure each connection tightly. Double-check all connections before closing the box.
Install The Timer Switch
Installing the timer switch is the key step in upgrading your light switch. This process replaces the old switch with a smart timer. The timer lets you control lights on a set schedule. It saves energy and adds convenience.
Connect Wires To Timer
Turn off the power at the circuit breaker. Use a tester to ensure no electricity flows. Match each wire from the wall to the timer wires. Usually, black is live, white is neutral, and green or bare is ground. Attach wires with wire nuts. Tighten nuts to secure connections. Check the timer instructions for exact wire colors and placement.
Secure Timer In Wall Box
Carefully fold wires back into the wall box. Align the timer switch with the mounting holes. Use screws to fix the timer firmly in place. Avoid over-tightening, which can crack the switch. Attach the faceplate over the timer. Restore power and test the timer switch. The light should operate according to your set schedule.

Credit: www.ifixit.com
Test The Timer Switch
Testing the timer switch is an important step after installation. It ensures the switch works properly and safely. Take your time to confirm everything functions as expected.
Restore Power
Turn the circuit breaker back on. This restores electricity to the timer switch. Check that the switch shows power, such as a light or display turning on.
Set Timer Settings
Adjust the timer settings to fit your needs. Follow the instructions for setting the on and off times. Use simple controls to set hours and minutes clearly.
Check Functionality
Test the timer switch by watching it turn the light on and off. Make sure the light responds at the set times. Repeat the test a few times to confirm reliable operation.
Troubleshooting Tips
Changing a light switch to a timer is a smart way to save energy and add convenience. Sometimes, the new timer switch may not work as expected. Troubleshooting helps find and fix common problems fast. This section offers easy tips to get your timer switch running smoothly.
Common Issues
The timer switch does not turn the light on or off. Check the power supply first. Make sure the circuit breaker is on. Loose wires can cause the timer to fail. Turn off the power and tighten all wire connections. Some timers need a neutral wire. Confirm your switch box has one. If the timer blinks or resets often, it may be incompatible with your light bulbs. LED bulbs sometimes cause this issue. Try changing the bulbs to standard ones. The timer display may be dim or unreadable. Adjust the timer’s settings or replace its batteries if it has any.
When To Call A Professional
Electrical work can be dangerous. Call an electrician if you see sparks or smell burning. If the timer switch still does not work after checking wires, get help. Complex wiring or old electrical systems need expert care. A professional ensures the timer is installed safely and correctly. Do not risk injury or damage by trying to fix serious issues yourself.

Credit: diy.stackexchange.com
Frequently Asked Questions
How Do I Install A Timer Switch For My Light?
Turn off power at the breaker. Remove the existing switch. Connect the timer switch wires to the house wires. Secure the switch, restore power, and test functionality.
What Tools Are Needed To Change A Light Switch To A Timer?
You need a screwdriver, voltage tester, wire stripper, and the timer switch. Safety gloves and electrical tape are also helpful for secure connections.
Can I Replace Any Light Switch With A Timer?
Most standard switches can be replaced, but check compatibility first. Some timers require neutral wires or specific voltage. Always read the timer’s instructions before buying.
How Much Does It Cost To Install A Timer Switch?
Timer switches typically cost between $15 and $50. Installation by a professional may add $50 to $100. DIY installation can save money but requires caution.
Conclusion
Changing a light switch to a timer helps save energy and money. It also adds convenience to your daily routine. The process is simple when you follow clear steps and safety tips. Take your time and double-check your work. Soon, your lights will turn on and off automatically.
Enjoy the ease and control a timer switch provides. Give it a try and see the difference yourself.