Are you tired of that old, flickering bathroom light switch? Changing it might seem tricky, but you can do it yourself with just a few simple steps.
Imagine how satisfying it will feel to fix your bathroom light switch quickly and safely, without waiting for a professional. In this guide, you’ll learn exactly what you need to do, even if you’ve never handled electrical work before. Keep reading—you’re just moments away from brightening up your bathroom and gaining a handy new skill.
Tools And Materials Needed
Changing a bathroom light switch is a simple task. Having the right tools and materials makes the job easier and safer. Prepare everything before you start. This helps avoid interruptions and mistakes.
Basic Tools Needed
You need a few basic tools to change a light switch. A screwdriver set is essential. Choose one with flathead and Phillips tips. A voltage tester is important to check power. It keeps you safe from electrical shock. Wire strippers help remove insulation from wires.
Materials Required
Use a new light switch that fits your bathroom setup. Make sure it matches the electrical rating of the old switch. Electrical tape comes handy to cover wire connections. Wire nuts secure the wires together. They prevent loose connections and sparks.
Safety Equipment
Safety is key when working with electricity. Wear insulated gloves to protect your hands. Use safety glasses to shield your eyes. Turn off the power at the circuit breaker before starting. Double-check with a voltage tester to confirm no power flows.
Safety Precautions
Safety is the first step before changing a bathroom light switch. Electricity can hurt you badly. Taking the right safety measures reduces risks. This section covers key precautions to keep you safe.
Follow these steps carefully. Avoid rushing or guessing. Use tools the right way. Safety comes first.
Turn Off The Power
Always switch off the power at the main circuit breaker. Do not rely on the light switch to cut power. Use a tester to check if wires are live. Confirm no electricity flows before touching anything.
Wear Safety Gear
Wear insulated gloves to protect your hands from shocks. Safety goggles help guard your eyes from dust or sparks. Use shoes with rubber soles for extra insulation. This gear reduces injury chances.
Use Proper Tools
Use tools designed for electrical work only. Insulated screwdrivers and pliers prevent shocks. Avoid using damaged or worn tools. Good tools make work safer and easier.
Work In A Dry Area
Ensure the bathroom floor and your hands are dry. Water and electricity cause dangerous shocks. Use a dry cloth to wipe surfaces before starting. Keep the area well lit for clear visibility.
Follow Instructions Carefully
Read the switch’s instructions before starting. Do not skip any steps. Follow each step slowly and carefully. Mistakes can cause accidents or damage.
Turn Off Power
Turning off the power is the first step to safely change a bathroom light switch. It stops electricity from flowing and prevents shocks. Safety is the top priority before handling any electrical work.
Never skip this step. Even a small amount of electricity can cause harm. Always double-check to be sure power is off before touching wires or the switch.
Locate The Circuit Breaker
Find your home’s main electrical panel. It is usually in the basement, garage, or utility room. The panel holds switches called circuit breakers.
Switch Off The Correct Breaker
Look for the breaker labeled “Bathroom” or “Lights.” Flip it to the OFF position. This stops power to the bathroom light switch.
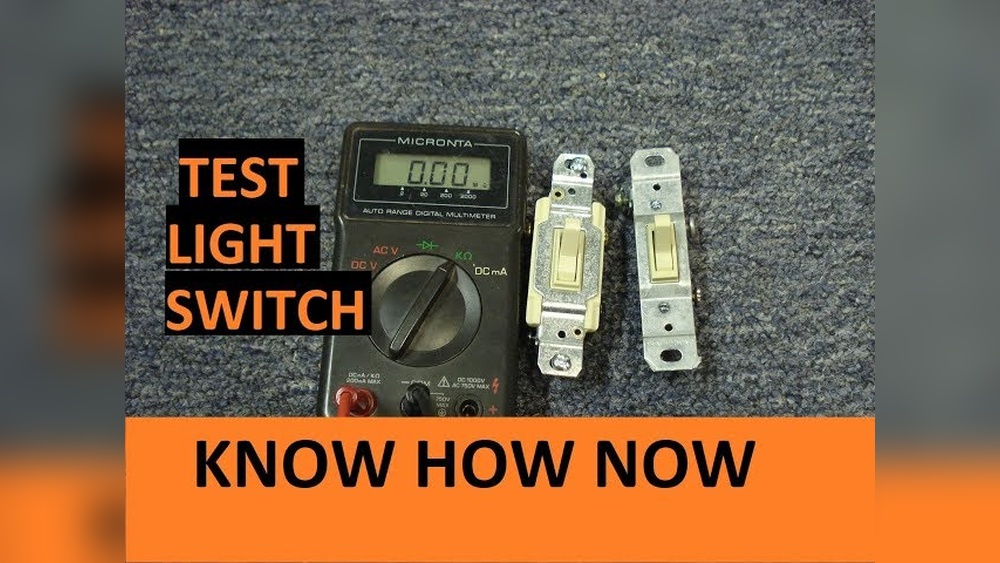
Test The Power Is Off
Use a voltage tester or a simple light bulb tester. Touch the tester to the wires or switch terminals. No light or sound means the power is off.
Keep The Breaker Off During Work
Do not turn the breaker back on until the switch is fully installed. Keeping power off avoids accidents and injury.
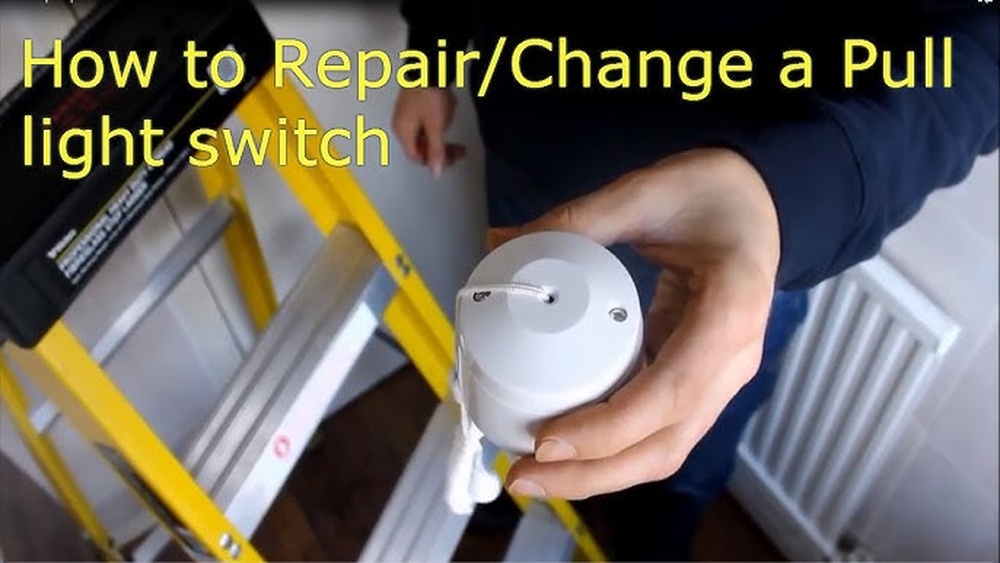
Remove Old Switch
Start by turning off the power to the bathroom light switch. Next, carefully unscrew and pull out the old switch from the wall. Disconnect the wires by loosening the screws holding them in place.
Unscrew Switch Plate
Start by turning off the power to the bathroom light switch at the breaker. This step ensures safety while working. Use a flathead or Phillips screwdriver to remove the screws holding the switch plate. Carefully take off the plate to expose the switch and wiring underneath. Set the screws and plate aside for later use or replacement.
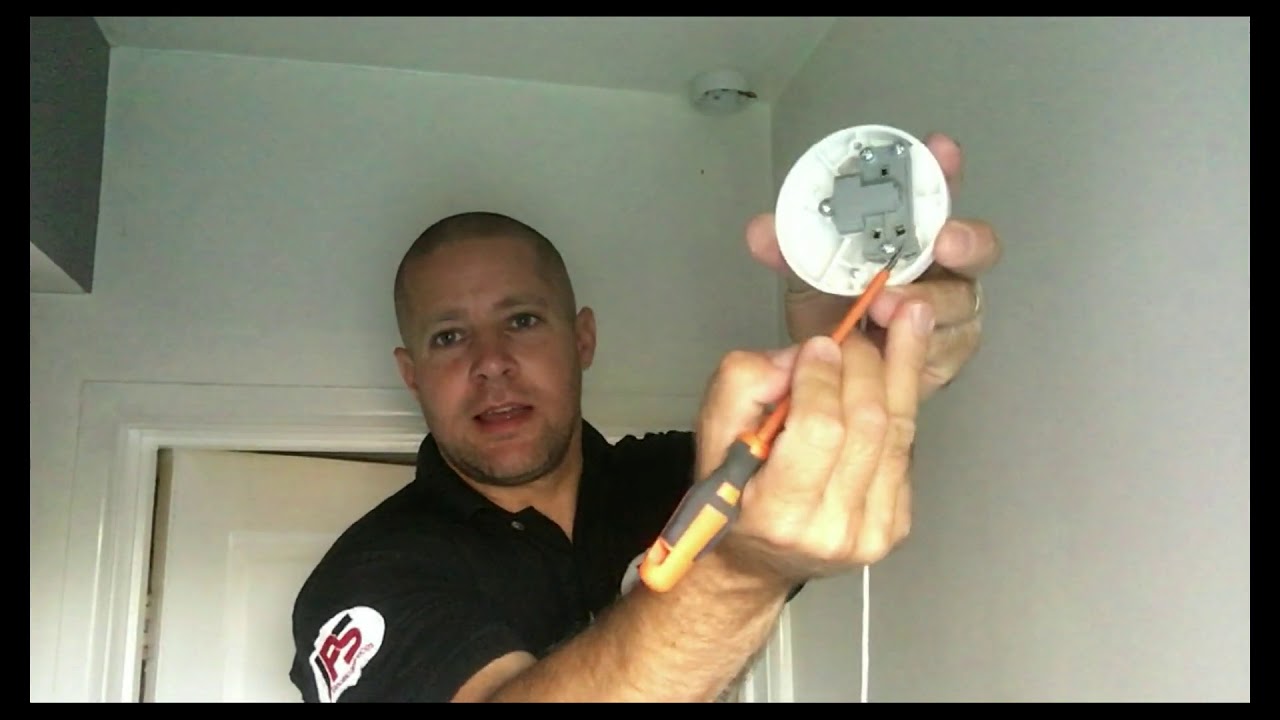
Disconnect Wires
Check the switch to see how the wires connect. There are usually two or three wires attached with screws or inserted into holes. Loosen the screws or release the wires gently. Pull the wires away from the old switch carefully. Keep the wires separated and avoid touching them together. This prepares the switch for removal and replacement.
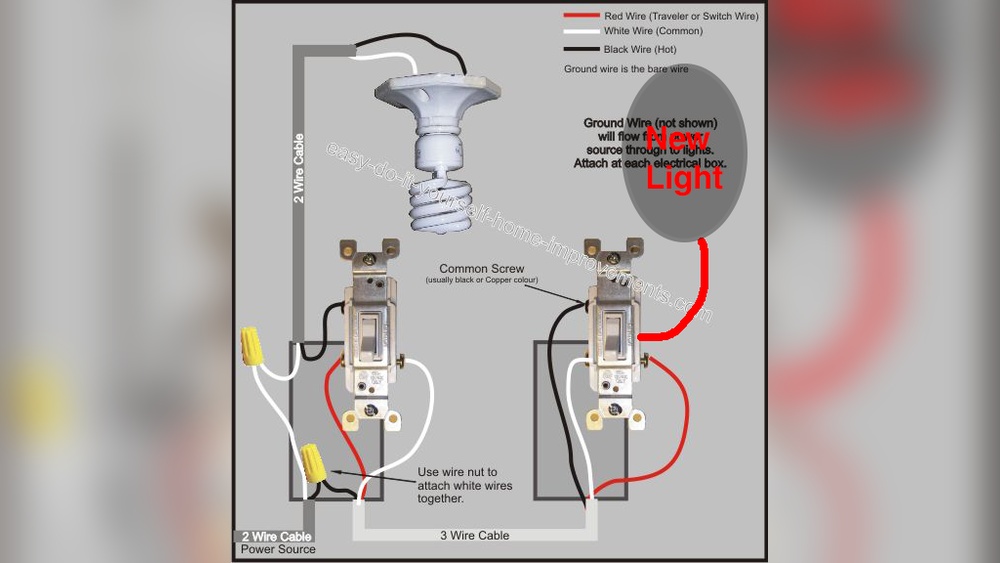
Identify Wire Types
Identifying wire types is a key step to change a bathroom light switch safely. Wires carry electricity from your home’s power source to the switch and light fixture. Knowing which wire is which helps avoid shocks and wiring mistakes. This step protects you and ensures the switch works properly.
Bathroom wiring usually includes several types of wires. Each has a different job. These wires come in different colors and sizes. Recognizing these colors helps you connect the new switch correctly.
Understanding Hot Wires
Hot wires carry electricity from the power source to the switch. These wires are usually black or red. They are the live wires that control the flow of current. Handle hot wires with care and always turn off power first.
Identifying Neutral Wires
Neutral wires complete the electrical circuit. They return electricity back to the power panel. Neutral wires are typically white or light gray. They do not carry current when the switch is off but must be connected correctly.
Recognizing Ground Wires
Ground wires protect you from electric shocks. They direct electricity safely into the ground. Ground wires are usually bare copper or green. Always connect the ground wire to the switch or the box if it has grounding screws.

Credit: www.reddit.com
Connect New Switch
Connecting the new bathroom light switch is a key step in the process. It involves attaching the wires correctly and securing the switch safely. Doing this right ensures your light works without any issues. Follow the steps carefully to avoid electrical hazards.
Attach Wires To Terminals
First, identify the wires: usually black, white, and green or copper. The black wire connects to the brass terminal. The white wire goes to the silver terminal. The green or bare wire attaches to the green grounding screw. Tighten each screw firmly to hold the wire. Loose connections can cause sparks or the switch to fail.
Secure Switch In Box
After wiring, push the switch gently into the electrical box. Align it so the screw holes match the box holes. Use screws to fasten the switch tightly. Ensure it sits flush with the wall surface. Avoid overtightening, which can crack the switch or wall. Finally, attach the switch cover plate and screw it in place.
Test The Switch
Testing the bathroom light switch is a key step after installation. It ensures the switch works safely and correctly. Skipping this step may cause electrical problems or damage. Testing confirms the power flows properly and the switch controls the light as expected.
Follow simple steps to test the switch before finishing your project. Use basic tools and take safety measures. This process helps avoid future issues with your bathroom lighting.
Turn On The Power
First, restore power to the circuit by switching on the breaker. This supplies electricity to the switch. Without power, the switch cannot function or be tested.
Check The Light Operation
Flip the switch to the “on” position. Observe if the bathroom light turns on. If the light stays off, the switch might be faulty or wiring may be incorrect.
Use A Voltage Tester
Use a non-contact voltage tester near the switch terminals. This tool detects live electricity safely. It confirms the switch receives power and the circuit is active.
Test The Switch Multiple Times
Flip the switch on and off several times. Watch for consistent light response. The light should turn on and off without flickering or delay.
Inspect For Any Issues
Listen for unusual sounds like buzzing or crackling. Check for warm or burning smells around the switch. These signs indicate a problem that needs fixing.
Credit: www.youtube.com
Troubleshooting Tips
Troubleshooting your bathroom light switch can save time and money. Understanding common problems helps you fix issues quickly. This section covers two frequent problems: a switch not working and flickering lights.
Switch Not Working
First, check the power supply. Make sure the circuit breaker is on. Test the switch by turning it on and off several times. If the switch still does not work, the wiring might be loose or damaged. Turn off the power before opening the switch panel. Use a voltage tester to check for power. Tighten any loose wires. Replace the switch if it looks burnt or broken.
Flickering Lights
Flickering lights can indicate a poor connection. Check the light bulbs to ensure they are screwed in tightly. Replace bulbs if they are old or flicker continuously. Loose wiring inside the switch or fixture can cause flickering. Turn off the power and inspect the wires. Tighten any loose connections. If flickering continues, the switch or fixture might need replacement.

Credit: www.reddit.com
Frequently Asked Questions
How Do I Safely Turn Off Power Before Changing A Light Switch?
Always switch off the circuit breaker controlling the bathroom light. Use a voltage tester to confirm no power is flowing. Safety first prevents electric shocks during the switch replacement process.
What Tools Are Needed To Replace A Bathroom Light Switch?
You’ll need a screwdriver, voltage tester, wire stripper, and new switch. These tools help you safely remove the old switch and install the new one easily.
How Do I Identify The Wires On A Bathroom Light Switch?
Typically, black or red wires are hot, white is neutral, and green or bare is ground. Correctly identifying wires ensures proper and safe switch installation.
Can I Replace A Bathroom Light Switch Without Professional Help?
Yes, if you follow safety steps and instructions carefully. However, if unsure, consult an electrician to avoid hazards and ensure code compliance.
Conclusion
Changing a bathroom light switch is simple and safe. Turn off the power first. Follow each step carefully. Use the right tools and check your work. This small fix can brighten your space quickly. Take your time and stay focused.
You don’t need to call a professional. Enjoy the satisfaction of doing it yourself. Keep these tips in mind for future repairs. A little effort goes a long way. Now, your bathroom light switch works like new.