
Have you ever stared at a wall stubbornly holding metal hooks, unsure how to take them down without leaving a mess? Removing metal hooks can feel tricky, especially when you want to keep your walls looking perfect.
But don’t worry—you’re about to learn simple, effective steps that make this task quick and damage-free. Keep reading, and you’ll discover the easy tricks to get those hooks off your walls smoothly, saving you time and stress. Your walls will thank you!
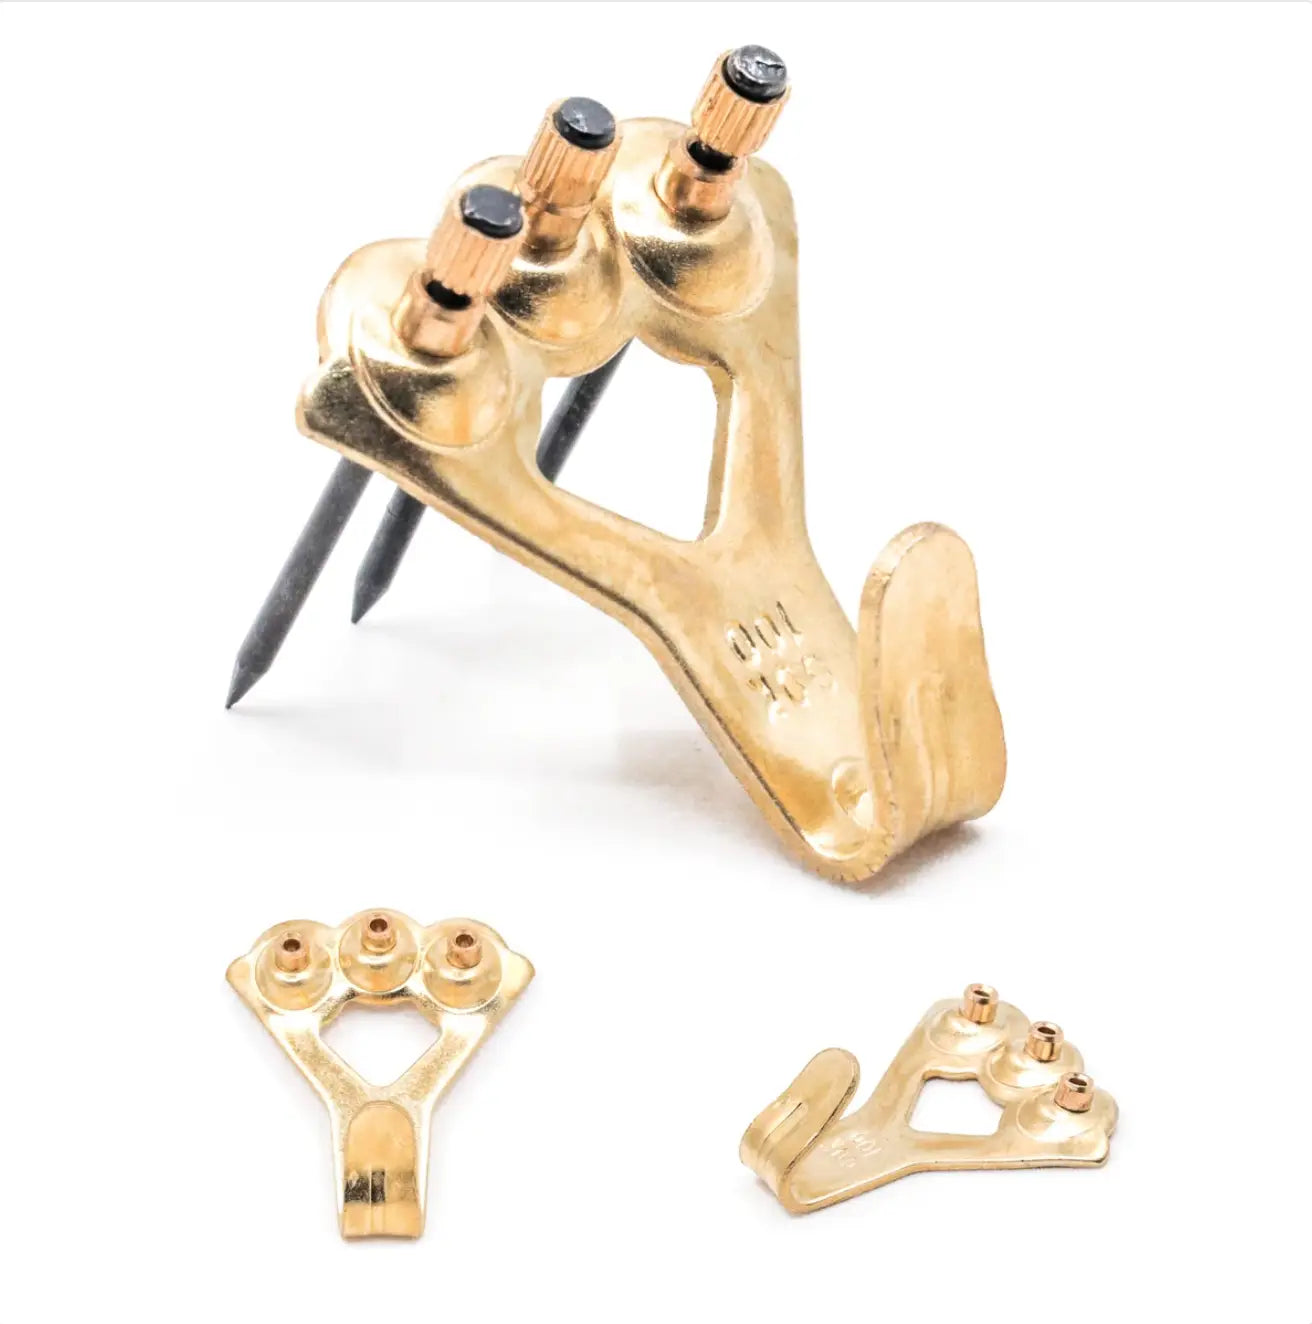
Credit: www.picturehangsolutions.com
Types Of Metal Hooks
Metal hooks come in many types. Each type has a different shape, material, and way of attaching to walls. Knowing these types helps you remove them safely. It also prevents damage to your walls.
Common Hook Designs
Some hooks have a simple curved shape. Others have multiple prongs for hanging many items. There are also hooks with a flat base or a rounded tip. Each design serves a different purpose. Some hooks hold light items like keys. Others support heavier objects like coats or tools.
Materials And Coatings
Most metal hooks are made from steel or iron. Some hooks have a shiny chrome or nickel coating. Others are painted with rust-proof paint. These coatings protect the hook from water and air. They also give hooks a better look. The material and coating affect how strong the hook is.
Hook Attachments To Walls
Hooks attach to walls in several ways. Some use nails driven directly into the wall. Others use screws with anchors for stronger hold. Some hooks stick to the wall with adhesive pads. There are also hooks that hang on nails or screws without extra fixing. Knowing the attachment type helps you remove hooks easily and without damage.
Tools Needed For Removal
Removing metal hooks from walls requires the right tools for a smooth process. Having the proper tools helps avoid wall damage and makes the job easier. Different hooks and wall types may need different tools. Below are the common tools needed for removal.
Basic Household Tools
Start with simple tools found at home. A flathead screwdriver helps pry hooks gently. Needle-nose pliers grip the hook tightly for pulling. A putty knife can loosen paint or drywall around the hook. A hammer may assist in tapping the hook loose carefully. These tools are useful for most hooks.
Specialty Removal Tools
Some hooks need special tools for easy removal. A hook remover tool is designed to pull hooks without damage. Wire cutters work well for cutting small metal hooks. A wall anchor remover helps take out plastic anchors along with hooks. These tools save time and reduce wall marks.
Protective Gear
Safety is important during removal. Wear gloves to protect your hands from sharp edges. Safety glasses shield your eyes from dust and debris. A dust mask helps if the wall material crumbles. Protective gear keeps you safe while working on the wall.
Preparation Steps
Before removing metal hooks from walls, proper preparation is key. This step helps protect your wall and makes the removal easier. Taking time here saves effort later.
Clear space around the hook and protect the wall surface. Also, check the hook’s stability to avoid damage.
Clearing The Area
Remove any objects near the hook. Move furniture and decorations away. This gives you room to work safely. It also prevents items from falling or breaking.
Protecting Wall Surfaces
Place a soft cloth or cardboard under the hook. This shields the wall from scratches or dents. Use painter’s tape around the hook base for extra protection.
Checking Hook Stability
Gently wiggle the hook to test its hold. If it feels loose, proceed carefully to avoid wall damage. If very tight, prepare tools for safe removal.

Credit: www.reddit.com
Removing Hooks Without Damage
Removing metal hooks from walls can be tricky without causing damage. The key is to handle hooks gently and patiently. Walls often have paint or wallpaper that can peel or crack easily. Using the right methods helps keep your walls clean and smooth.
Gentle Pulling Techniques
Start by holding the hook close to the wall. Pull slowly and steadily. Avoid jerking or yanking the hook. Use your fingers or pliers with a soft grip. If the hook resists, stop pulling and try another method.
Using Heat Or Solvents
Heat can soften paint or adhesive around the hook. Use a hairdryer on low heat near the hook. Warm the area for a minute or two. This makes removal easier. Solvents like rubbing alcohol may help dissolve glue. Dab a small amount around the hook base carefully.
Twisting And Loosening Methods
Twist the hook gently back and forth. This can loosen it from the wall. Avoid forcing the hook to turn too hard. Use a pair of pliers for a better grip. Loosen the hook step-by-step until it comes free.
Handling Stubborn Hooks
Removing metal hooks from walls can be tricky, especially when they resist coming out. Stubborn hooks may damage the wall if not handled with care. Patience and the right approach help avoid marks and holes. Here are some tips to deal with tough hooks safely and effectively.
Leveraging Tools Carefully
Use a flat tool like a putty knife or a butter knife. Slide it gently under the hook’s base. Apply slow, steady pressure to lift the hook. Avoid sudden force to prevent wall damage. Pliers can help grip the hook better. Twist the hook slightly while pulling to loosen it.
Softening Adhesives
Some hooks stick with strong glue or adhesive. Warm the area with a hairdryer for a few minutes. Heat softens the adhesive, making removal easier. Avoid overheating to protect paint and drywall. After warming, try pulling the hook again gently. Repeat heating if needed to loosen the bond.
When To Call A Professional
Hooks embedded deeply may harm the wall if forced. Cracks or large holes need expert repair. Professionals remove hooks with minimal damage. They have tools and skills for safe removal. Call a professional if the hook won’t budge or the wall is delicate. This saves time and prevents costly repairs.
Repairing Wall After Removal
Removing metal hooks from walls often leaves small holes and marks. Repairing these spots restores your wall’s smooth look. Taking a few simple steps can make your wall look new again.
Filling Small Holes
Use spackling paste or wall filler to fill the holes. Apply a small amount with a putty knife. Press the filler into the hole gently. Wipe off any extra from around the hole. Let it dry completely before moving on.
Sanding And Smoothing
After the filler dries, sand the area with fine-grit sandpaper. Sand lightly until the surface feels smooth. Remove dust with a damp cloth. This step helps the patch blend with the wall. Your wall will look even and ready for paint.
Painting And Touch-ups
Match the wall paint color to your existing paint. Use a small brush or roller for touch-ups. Apply paint evenly over the repaired spot. Let the first coat dry, then add a second if needed. The patch will blend well with the rest of the wall.
Preventing Future Wall Damage
Preventing future wall damage is key after removing metal hooks. Small holes or dents can ruin your wall’s look. Taking steps to avoid damage keeps walls clean and smooth. It also saves time and money on repairs later.
Proper choices and techniques help protect walls. Use hooks that fit your wall type and weight needs. Install them carefully to avoid cracks or chips. Consider other ways to hang items without nails or screws.
Choosing The Right Hooks
Select hooks made for your wall material. Drywall needs different hooks than brick or plaster. Check the weight limit on the hook package. Choose hooks that hold your items safely. Avoid heavy hooks on thin or weak walls.
Proper Installation Tips
Mark the exact spot before installing hooks. Use a level to keep hooks straight. Drill small pilot holes for screws to reduce cracking. Push hooks in gently, not with force. Tighten screws just enough to hold the hook firmly.
Alternative Hanging Solutions
Try adhesive hooks for light items. They do not leave holes in the wall. Use tension rods or freestanding shelves for heavy things. Picture rails and wire systems hold frames without nails. These options protect walls and keep rooms neat.

Credit: www.youtube.com
Frequently Asked Questions
How Do I Safely Remove Metal Hooks From Walls?
To safely remove metal hooks, gently twist or pull them out. Use pliers for stubborn hooks. Avoid damaging the wall by working slowly and carefully.
What Tools Help Remove Metal Hooks Without Wall Damage?
Pliers, a flathead screwdriver, and a putty knife help remove hooks. Use these tools carefully to prevent wall damage and ease hook removal.
How Can I Fix Wall Holes After Removing Hooks?
Fill holes with spackle or wall filler. Smooth with a putty knife, let dry, then sand lightly for a clean finish.
Can Metal Hooks Damage Drywall When Removed?
Yes, metal hooks can damage drywall if removed forcefully. Use gentle twisting and pulling to minimize damage and preserve wall integrity.
Conclusion
Removing metal hooks from walls does not have to be hard. Use the right tools and a gentle touch. Take your time to avoid damage. Clean the area well after removal. Small holes can be fixed easily with filler. This way, your wall looks fresh and neat.
Now, you can hang new decorations with confidence. A simple process keeps your home looking good. Try these steps and see the difference yourself.


