Are you ready to give your kitchen a quick and stylish upgrade? Attaching new cabinet hardware can instantly transform the look of your space without a big renovation.
But if you’re unsure where to start or worried about making mistakes, you’re not alone. This guide will walk you through every simple step to attach kitchen cabinet hardware like a pro. By the end, you’ll have the confidence to refresh your cabinets and make your kitchen truly yours.
Let’s get started and unlock the secret to a beautiful, functional kitchen makeover!

Credit: www.homedepot.com
Choosing The Right Hardware
Choosing the right hardware for your kitchen cabinets is an important step. The hardware affects how your cabinets look and how easy they are to use. Picking the correct style and finish can enhance your kitchen’s design. It also helps your cabinets last longer and feel sturdy. Consider the size, shape, and style that fits your needs best.
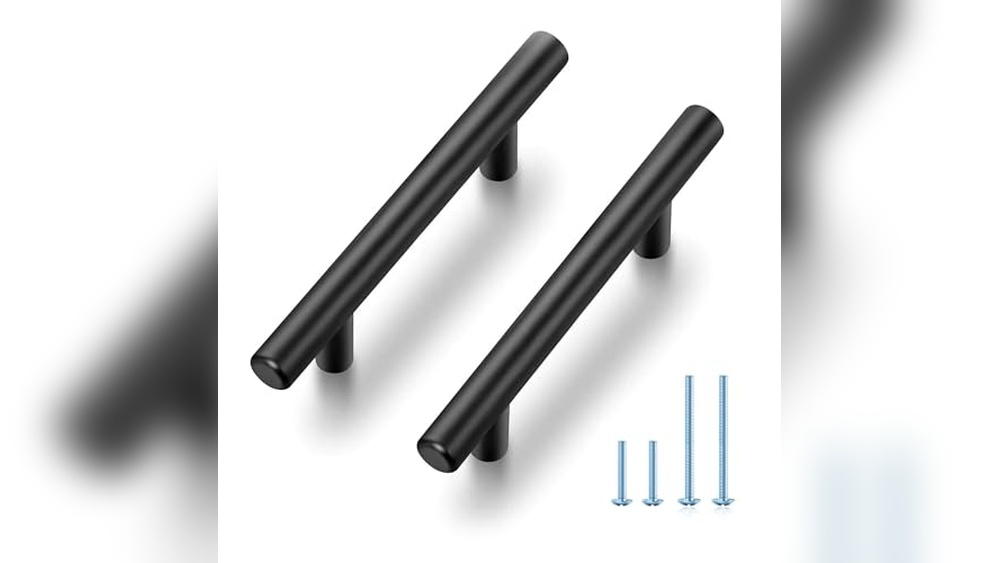
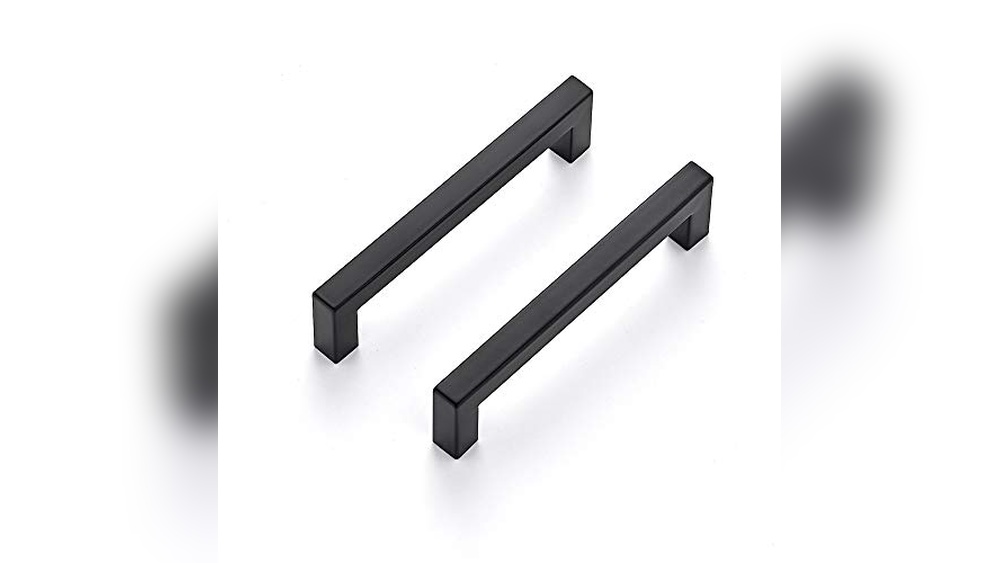
Types Of Cabinet Hardware
Cabinet hardware includes knobs, pulls, and handles. Knobs are small and round or square. Pulls are longer and easier to grip. Handles can be a mix of both styles. Each type changes how your cabinets open and close. Choose one that feels comfortable and looks good.
Material And Finish Options
Hardware comes in many materials like metal, plastic, and wood. Metal is strong and lasts a long time. Popular finishes include chrome, brass, nickel, and bronze. Matte and shiny finishes create different moods. Pick a finish that matches your kitchen’s colors and style.
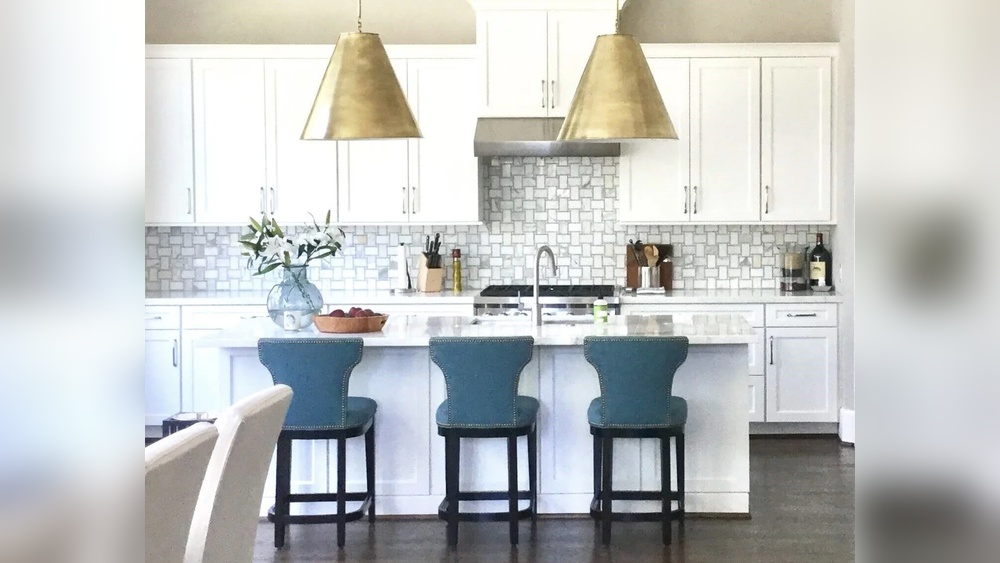
Matching Hardware To Cabinet Style
Match hardware to your cabinet style for a smooth look. Modern cabinets fit well with sleek, simple pulls. Classic cabinets look nice with detailed knobs or handles. Rustic cabinets suit hardware with a rough or aged look. Choose hardware that blends with your kitchen’s overall design.
Credit: truepositiontools.com
Gathering Tools And Materials
Before attaching kitchen cabinet hardware, gather all necessary tools and materials. This step saves time and avoids frustration during installation. Having everything ready helps the process go smoothly. Prepare your workspace and organize the supplies. Let’s explore what you need.
Essential Tools For Installation
Start with a drill or screwdriver to fasten screws. Choose the right drill bit size for your hardware. A cordless drill makes work easier in tight spaces. Use a level to keep handles straight and even. A tape measure helps ensure correct placement. Keep a small hammer handy for light adjustments.
Measuring And Marking Supplies
Accurate measuring is key for balanced cabinet hardware. Use a tape measure or ruler to check distances. Mark spots with a pencil to avoid permanent mistakes. Consider a template for consistent hole placement on multiple cabinets. A square tool helps keep marks aligned properly.
Safety Equipment
Protect your eyes with safety goggles during drilling. Wear gloves to avoid splinters and sharp edges. Keep ear protection if using loud power tools. Work in a well-lit area to see clearly. Clear the workspace to prevent trips and falls.
Preparing Cabinets For Installation
Preparing your kitchen cabinets before attaching new hardware is a crucial step. It helps ensure the new knobs or handles fit well and look great. Careful preparation makes the installation smoother and extends the life of your cabinets.
Cleaning And Inspecting Surfaces
Start by cleaning the cabinet doors and drawers thoroughly. Use a mild cleaner and a soft cloth to remove grease and dirt. Dry the surfaces completely to avoid moisture damage. Check for any rough areas or peeling paint that may affect hardware attachment.
Removing Old Hardware
Remove old knobs and handles carefully using a screwdriver. Keep screws in a safe place in case you need them later. If screws are stuck, apply a small amount of lubricant and try again. Avoid damaging the wood around the holes.
Repairing Damage
Fill any holes or scratches with wood filler. Let it dry fully before sanding smooth. Sand lightly to create an even surface for the new hardware. This step helps the hardware sit flush and look neat.
Marking Placement For Hardware
Marking the placement for kitchen cabinet hardware is a key step. It sets the stage for neat, functional, and attractive cabinets. Careful marking helps avoid mistakes and saves time during installation. This section shows how to mark the spots for handles and knobs correctly.
Measuring For Handles And Knobs
Start by measuring the exact spot for each handle or knob. Use a tape measure or ruler to find the middle or preferred location. For knobs, mark a single point. For handles, mark two points for screw holes. Keep measurements consistent for a balanced look.
Using Templates And Guides
Templates make marking easier and faster. You can buy plastic guides or make one from cardboard. Place the template on the cabinet door or drawer. Mark the holes through the template to get perfect placement. Templates reduce errors and ensure even spacing every time.
Ensuring Consistency Across Cabinets
Check that all marks line up across all cabinets and drawers. Use a level or straight edge to keep marks even. Mark each cabinet the same way to avoid uneven hardware. Consistency improves the kitchen’s overall look and feel. Take your time to double-check every mark.
Drilling Holes Accurately
Drilling holes accurately is key to attaching kitchen cabinet hardware properly. Precise holes keep handles and knobs straight and secure. Poorly drilled holes can cause misalignment and damage to the cabinet surface. Follow clear steps to get perfect holes every time. This section covers selecting the right drill bit, avoiding common mistakes, and tips for clean, precise holes.
Selecting The Right Drill Bit
Choose a drill bit that matches your hardware screws. Most cabinet hardware uses 3/16 inch or 1/8 inch bits. Using the wrong size can make holes too big or too small. Wood drill bits work best for cabinet doors. They have a pointed tip to start holes easily. Avoid metal bits that can splinter the wood. Check the drill bit before starting to ensure it is sharp and clean.
Avoiding Common Drilling Mistakes
Mark the spot for drilling with a pencil. Use a tape measure or template for accuracy. Start drilling slowly to avoid slipping. Press the drill straight, not at an angle. Stop drilling once you reach the right depth. Too deep holes may weaken the door. Avoid forcing the drill, which can crack the wood. Always wear safety glasses to protect your eyes.
Tips For Clean And Precise Holes
Use painter’s tape over the drilling spot. It prevents the wood from splintering. Drill a small pilot hole first for better control. Keep the drill steady and straight. Clear any dust from the hole with a soft brush. Test fit the hardware before final tightening. This ensures the hole is in the right place. Take your time to achieve neat, professional results.
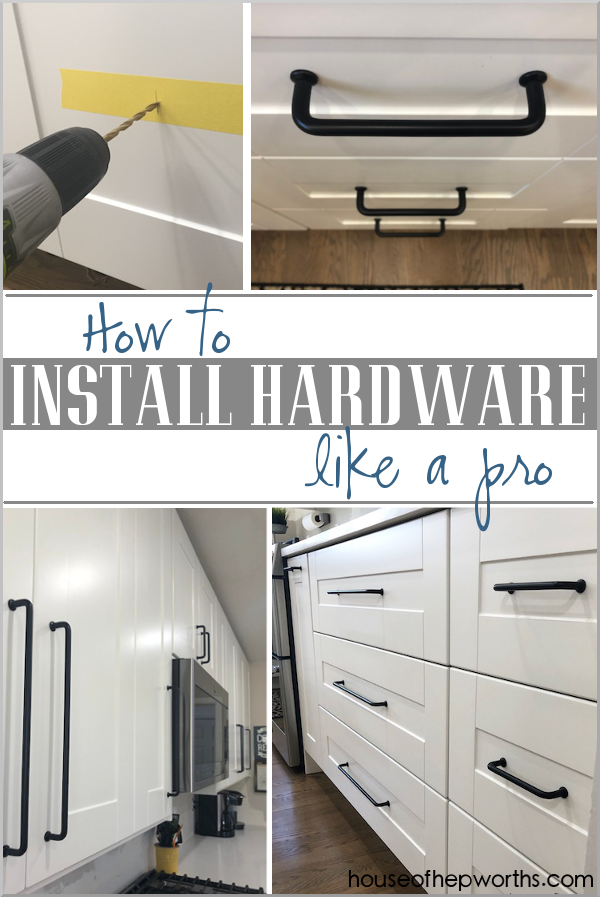
Credit: www.houseofhepworths.com
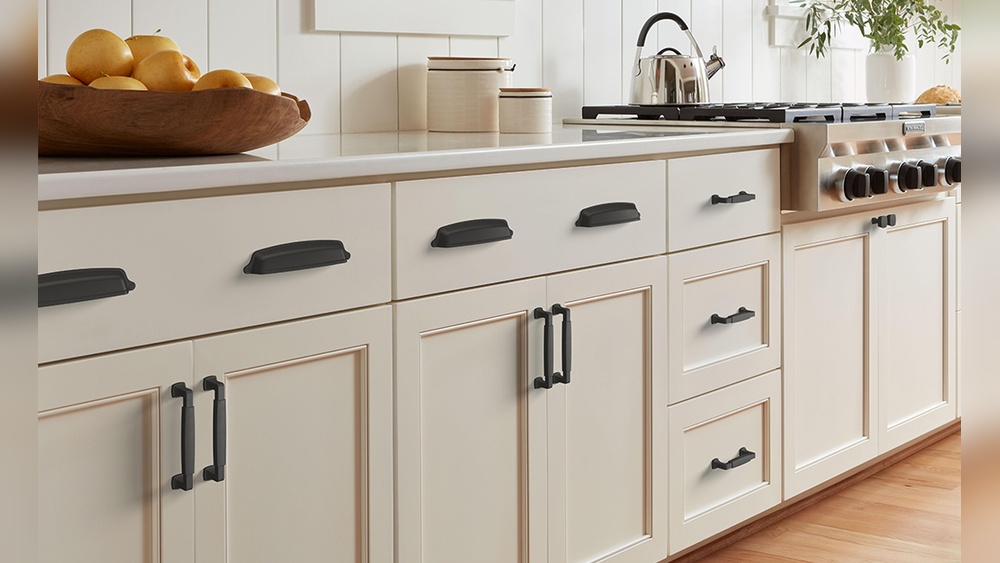
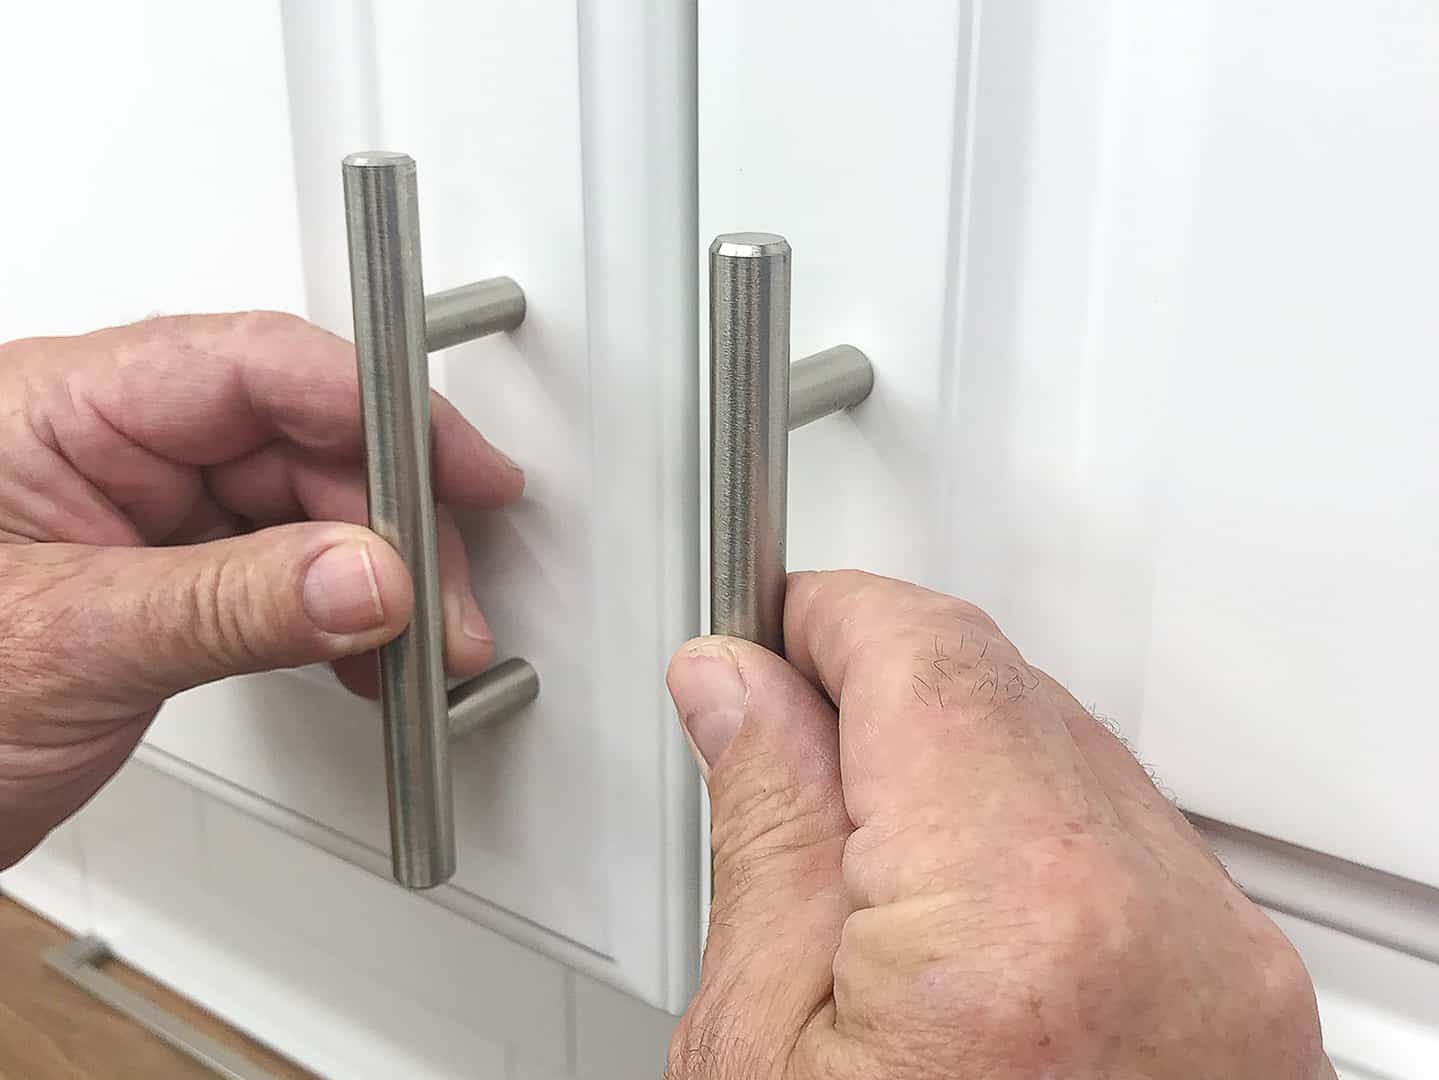
Attaching Handles And Knobs
Attaching handles and knobs to kitchen cabinets is a simple task that can change the look of your kitchen. Proper installation ensures the hardware is secure and looks great. This section explains how to align, attach, and tighten handles and knobs easily.
Aligning Hardware Properly
Start by measuring where the handle or knob will go. Use a ruler or tape measure for accuracy. Mark the spot with a pencil. Check that all marks are even on each cabinet door or drawer. This keeps the hardware straight and balanced.
Using Screws And Fasteners
Most handles and knobs use screws that fit through the cabinet door. Insert the screw from inside the cabinet. Hold the hardware on the outside and guide the screw through its hole. Turn the screw by hand to start threading it into the hardware.
Tightening Without Damage
Tighten screws with a screwdriver carefully. Avoid overtightening to prevent cracking the wood. Stop tightening when the handle or knob feels secure and does not move. Check that the hardware sits flush against the cabinet surface for a clean look.
Adjusting And Finishing Touches
After attaching your kitchen cabinet hardware, focus on adjusting and finishing touches. This step ensures the hardware fits well and looks great. Small tweaks can make a big difference in the final look and function.
Checking Alignment And Fit
Start by checking the alignment of handles or knobs. Make sure they sit straight and match the cabinet edges. Open and close the doors to see if the hardware feels comfortable and works smoothly. Look for any gaps or uneven spaces.
Making Minor Adjustments
Use a screwdriver to tighten or loosen screws slightly. Adjust the position if the hardware feels loose or off-center. Small shifts can fix most problems. Take your time to ensure each piece fits perfectly without forcing it.
Cleaning Up And Final Inspection
Remove any dust or fingerprints from the hardware and cabinets. Use a soft cloth for cleaning. Check the screws one last time to confirm they are secure. Step back and look at the cabinets. Everything should look neat and work well.
Troubleshooting Common Issues
Troubleshooting common issues during kitchen cabinet hardware installation saves time and frustration. Small problems can cause big delays if not fixed quickly. Knowing how to handle these issues helps keep your project on track. Here are solutions for frequent hardware problems.
Dealing With Misaligned Hardware
Misaligned hardware makes cabinets look uneven. Measure carefully before drilling holes. Use a level or template to mark spots. If hardware is already misaligned, loosen screws and adjust position. Tighten screws slowly while checking alignment. Re-drill holes slightly if needed, but fill old holes with wood filler to keep strength.
Fixing Stripped Screw Holes
Stripped holes cause screws to slip or not hold. Fill holes with wood glue and small wooden toothpicks or matchsticks. Let the glue dry fully. Trim excess wood flush with the surface. Reinsert screws carefully. This method restores grip and keeps hardware secure.
Replacing Hardware When Needed
Sometimes hardware must be replaced due to damage or style change. Remove old hardware gently to avoid cabinet damage. Clean surfaces before installing new pieces. Choose hardware with matching hole placement to avoid extra drilling. Check fit and tighten screws firmly for a secure hold.
Frequently Asked Questions
How Do I Measure For Kitchen Cabinet Hardware?
Measure carefully from the cabinet edge to the hole placement. Use a template or ruler for accuracy. Mark spots lightly to guide drilling. Consistent measurements ensure hardware aligns perfectly on all cabinets.
What Tools Are Needed To Attach Cabinet Hardware?
You need a drill, screwdriver, measuring tape, pencil, and level. A drill bit matching screw size helps avoid wood splitting. Having a hardware template speeds up marking and drilling. These tools ensure secure, precise hardware installation.
Can I Install Hardware On Existing Cabinets?
Yes, you can install hardware on existing cabinets. Mark and drill holes carefully to avoid damage. Use the right screws and anchors for firm attachment. Proper installation refreshes cabinet look without major remodeling.
How To Avoid Damaging Cabinets When Installing Hardware?
Pre-drill holes with a smaller bit to prevent wood splitting. Use gentle pressure when drilling and screwing in hardware. Double-check measurements to avoid unnecessary holes. Take your time for a neat, damage-free installation.
Conclusion
Attaching kitchen cabinet hardware is simple with the right steps. Take your time to measure and mark carefully. Use the correct tools for a secure fit. Choose hardware that matches your kitchen style. Small changes can improve your kitchen’s look a lot.
Enjoy the new feel and function of your cabinets. Keep practicing to get better at this task. This project saves money and adds personal touch. Ready to update your kitchen? Start today and see the difference.