
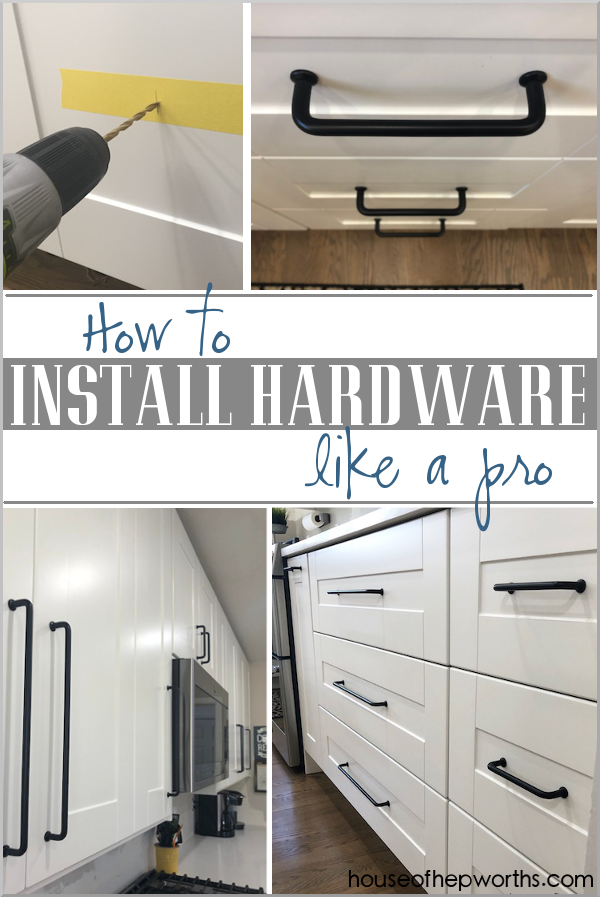
Are your cabinets missing that perfect finishing touch? Installing new hardware can instantly transform the look of your kitchen or bathroom without a big renovation.
But if you’re worried about making mistakes or don’t know where to start, don’t worry—you’re in the right place. You’ll learn simple, step-by-step tips to install cabinet hardware like a pro. By the end, you’ll feel confident and ready to give your cabinets the upgrade they deserve.
Let’s get started and make your space look fresh and stylish!

Credit: www.homedepot.com
Choosing The Right Hardware
Choosing the right hardware is key to updating your cabinets. It changes the look and feel of your kitchen or bathroom. The right hardware makes opening and closing easier. It also adds style and personality to your space.
Focus on types, style matching, and material options. These factors help pick the best hardware for your cabinets. This guide breaks down each part for a smart choice.
Types Of Cabinet Hardware
Cabinet hardware mainly includes knobs and pulls. Knobs are small and round or square. They fit well on cabinet doors. Pulls are longer and easier to grip. They work great on drawers and bigger doors. Some pulls have a modern look. Others have classic or vintage designs. Choose a type based on how you use your cabinets.
Matching Hardware To Cabinet Style
Match hardware style to your cabinet design. Traditional cabinets look good with ornate knobs or pulls. Simple cabinets suit sleek and modern hardware. Rustic cabinets pair well with metal or wood finishes. The right match keeps your space balanced. It also highlights your cabinet’s unique features.
Material And Finish Options
Hardware comes in many materials like metal, wood, and ceramic. Metal finishes include brushed nickel, bronze, chrome, and brass. Each finish offers a different look and feel. Choose a finish that fits your room’s color and style. Durable materials last longer and handle daily use well. Consider the climate and cleaning needs too.
Tools And Materials Needed
Installing new hardware on cabinets requires the right tools and materials. Having everything ready before starting saves time and frustration. This section covers the basic tools and how to prepare your workspace for smooth installation.
Essential Tools For Installation
Gather these tools before you begin. A drill with a screwdriver bit is necessary for screws. A tape measure helps check spacing and alignment. A pencil marks the spots for drilling. A level ensures hardware is straight. Screwdrivers are handy for manual adjustments. Finally, keep a small container for screws to avoid losing them.
Preparing Your Workspace
Clear the area around your cabinets to work easily. Lay down a drop cloth to protect floors from scratches or dust. Organize your tools within reach to avoid searching mid-task. Good lighting helps see small details clearly. Make sure the cabinet doors are open or removed for easier access. Take a moment to plan the hardware placement before drilling any holes.
Measuring And Marking
Measuring and marking are key steps before installing new hardware on cabinets. Accurate measurements ensure the hardware fits perfectly and looks balanced. Marking the spots clearly helps avoid mistakes and saves time during installation.
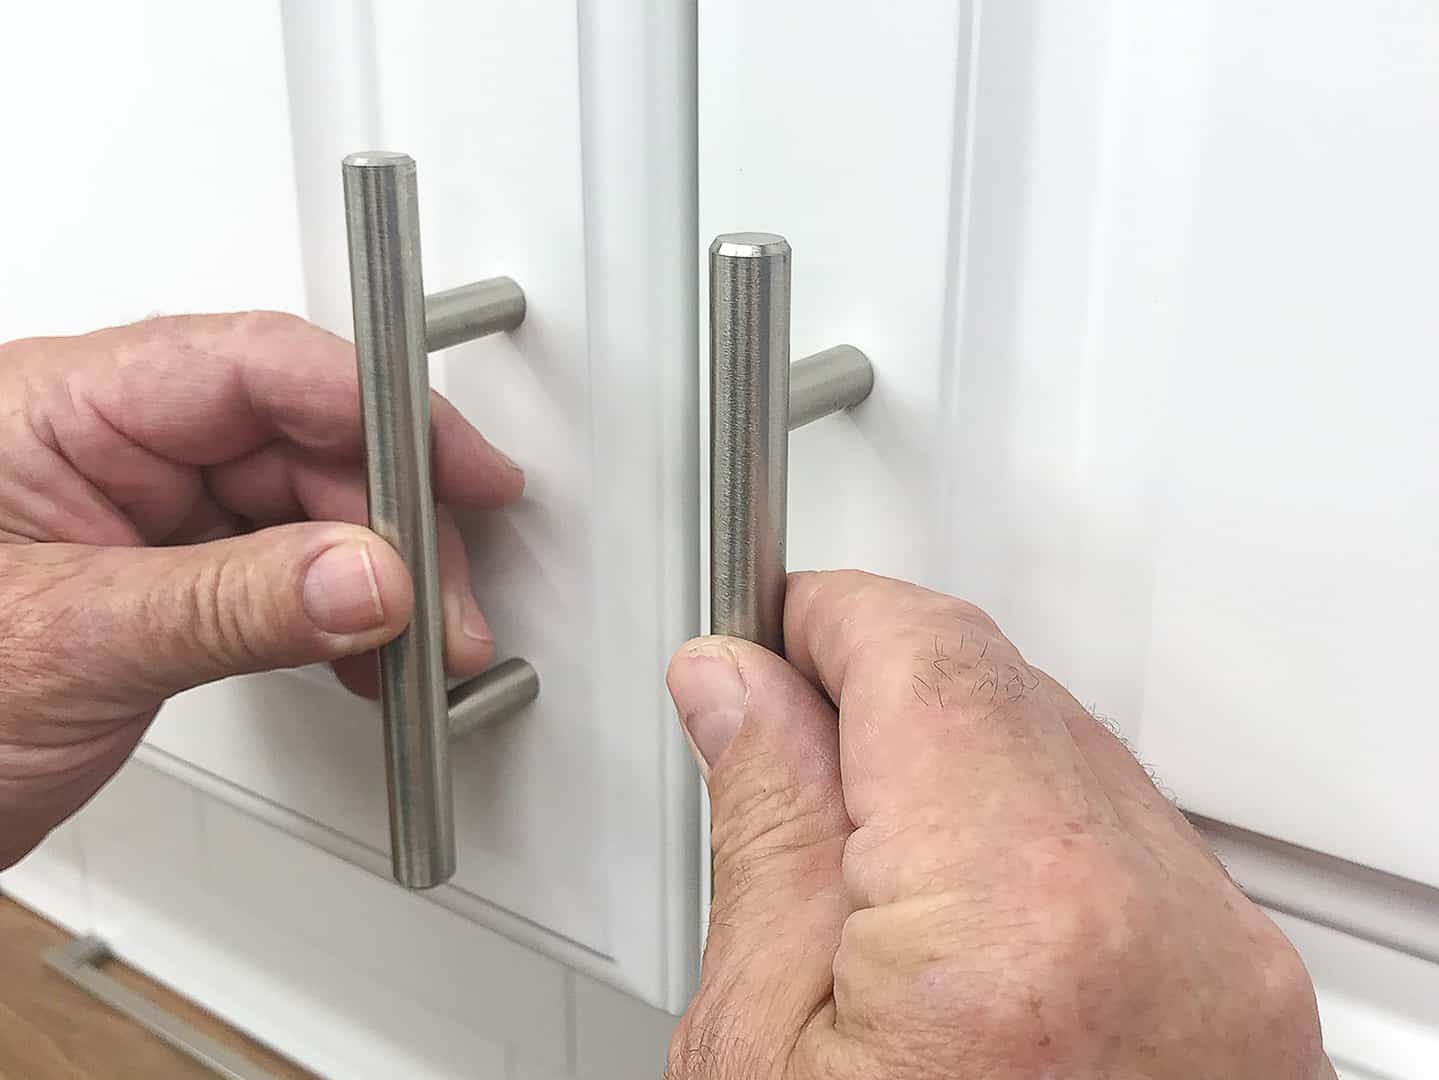
Finding The Perfect Placement
Start by deciding where the hardware should go. Think about comfort and style. Handles usually sit in the center of the cabinet door or drawer. Measure the door’s width and height. Divide to find the center point. Mark this spot lightly with a pencil.
Check the height of other cabinets. Keep hardware placement consistent for a neat look. Measure from the edge to keep the hardware aligned. Double-check your marks before drilling.
Using Templates And Guides
Templates make marking holes easier and more accurate. Many hardware sets include paper or plastic templates. Place the template on the cabinet. Align it with your marks. Use a pencil to mark the drill holes through the template.
Adjust the template if needed. For multiple cabinets, tape the template in place for consistency. Guides help avoid crooked hardware and uneven spacing. Use a level to confirm straight marks. This step saves time and prevents errors.
Credit: www.houseofhepworths.com
Drilling And Installation
Installing new hardware on cabinets gives them a fresh, updated look. Drilling and installation are key steps. These require care and the right tools. Proper drilling ensures the hardware fits tightly. Secure attachment prevents handles or knobs from loosening over time.
Drilling Pilot Holes
Mark the exact spots for holes before drilling. Use a pencil and measuring tape for accuracy. Choose a drill bit slightly smaller than the screws. Drill slowly and straight to avoid damaging the cabinet. Pilot holes guide the screws and prevent wood splitting.
Attaching Handles And Knobs Securely
Align the hardware with the pilot holes carefully. Insert screws through the back of the cabinet door or drawer. Tighten screws by hand first to avoid cross-threading. Use a screwdriver to secure screws firmly but gently. Check that handles and knobs do not wobble or move.
Finishing Touches
Finishing touches make your new cabinet hardware look perfect. These small steps ensure the hardware works well and looks clean. Taking time now saves problems later. Focus on two important tasks to complete the job.
Checking Alignment And Tightness
Check if all hardware pieces line up straight. Misaligned handles or knobs look sloppy. Use a level or ruler to confirm placement. Tighten screws firmly but do not overtighten. Loose hardware can fall off and cause damage. Adjust any pieces that feel loose or uneven. Smooth operation means happy use every day.
Cleaning And Polishing Hardware
Remove fingerprints and dust from the new hardware. Use a soft cloth with mild soap and water. Avoid harsh chemicals that can damage the finish. Dry the hardware fully to prevent water spots. Polishing adds shine and enhances appearance. Clean hardware makes cabinets look fresh and new.
Troubleshooting Common Issues
Troubleshooting common issues is part of installing new hardware on cabinets. Small problems can stop your work or make the hardware look bad. Fixing these issues quickly keeps the cabinets functional and neat. This section covers two common problems: misaligned hardware and damaged screws. Follow simple steps to solve these problems and get the job done right.
Fixing Misaligned Hardware
Misaligned hardware makes cabinets hard to open and looks untidy. First, check the position of the hardware. Mark where it should be. Loosen the screws slightly and move the hardware. Use a level tool to keep it straight. Tighten the screws carefully. Test the hardware by opening and closing the cabinet. Repeat if needed until it fits well and looks even.
Replacing Damaged Screws
Damaged screws can make hardware loose or unsafe. Remove the old screws with a screwdriver. Choose new screws of the same size and type. Insert the new screws carefully to avoid stripping the hole. Tighten them firmly but not too hard. Loose screws cause problems; too tight can break the wood. Check the hardware is secure and works well after replacing the screws.
Credit: truepositiontools.com
Frequently Asked Questions
How Do I Choose The Right Hardware For Cabinets?
Choose hardware based on cabinet style, material, and usage frequency. Consider durability and finish to match your kitchen decor. Measure existing hardware to ensure compatibility and ease of installation.
What Tools Are Needed To Install New Cabinet Hardware?
Basic tools include a drill, screwdriver, measuring tape, and pencil. A level helps align handles perfectly. Optional tools: clamps and a template for precise drilling.
How To Remove Old Hardware Without Damaging Cabinets?
Use a screwdriver to gently remove screws holding old hardware. Apply steady pressure to avoid chipping or scratching. Fill old holes with wood filler if needed before installing new hardware.
How To Align Cabinet Hardware Evenly?
Measure and mark placement points using a ruler and pencil. Use a template or jig for consistent spacing. Double-check alignment with a level before drilling holes.
Conclusion
Installing new hardware on cabinets can refresh your space quickly. Take your time to measure and align pieces carefully. Use the right tools for a smooth and safe process. Small steps lead to a big difference in appearance. Enjoy the feeling of a simple home upgrade done well.
Keep these tips in mind for your next project. You can improve your cabinets without expert help. Easy changes can make your kitchen or room look fresh. Give your cabinets a new look today!
