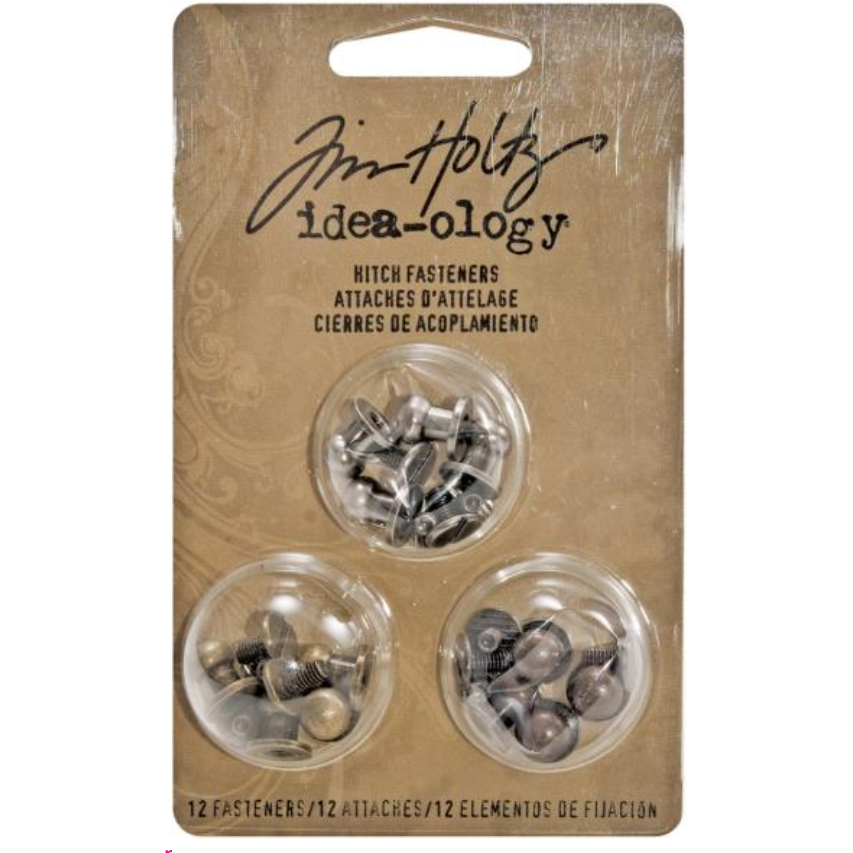
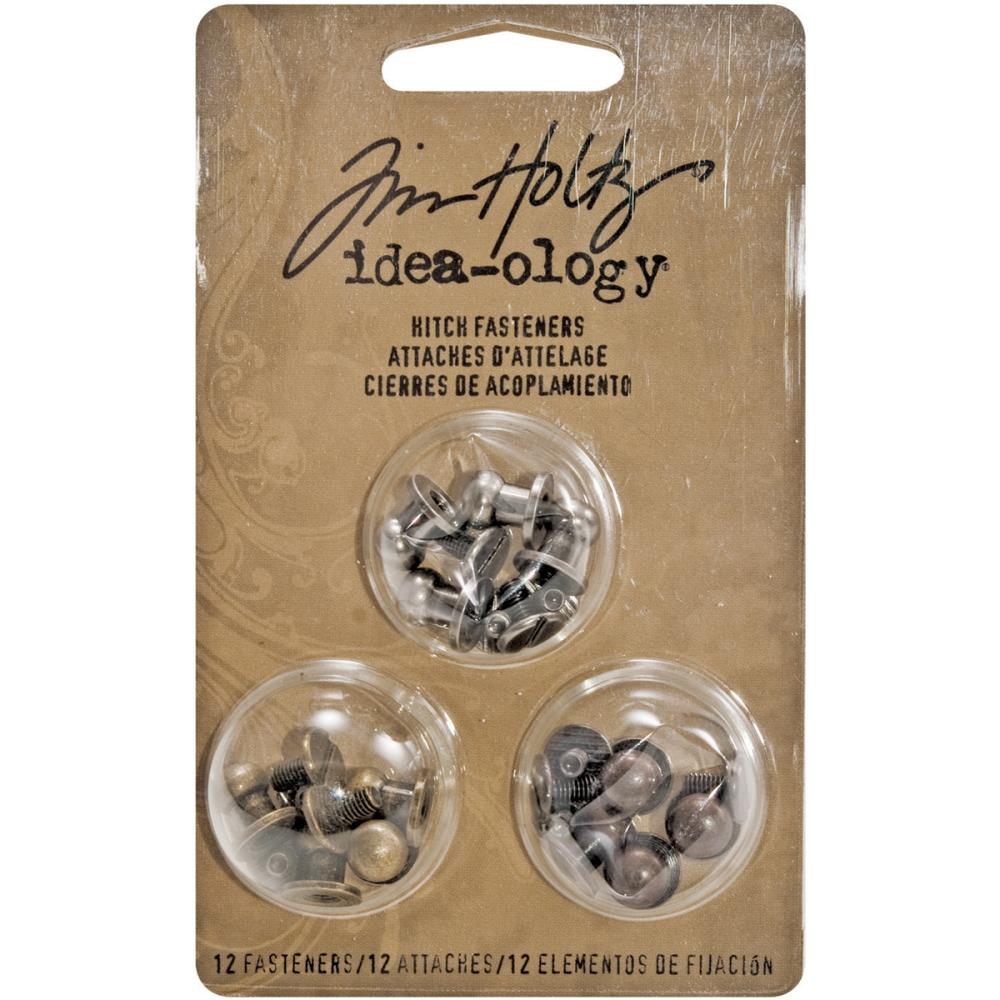
If you love crafting and want to add a unique touch to your projects, Tim Holtz Hitch Fasteners are a game-changer. These small, sturdy fasteners can hold your creations together in a way that looks both professional and stylish.
But how do you use them correctly to get the best results? In this post, you’ll discover simple, step-by-step tips that make working with Hitch Fasteners easy and fun. Whether you’re a beginner or looking to improve your technique, you’ll learn exactly what you need to know to make your projects stand out.
Ready to unlock the full potential of these clever fasteners? Keep reading!
Tim Holtz Hitch Fasteners Basics
Tim Holtz Hitch Fasteners are small but strong tools for crafting projects. They help join pieces of paper, fabric, or leather. These fasteners add both function and style to your creations. Understanding the basics makes your crafting easier and more fun.
This section explains the types of hitch fasteners, what materials you need, and how to pick the right one for your project.
Types Of Hitch Fasteners
Tim Holtz offers several types of hitch fasteners. The most common are round and square heads. Round heads give a classic look. Square heads add a vintage feel. Sizes vary from small to large. Choose based on your project size and style.
Materials Needed
To use hitch fasteners, gather a few basic tools. You need a hole punch to make holes. A small hammer helps set the fastener in place. Tweezers or pliers make handling easier. Prepare your paper or fabric before adding fasteners.
Choosing The Right Fastener
Pick a fastener that fits your project’s thickness. Thin paper needs smaller fasteners. Thick materials like leather require larger ones. Match the fastener style to your project’s look. Think about color and head shape too. The right fastener keeps your work strong and neat.
Preparing Your Project
Preparing your project is the first step to using Tim Holtz Hitch Fasteners effectively. Proper preparation helps your fasteners fit perfectly and hold well. Take your time to set up everything before installing the fasteners. This will save you effort later and make your project look neat.
Marking Placement
Start by deciding where the fasteners will go. Use a pencil or a fine-tip marker to mark the spots clearly. Make sure the marks are even and aligned. Check the spacing twice to avoid mistakes. Accurate marking ensures your fasteners will hold the pieces together properly.
Creating Holes
Next, create holes at the marked spots. Use a hole punch or a small drill bit. The holes must be the right size for the fasteners to fit snugly. Too big or too small holes can cause problems. Take care to make clean, precise holes for the best results.
Tools For Installation
You need a few basic tools to install the fasteners. A small hammer or mallet helps to secure the fastener parts together. Pliers can hold the fasteners steady during installation. Keep your tools handy and ready before starting. This will make the process smooth and easy.
Step-by-step Fastener Installation
Installing Tim Holtz Hitch Fasteners is simple and quick. This step-by-step guide helps you add these fasteners to your projects with ease. Follow each step carefully to ensure a strong hold and neat finish.
Inserting The Post
First, punch a hole in your material where the fastener will go. Take the post piece and push it through the hole from the front. Make sure the post sits flat against the surface. The post should fit snugly without bending.
Securing The Cap
Next, place the cap on the back of the post. Press the cap firmly so it grips the post tightly. Use a small hammer or mallet to tap the cap gently. This locks the fastener in place and prevents it from falling off.
Adjusting Tightness
Check how tight the fastener feels by turning the cap slightly. Tighten it until the parts hold together well but still move smoothly. Avoid over-tightening to prevent damage. Proper tightness keeps your project secure and flexible.

Credit: www.ebay.com
Creative Uses In Crafting
Tim Holtz Hitch Fasteners offer many creative possibilities for crafting projects. These small metal fasteners add both style and function. They help hold pieces together while adding a vintage, industrial look.
Using Hitch Fasteners can make your crafts unique. They fit well with different materials like paper, fabric, and leather. This section explores how to use them in scrapbooking, journaling, and mixed media projects.
Scrapbooking Ideas
Hitch Fasteners create a rustic feel in scrapbooks. Use them to attach tags, photos, or notes. They allow pages to open in layers or hold movable parts. The metal detail contrasts nicely with soft paper textures. Add them to corners or as closures for a finished look.
Journaling And Albums
In journals, Hitch Fasteners secure inserts or pockets. They keep pages flexible and easy to flip. Use fasteners to bind small booklets inside your main album. They also hold charms or ribbons in place. This adds dimension and interest to your pages.
Mixed Media Projects
Mixed media art benefits from the sturdy nature of these fasteners. Attach metal, fabric, or chipboard pieces with ease. The fasteners add texture and depth to your work. Paint or ink over them for a worn, aged effect. They blend well with vintage and steampunk styles.
Troubleshooting Tips
Troubles with Tim Holtz Hitch Fasteners can slow your project down. Fixing problems quickly helps you keep crafting without stress.
Below are easy tips to handle common issues. Follow these steps to get your fasteners working smoothly again.
Common Issues
Fasteners may not hold tight or twist loose. Sometimes the prongs bend or break. Rust or dirt can stop them from working well. Knowing these problems helps you spot trouble fast.
Fixing Loose Fasteners
Check if the prongs are fully pushed through your material. If loose, gently bend the prongs inward to hold tight. Use small pliers for a firm grip. Avoid bending too much to prevent breakage.
Preventing Damage
Use the right size fastener for your project. Avoid forcing fasteners into thick or hard surfaces. Store them in a dry place to stop rust. Clean fasteners with a soft cloth after use to keep them smooth.
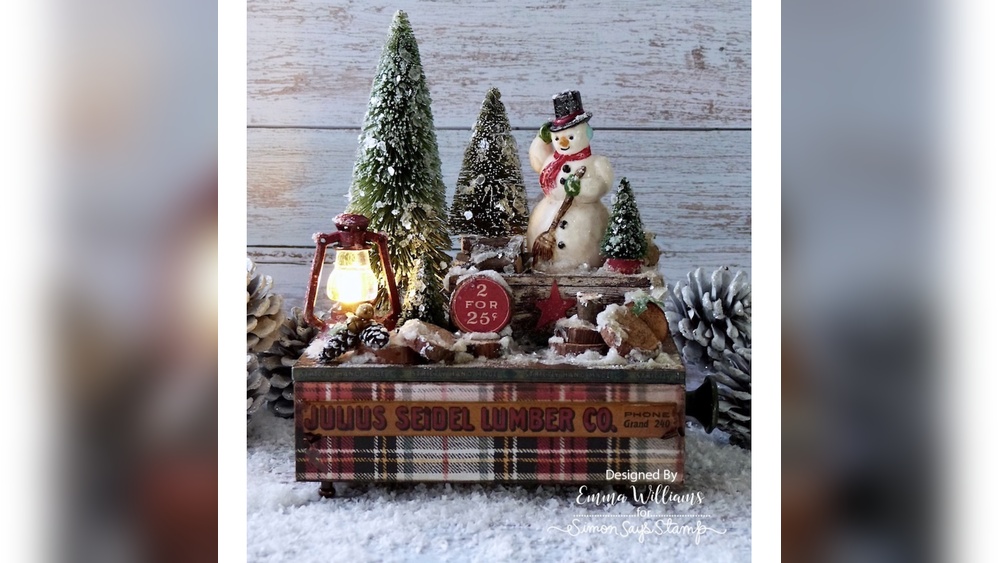
Credit: www.simonsaysstamp.com
Maintenance And Storage
Proper care of Tim Holtz Hitch Fasteners keeps them working well. Good maintenance and storage prevent damage. It saves time and money on replacements. Follow simple steps to keep fasteners clean and organized. Store them safely to extend their life.
Cleaning Fasteners
Clean fasteners after use to remove dirt and glue. Use a soft cloth or brush to wipe them gently. Avoid harsh chemicals that can damage the metal. A small amount of rubbing alcohol can remove sticky residue. Dry fasteners fully before storing to stop rust.
Organizing Supplies
Keep fasteners in small containers or compartments. Label containers by size or type for quick access. Store containers in a dry, cool place away from sunlight. This prevents rust and fading. Organizing saves time during projects and protects your supplies.
Extending Fastener Life
Handle fasteners with care to avoid bending or breaking. Use proper tools for attaching and removing them. Avoid forcing fasteners into materials that are too thick. Regular cleaning and correct storage reduce wear. Well-maintained fasteners stay strong and last longer.
Credit: www.shop.artbyjenny.com.au
Frequently Asked Questions
What Are Tim Holtz Hitch Fasteners Used For?
Tim Holtz Hitch Fasteners secure multiple layers in crafting projects. They are ideal for scrapbooking, card making, and mixed media. These fasteners add a vintage, industrial look while keeping elements firmly attached.
How Do You Install Tim Holtz Hitch Fasteners?
To install, punch a hole through your materials first. Insert the post through the hole, then push the cap onto the post’s prongs. Flatten the prongs with a tool or fingers to lock securely.
Can Tim Holtz Hitch Fasteners Be Reused?
Yes, these fasteners can be reused if handled carefully. Gently bend the prongs back to remove the cap. Reuse them to save costs and maintain project consistency.
What Materials Work Best With Hitch Fasteners?
Tim Holtz Hitch Fasteners work well with paper, chipboard, leather, and thin metal. They hold firmly without tearing or damaging these materials, making them versatile for various crafting needs.
Conclusion
Tim Holtz Hitch Fasteners add a strong hold to your projects. They work well on paper, leather, and fabric. Using them is simple and quick. These fasteners save time and keep items secure. Try different sizes for varied effects. Practice helps you get the best results.
Enjoy crafting with these handy tools. Your creations will look neat and last longer. Keep experimenting and have fun with each project!