Are you tired of your screws slipping out of the wall or not holding up heavy items? Installing wall anchors can be the simple fix you need to make your shelves, pictures, and hooks stay put securely.
But if you’ve never done it before, the process might seem tricky or confusing. Don’t worry—this guide will walk you through every step, using clear and easy instructions. By the end, you’ll know exactly how to install wall anchors like a pro and keep your things safe and steady.
Ready to get started? Let’s dive in!
Choosing The Right Wall Anchor
Choosing the right wall anchor is key for a strong and secure hold. Different anchors work best for different walls and screws. Picking the correct type helps prevent damage to your wall and keeps your items safe. This guide explains the main types of anchors and how to select the best one for your project.
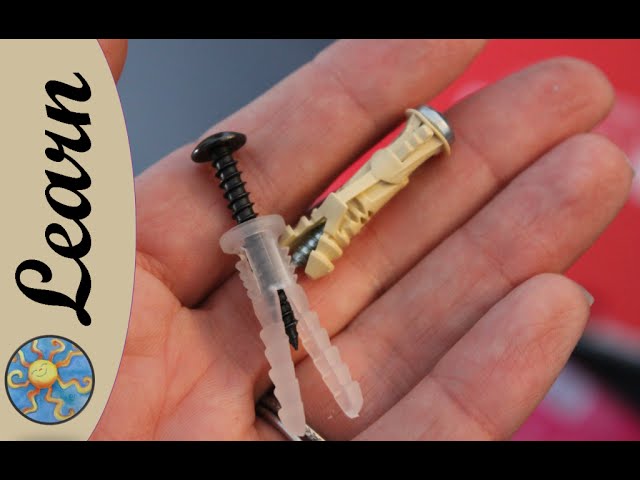
Types Of Wall Anchors
Plastic anchors are common and good for light loads. They expand inside the wall as the screw goes in. Metal anchors offer more strength for heavier items. Toggle bolts open behind the wall for extra support. Molly bolts expand inside drywall for a firm grip. Each type fits specific needs and wall types.
Selecting Based On Wall Material
Drywall needs anchors that spread the load, like plastic or molly bolts. Plaster walls require anchors that won’t crack the surface, such as toggle bolts. Concrete or brick needs heavy-duty anchors like sleeve or wedge anchors. Match the anchor to your wall material for the best hold and to avoid damage.
Matching Anchors To Screw Size
Use anchors designed for the screw size you have. A small screw with a large anchor won’t hold well. A large screw in a small anchor can break it. Check the anchor packaging for the right screw diameter. Proper matching ensures the screw fits tightly and the anchor grips firmly.

Credit: www.youtube.com
Gathering Necessary Tools
Before installing wall anchors for screws, gather all the needed tools. Having the right tools makes the job easier and safer. It helps you work faster and get better results.
Drill And Drill Bits
A drill is essential to create holes in the wall. Choose a drill with variable speed for better control. Use drill bits that match the size of your wall anchors. This ensures a snug fit and strong hold.
Screwdriver Options
Select a screwdriver that fits your screw heads well. A manual screwdriver works fine for small jobs. An electric screwdriver saves effort for larger tasks. Both types help drive screws into the anchors securely.
Measuring And Marking Tools
Measure carefully before drilling holes. Use a tape measure or ruler for accuracy. Mark the spots with a pencil or marker. Clear marks prevent mistakes and keep your work neat.
Preparing The Wall
Preparing the wall is an important step before installing wall anchors for screws. This process ensures the anchors hold firmly and the screws stay secure. Proper preparation helps avoid damage to the wall and improves the overall strength of your installation.
Start by finding the right spots to place your anchors. Marking these spots clearly makes the next steps easier. Then, create pilot holes that guide the anchor into the wall. Cleaning the holes removes dust and debris that can weaken the hold.
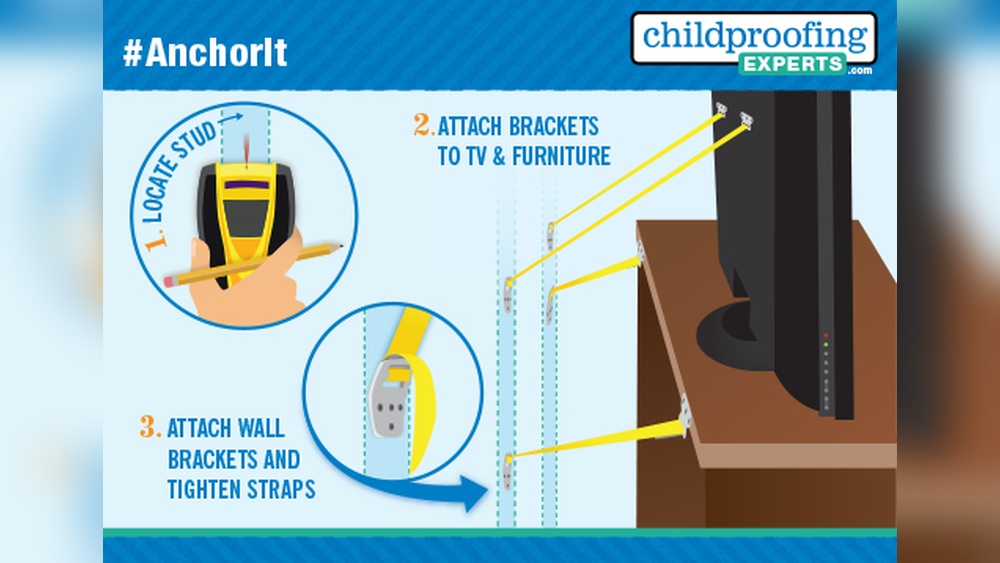
Locating Studs And Marking Spots
Use a stud finder to locate wooden studs behind the wall. Mark the studs lightly with a pencil. Avoid drilling directly into studs when using wall anchors. Instead, choose spots between studs for better anchor grip. Measure and mark the exact points where you want to install the anchors.
Drilling Pilot Holes
Select a drill bit size that matches the wall anchor diameter. Drill straight pilot holes at the marked spots. Keep the drill steady to avoid enlarging the hole. Drill only as deep as the length of the anchor. This creates space for the anchor to fit snugly.
Cleaning The Hole
Remove dust and debris from the drilled holes using a small brush or compressed air. Clean holes help anchors grip the wall better. Avoid pushing dust deeper into the hole. A clean hole ensures the anchor stays firmly in place once installed.
Installing Different Anchors
Installing wall anchors helps secure screws in different wall types. Different anchors work best for certain walls and weights. Choose the right anchor for a strong hold.
Plastic Expansion Anchors
Plastic expansion anchors are common and easy to use. Drill a hole matching the anchor size. Push the anchor into the hole until flush. Insert the screw and tighten slowly. The plastic expands and grips the wall tightly.
These anchors suit drywall and light loads. Avoid heavy objects or hollow walls with these.
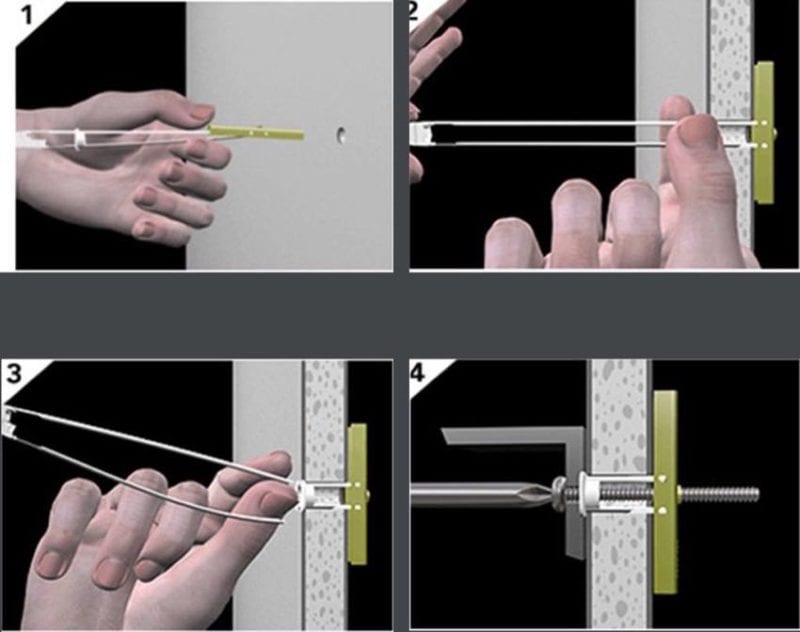
Toggle Bolts
Toggle bolts hold heavy items on hollow walls. Drill a hole wide enough for the folded toggle. Insert the toggle bolt through the item and into the hole. The wings open inside the wall, creating a strong grip. Tighten the screw carefully to pull the wings tight.
Good for cabinets, shelves, and heavy frames on drywall or plaster.
Molly Bolts
Molly bolts work well on drywall and plaster. Drill a hole that fits the molly bolt sleeve. Push the bolt in and tighten the screw slightly. The sleeve expands behind the wall as you tighten. This locks the bolt in place securely.
Molly bolts hold medium to heavy weight and prevent wall damage.
Securing The Screw
Securing the screw properly is key to a strong and lasting hold. After placing the wall anchor, the next step is to insert the screw carefully. This step ensures the anchor expands correctly inside the wall, providing good support. Taking the right steps here prevents damage and keeps your item firmly fixed.
Inserting The Screw Correctly
Start by aligning the screw with the wall anchor. Use a screwdriver or drill with a low speed setting. Turn the screw slowly to avoid stripping the anchor. Stop when the screw feels tight but still moves a little. This shows the anchor is expanding inside the wall properly.
Avoiding Over-tightening
Do not force the screw too much. Over-tightening can break the anchor or damage the wall. Stop turning once the screw is secure and the object does not wobble. Tighten gently to keep the anchor strong and stable for long-term use.
Testing The Hold
After securing the screw, test the hold by gently pulling the object. It should stay firmly in place without any movement. If it feels loose, remove the screw and check the anchor. Use a larger anchor or different wall fixing if needed. Testing ensures safety and reliability.
Credit: www.youtube.com
Troubleshooting Common Issues
Troubles with wall anchors happen often during installation. They can cause frustration and weaken your project. Fixing these issues early saves time and effort. Below are common problems and easy fixes to keep anchors secure and strong.
Anchor Spinning In The Hole
Anchors spin when the hole is too big or the anchor is loose. This makes screws hard to tighten. To stop spinning, try these steps:
- Remove the anchor and use a smaller drill bit to make a tighter hole.
- Use a larger anchor made for bigger holes.
- Apply a small amount of construction adhesive inside the hole before inserting the anchor.
These methods help the anchor grip the wall better and stay still.
Weak Holds And How To Fix Them
Weak holds happen if the anchor doesn’t fit well or the wall material is soft. This causes the screw to pull out easily. Improve hold strength by:
- Choose anchors made for the wall type, like drywall or concrete.
- Make sure the hole size matches the anchor size exactly.
- Replace old or damaged anchors with new ones.
- Consider using toggle bolts for heavy loads.
Strong holds keep your items safe and secure on the wall.
Removing Anchors Safely
Sometimes you need to remove anchors without damaging the wall. Follow these tips:
- Try pulling the anchor out gently with pliers.
- If the anchor spins, push it inside the wall cavity.
- Use a screwdriver to unscrew anchors designed to back out.
- Fill any holes left behind with wall putty and sand smooth.
Safe removal keeps your walls clean and ready for new anchors.
Tips For Long-lasting Holds
Ensuring wall anchors hold screws firmly over time is important. Poor installation or weak anchors cause damage. Follow these tips for strong, lasting holds. They help keep your fixtures safe and secure.
Choosing Quality Anchors
Select anchors made from durable materials like metal or heavy-duty plastic. Avoid cheap, thin anchors that break easily. Match the anchor size to the screw and wall type. This ensures a tight, reliable fit and prevents loosening.
Regular Inspection
Check your anchored screws often, especially in busy areas. Look for signs of movement, cracks, or wall damage. Early detection stops small problems from becoming big. Tighten screws if needed to maintain firm support.
Handling Heavy Loads
Use anchors designed for heavy weight when hanging large items. Spread the load across multiple anchors to reduce stress. Never overload a single anchor beyond its weight limit. This prevents wall damage and keeps your items safe.
Credit: www.protoolreviews.com
Frequently Asked Questions
What Tools Are Needed To Install Wall Anchors?
You need a drill, drill bit, wall anchors, screws, screwdriver, and a hammer. These tools ensure proper installation and secure hold.
How Do You Choose The Right Wall Anchor?
Select anchors based on wall type and load weight. Plastic anchors suit light loads; metal anchors hold heavier items securely.
Can I Install Wall Anchors On Drywall Only?
Wall anchors work on drywall, plaster, and hollow walls. Choose the anchor type that matches your wall material for best results.
How Deep Should I Drill For Wall Anchors?
Drill a hole slightly deeper than the anchor length. This ensures the anchor fits fully and holds firmly in place.
Conclusion
Installing wall anchors for screws is simple with the right steps. Choose the correct anchor for your wall type. Drill a hole that fits the anchor snugly. Push the anchor in carefully without forcing it. Screw into the anchor slowly to avoid damage.
This method keeps your items secure and your walls safe. Practice these steps, and your mounting jobs will be easier. Trust the process. You can hang items firmly without worry.