Are you struggling to keep your drip line hose securely in place against a concrete wall? If your hose keeps slipping or sagging, it can disrupt your watering system and waste water.
But don’t worry—anchoring your drip line hose properly is easier than you think. You’ll discover simple, effective ways to fasten your hose so it stays exactly where you want it. Keep reading to learn the step-by-step process that will save you time and protect your garden’s health.
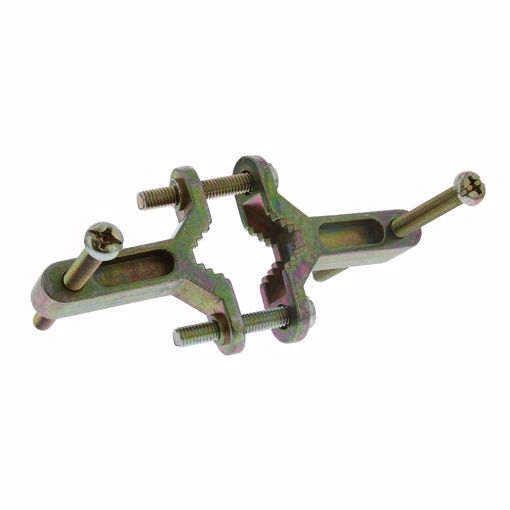
Credit: www.jonesstephens.com
Tools And Materials Needed
Anchoring a drip line hose to a concrete wall needs the right tools and materials. Using proper items makes the job easier and ensures the hose stays secure. Below are the tools and anchors that work best for this task.
Essential Tools
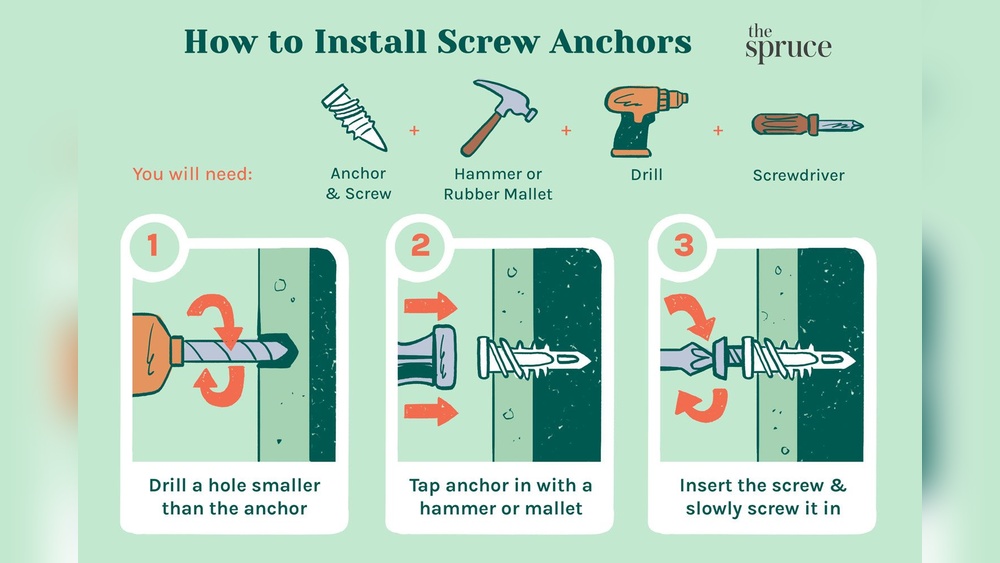
You need a drill with a masonry bit to make holes in concrete. A hammer helps to insert anchors firmly. Use a screwdriver to tighten screws and clips. Measuring tape ensures accurate placement. Safety glasses protect your eyes during drilling.
Recommended Anchors And Clips
Plastic wall anchors work well for light drip lines. For heavier hoses, use metal expansion anchors. Hose clips or pipe clamps hold the drip line tight against the wall. Choose clips with rubber padding to avoid damaging the hose. Make sure anchors fit the drill bit size for a strong hold.
Preparing The Concrete Wall
Preparing the concrete wall is the first step in anchoring a drip line hose securely. A clean, well-marked surface helps ensure the anchors hold firmly. This preparation makes the installation easier and extends the hose’s life.
Take time to clean and mark the wall carefully. These steps set the stage for a strong and neat setup.
Cleaning The Surface
Remove dirt, dust, and loose particles from the concrete wall. Use a stiff brush or broom for this task. Clean walls allow anchors to grip better. If the wall has oil or grease, use mild detergent and water. Rinse well and let the wall dry fully before continuing. A dry surface improves anchor adhesion and prevents slipping.
Marking Anchor Points
Decide where the drip line hose will run along the wall. Mark anchor points evenly spaced for steady support. Use a pencil or chalk to make small marks. Keep marks visible but easy to erase later. Measure carefully to keep lines straight. Proper marking avoids mistakes during drilling and anchor placement.
Drilling Holes In Concrete
Drilling holes in concrete is the first step in anchoring a drip line hose securely. Concrete is hard and dense, so using the right tools and methods is important. Proper drilling ensures strong attachment points for the hose anchors. It also prevents damage to the wall or hose during installation.
Choosing The Right Drill Bit
Select a masonry drill bit designed for concrete. These bits have a special tip made of carbide. Carbide tips cut through concrete efficiently without wearing out quickly. The drill bit size should match the anchor size you plan to use. Avoid bits that are too small or too large. A good fit keeps the anchor tight and stable.
Drilling Techniques
Use a hammer drill for easier and faster drilling in concrete. Start drilling at a slow speed to create a guide hole. Then increase the speed while applying steady pressure. Avoid pushing too hard; let the drill do the work. Periodically pull the bit out to clear dust from the hole. This keeps the drill bit cool and prevents clogging.

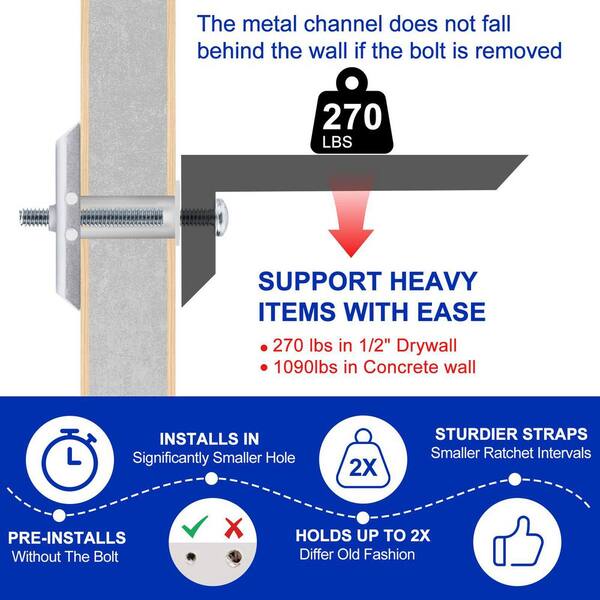
Credit: www.spectraguttersystems.com
Installing Anchors
Installing anchors is a key step to secure your drip line hose to a concrete wall. Anchors hold the hose firmly in place. This prevents movement and leaks. Using the right anchors and methods ensures a strong, lasting hold. Let’s explore the types of anchors suitable for concrete and how to insert them properly.
Types Of Anchors For Concrete
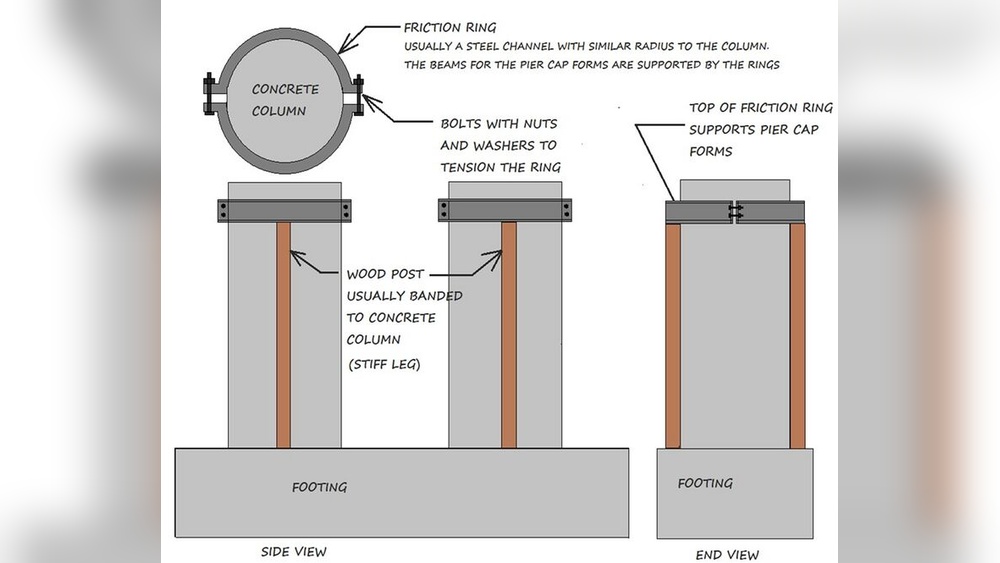
Concrete walls require strong anchors that grip well. Expansion anchors are common and work by expanding inside the drilled hole. Sleeve anchors fit tightly and hold heavy loads. Tapcon screws are a popular choice for light to medium duty. Choose anchors based on hose weight and wall thickness. Plastic anchors are not suitable for concrete walls.
Proper Insertion Methods
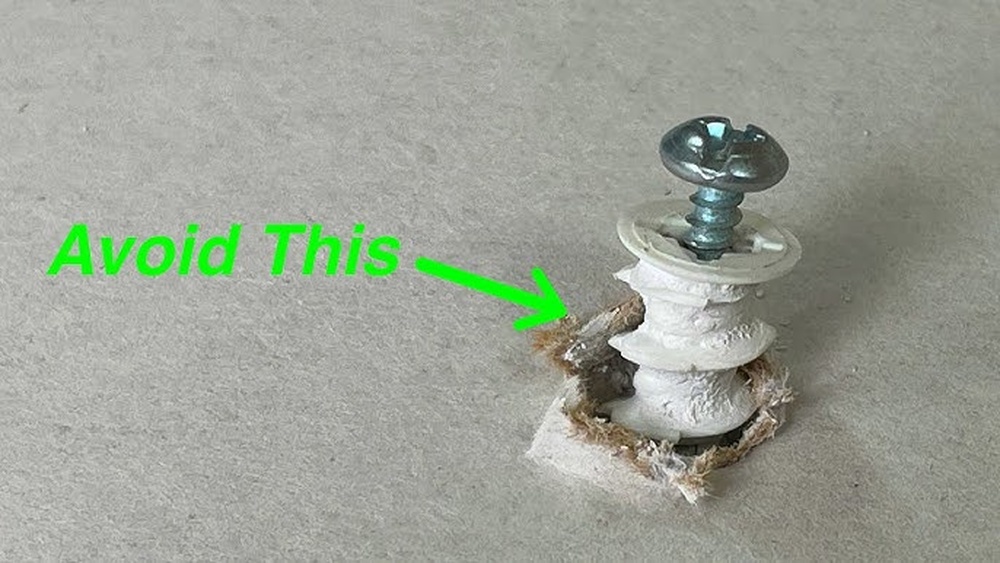
Start by marking the spots where the hose will attach. Drill holes using a hammer drill with a masonry bit. The hole size must match the anchor size exactly. Clean out dust from the holes before inserting anchors. Tap anchors gently with a hammer until flush with the wall. Tighten screws slowly to avoid cracking the concrete. Check the anchor’s hold by pulling lightly before securing the hose.
Securing The Drip Line Hose
Securing the drip line hose to a concrete wall is an important step. It keeps the hose in place and prevents damage. A well-anchored hose delivers water evenly to your plants. It also extends the life of your irrigation system.
Use the right tools and materials to attach the hose firmly. This ensures the hose stays stable over time. Let’s explore simple ways to secure your drip line hose.
Attaching Clips Or Brackets
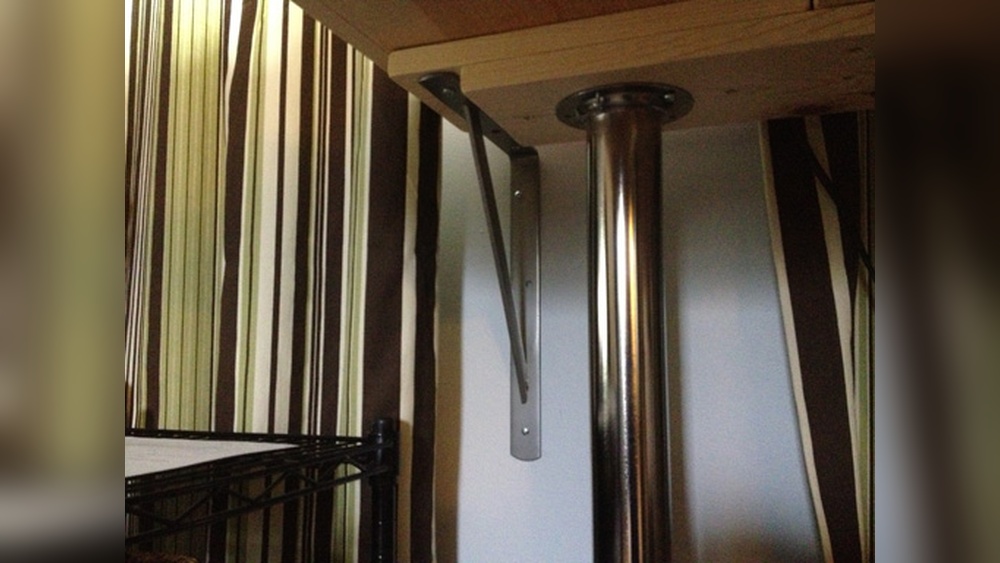
Start by choosing clips or brackets designed for drip hoses. Plastic or metal clips work well on concrete walls. Position the clips along the hose at regular intervals.
Use a drill with a masonry bit to make holes in the concrete. Insert wall anchors to hold screws tightly. Then screw the clips or brackets into place.
Make sure the hose fits snugly inside the clips. Avoid squeezing the hose too tightly. This keeps water flow steady and prevents damage.
Ensuring Hose Stability
Check the hose after attaching clips to ensure it does not move. Press gently on the hose and see if it shifts or slides.
Add more clips in loose areas to increase stability. Space clips about every 12 to 18 inches for best results.
Keep the hose away from sharp edges or heavy foot traffic. This reduces wear and tear. A stable hose lasts longer and works better.
Testing And Adjustments
Testing and making adjustments to your drip line hose after anchoring it to a concrete wall ensures it works well. This step helps catch any loose parts or tension problems early. Proper testing saves time and avoids leaks or damage later.
Checking Hose Tension
Start by gently pulling the hose along the wall. The hose should feel firm but not too tight. Too much tension can cause cracks or breaks in the hose. Too little tension may lead to sagging or water pooling. Look for any spots where the hose pulls away from the wall.
Check the anchors too. They should hold the hose firmly in place. Press each anchor to confirm it is secure. Loose anchors can cause the hose to move and leak water. Make sure the hose stays straight and neat.
Making Final Adjustments
Adjust the anchors if the hose feels too tight or loose. Loosen or tighten screws gently to find the right fit. Move the hose slightly to fix any sagging areas. Replace any damaged anchors right away.
Once the hose feels secure and tight enough, run water through it. Watch for leaks or weak spots along the wall. Fix any leaks by tightening anchors or replacing faulty parts. Test the system again after making changes.
Maintenance Tips
Proper maintenance keeps your drip line hose anchored well on a concrete wall. Small efforts prevent big problems later. Regular checks and timely fixes help the system last longer. This section covers key maintenance tips for the anchors and hose.
Inspecting Anchors Regularly
Check the anchors every few weeks. Look for loose or damaged parts. Tighten screws if they feel loose. Watch for rust or cracks on metal anchors. Clean dirt and debris around the anchors. This keeps the hose stable and prevents leaks.
Replacing Worn Components
Old or broken anchors affect the drip line’s performance. Replace worn clips and hooks quickly. Use parts designed for concrete walls. Avoid using damaged anchors that could fail. Fresh components hold the hose firmly in place. This stops water waste and protects your plants.
Credit: www.homedepot.com
Frequently Asked Questions
How Do You Attach A Drip Line Hose To A Concrete Wall?
Use masonry anchors or adhesive clips designed for concrete. Drill pilot holes, insert anchors, then secure the hose with clips. This method prevents damage and keeps the hose stable against the wall.
What Tools Are Needed To Anchor Drip Hose On Concrete?
You need a drill with masonry bits, masonry anchors or adhesive clips, a hammer, and a screwdriver. These tools ensure secure attachment without damaging the hose or wall surface.
Can I Use Adhesive Clips For Drip Line Hoses?
Yes, adhesive clips work well on smooth concrete surfaces. They are easy to install and avoid drilling. However, they may be less durable under extreme weather conditions.
How Far Apart Should Drip Line Hose Anchors Be Spaced?
Place anchors every 12 to 18 inches along the hose. This spacing prevents sagging and keeps the hose firmly attached to the wall for optimal water flow.
Conclusion
Anchoring a drip line hose to a concrete wall is simple and effective. Use the right tools and follow clear steps. Secure the hose tightly to avoid leaks or movement. Check your work regularly to keep the system running well.
Proper anchoring saves water and helps plants grow healthy. With patience and care, your drip irrigation will work smoothly. Enjoy a neat, organized garden with less hassle. Small efforts bring long-term benefits. Keep your drip line steady for best results every season.