Have you ever flipped a light switch only to find nothing happens? It’s frustrating when you can’t tell which switch controls which light.
Knowing exactly where a light switch goes can save you time and hassle. You’ll learn simple, practical ways to figure out which switch controls which light. By the end, you’ll have the confidence to solve this common mystery in your home quickly and easily.
Keep reading—you’re just a few steps away from mastering your lighting setup!
Tools You’ll Need
Figuring out where a light switch goes requires the right tools. These tools help you work safely and efficiently. Having the correct equipment makes the task simpler and faster. Below are the essential tools you will need before starting.
Basic Electrical Tools
A voltage tester is a must to check if wires have power. Wire strippers help remove the insulation from wires without damage. A screwdriver set with various heads is essential for removing switch plates and securing wires. Needle-nose pliers make bending and twisting wires easier. Electrical tape is useful for covering exposed wires and connections.
Safety Gear
Safety glasses protect your eyes from sparks or debris. Insulated gloves reduce the risk of electric shock. Wear shoes with rubber soles to avoid grounding yourself. Keep a flashlight handy to see in dark spaces or during power outages. Always turn off the power at the breaker before starting any work.
Identify Your Light Switch Type
Identifying your light switch type helps you know where it controls the light. Different switches work in different ways. Knowing the type makes fixing or changing easier. It also helps avoid confusion and errors. Two common types are the Single-Pole and Three-Way switches. Each has a unique role in lighting control.
Single-pole Switch
A Single-Pole switch controls one light or set of lights. It has two terminals and a simple on/off function. This switch is the most common in homes. Usually found in bedrooms, bathrooms, and living rooms. The switch flips up to turn on and down to turn off. Wiring is simple, with one power source and one light fixture. Easy to identify by its straightforward use.
Three-way Switch
A Three-Way switch controls lights from two different places. Found in stairways, long hallways, or large rooms. It has three terminals and works with another switch. Either switch can turn the light on or off. This setup allows more control and convenience. Wiring is more complex with traveler wires connecting switches. Recognizing this switch helps with proper installation and troubleshooting.
Turn Off Power Safely
Turning off power safely is the first step before checking any light switch wiring. Electricity can be dangerous. It can cause shocks or injuries. Always make sure the power is off before you touch wires or switches. This keeps you safe while you work.
Locate Circuit Breaker
Find your home’s circuit breaker box. It is usually in the basement, garage, or utility room. Open the box and look for the switch that controls the area with the light switch. Flip the switch to the OFF position. This stops the electricity flow to that part of your home.
Use Voltage Tester
After turning off the breaker, use a voltage tester to check the wires. Hold the tester near the wires or terminals of the switch. The tester shows if electricity is still present. If the tester does not light up or beep, the power is off. Now, it is safe to work on the switch.

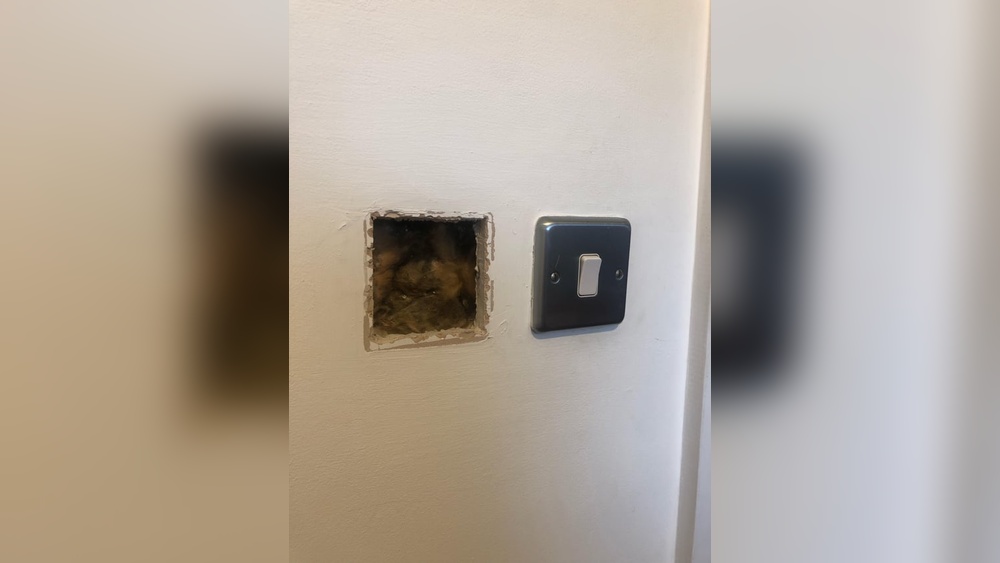
Credit: www.reddit.com
Remove Switch Cover And Inspect Wiring
Start by removing the switch cover carefully. This step reveals the wires behind the switch. It helps you see how the switch connects to your lights. Always turn off the power at the breaker before touching wires. Safety first.
Once the cover is off, you get a clear look at the wiring. This view is essential to figure out where the switch leads. You can check the wire colors and how they connect. These clues guide your next steps.
Check Wire Colors
Notice the colors of the wires inside the switch box. Usually, black or red wires carry power. White wires are neutral. Green or bare wires connect to the ground. These colors help identify each wire’s role.
Colors may differ in some homes. Pay close attention to any unusual colors. This can affect how the switch works. Understanding colors prevents mistakes.
Note Wire Connections
Look at where each wire connects on the switch terminals. Some wires attach to screws; others to push-in slots. Note if wires connect to the top or bottom terminals. This detail helps trace which wire controls the light.
Use a small notebook or take a photo. Record the wire positions and colors. This record makes reinstalling easier. It also aids in testing the switch’s function later.
Trace Wires To Destination
Tracing wires helps find where a light switch leads. This step is important for repairs or upgrades.
Wires run through walls and ceilings. They connect switches to lights or outlets. Knowing their path saves time and effort.
Follow Cables Through Walls
Start at the switch box. Look inside for wires leaving the box.
Carefully remove the switch cover. Use a flashlight to see inside the wall.
Gently pull wires out to see their route. Look for nails or staples holding wires.
Mark the path on the wall with pencil. This helps track the cable’s direction.
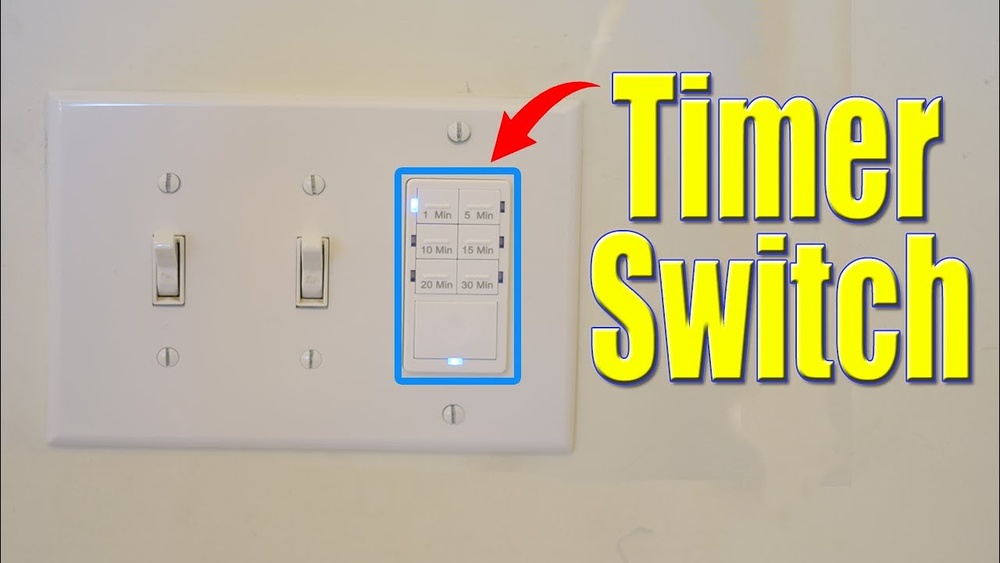
Use A Wire Tracer Tool
A wire tracer finds cables hidden inside walls. It sends a signal through the wire.
Attach the transmitter to the switch wire. Use the receiver to follow the signal.
The receiver beeps or lights up near the wire. Move slowly to track the path.
This tool avoids damage and speeds up tracing wires. It works well in tricky places.

Credit: www.youtube.com
Test Switch Function
Testing the switch function helps you find out what the switch controls. This step is important for safety and accuracy. You will check if the switch turns on or off a light or another device. Follow the steps carefully to avoid any issues.
Turn Power Back On
First, restore power to the circuit. Go to your electrical panel and switch the breaker back on. Make sure the area is safe and dry. Never work with the power off during this test. Turning the power on allows you to see the switch’s effect.
Operate Switch And Observe
Flip the switch up and down slowly. Watch the nearby lights, fans, or outlets carefully. Note what turns on or off with each switch move. Repeat this a few times to be sure. This simple test shows you where the switch leads.
Label Switch And Wires
Labeling switches and wires is key to knowing where each switch controls. This step makes future work easier and safer. It helps avoid confusion and mistakes during installation or repairs.
Clear labels save time and prevent errors. You can track which wires go to which switch. This method works well for all kinds of light switch setups.
Mark Switch Location
Start by marking the exact spot of each switch. Use a simple label or marker near the switch box. Write down the room or area the switch controls. For example, “Living Room Light” or “Porch Light.”
This marking guides you during wiring and testing. It also helps anyone else working in the house to understand the setup quickly.
Tag Wire Ends
After turning off power, pull out the wires carefully. Use small tags or tape to label each wire end. Write matching names or numbers that correspond to the switch labels.
This tagging system keeps wires organized. It shows which wire connects to which switch. Tagging reduces guesswork and speeds up troubleshooting later.
Troubleshooting Tips
Finding out where a light switch leads can be tricky. Troubleshooting helps solve this puzzle. It breaks down the process into simple steps. This makes the task easier and safer. Here are key tips to guide you through common issues.
When Switch Controls Multiple Lights
Some switches turn on more than one light. This can confuse which lights are linked. Check all nearby lights to see which ones react. Test the switch in different rooms or areas. Look for a pattern in which lights come on. This helps identify the switch’s reach.
Use a helper to watch lights while you flip the switch. Write down which bulbs light up each time. This method quickly shows all connected fixtures. It also helps spot any lights that don’t work properly.
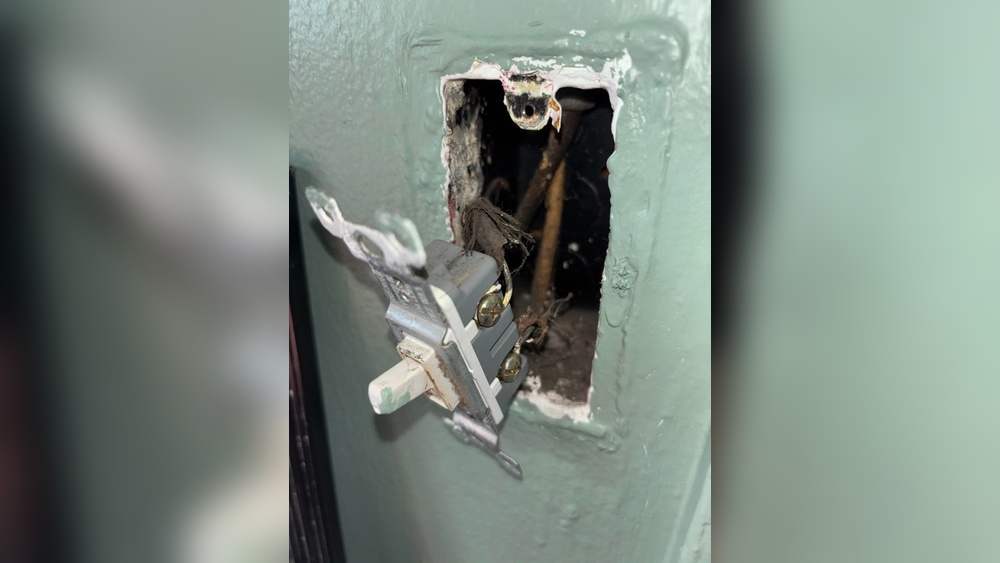
Dealing With Old Or Damaged Wiring
Old wiring may cause switches to act strange. Wires can wear out, break, or disconnect. Look for signs of damage like cracks or frayed wires. Turn off power before touching any wires. Use a voltage tester to ensure safety.
Replace damaged wires carefully or call an electrician. Old wiring might not meet current safety rules. Upgrading wiring improves safety and switch function. Keep wires organized and labeled during work to avoid confusion.

Credit: www.reddit.com
Frequently Asked Questions
How Can I Identify Which Light Switch Controls A Fixture?
Turn off all switches, then turn them on one by one. Check which light or fixture responds to each switch to identify its control.
What Tools Help Trace Where A Light Switch Connects?
Use a non-contact voltage tester or circuit tracer. These tools safely detect live wires and trace connections from switches to fixtures.
Why Doesn’t The Light Switch Control The Expected Light?
Wiring might be incorrect, or the switch could control a different fixture. Check wiring diagrams or consult an electrician for complex setups.
Can I Test Light Switch Wiring Without Turning Off Power?
For safety, always turn off power before testing switch wiring. Use insulated tools and follow safety guidelines to avoid electric shock.
Conclusion
Finding where a light switch controls can be simple. Start by checking nearby rooms or areas. Test switches one by one to see what lights turn on. Use a helper to watch while you flip switches. Mark switches once you know what they control.
This method saves time and avoids confusion. Stay safe and turn off power if needed. With patience, you will find the right switch quickly. Keep this guide handy for future use. Understanding your home’s switches makes life easier.