Are you struggling to remove your Kwikset deadbolt and don’t know where to start? Taking out a deadbolt might seem tricky, but with the right steps, you can do it quickly and without stress.
Imagine saving time and avoiding damage to your door while uninstalling your lock. In this guide, you’ll find clear, simple instructions that anyone can follow. Keep reading to learn exactly how to uninstall your Kwikset deadbolt the easy way.
Tools Needed
Gathering the right tools is the first step to uninstall a Kwikset deadbolt. Having these tools ready makes the job easier and faster. Each tool has a specific role in removing the lock safely.
Phillips Head Screwdriver
This screwdriver fits the screws holding the deadbolt in place. It helps remove the screws quickly without damage. A medium-sized Phillips head screwdriver usually works best.
Flathead Screwdriver
The flathead screwdriver is useful for prying parts gently. It can help to release clips or covers without scratching the door. Keep it handy for tricky spots.
Allen Wrench
Some Kwikset models use small hex screws. An Allen wrench fits these screws perfectly. Check your lock’s screws to see if you need this tool.
Small Container
A small container keeps screws and parts safe during removal. It prevents losing tiny pieces needed for reinstallation. Use a bowl or jar to hold them all.
Locate Mounting Screws
Locating the mounting screws is the first step to uninstall a Kwikset deadbolt. These screws hold the lock firmly on the door. Removing them allows you to take the lock apart safely.
Mounting screws are usually visible on the interior side of the door. They keep the inside and outside parts of the lock connected. Knowing their exact place makes the process faster and easier.
Check The Interior Side Of The Door
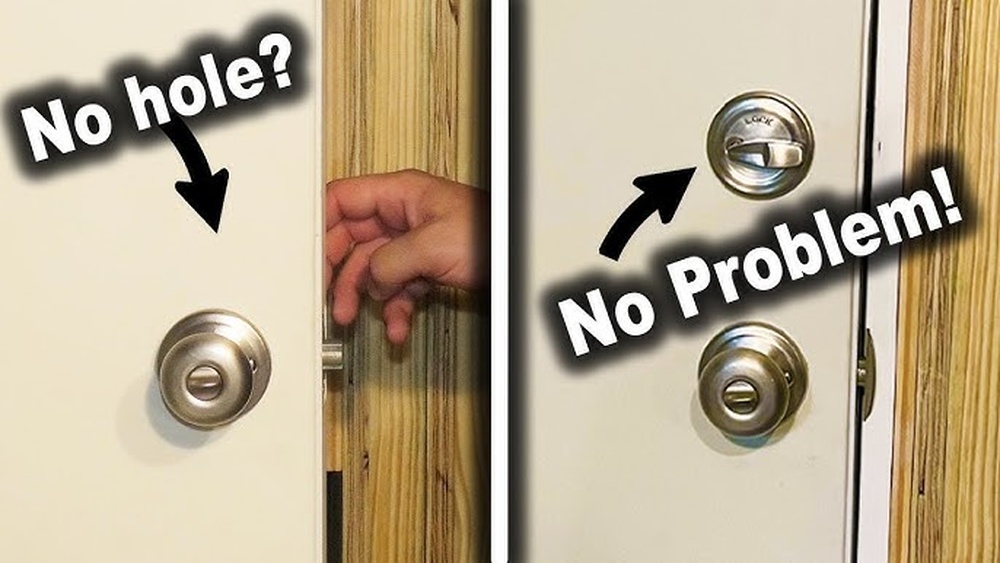
Stand inside and look at the round part of the lock. The mounting screws are often on the faceplate. They look like small, flat-head or Phillips-head screws. These screws attach the lock’s interior assembly to the door.
Look Near The Turn Knob Or Thumb Turn
The screws are near the thumb turn or the small knob you use to lock or unlock. This area usually has two screws. Unscrewing these will release the lock’s interior piece.
Use A Flashlight For Better Visibility
Lighting helps spot the screws clearly. Dark rooms or low light can hide the screws. Shine a flashlight to see the screws without strain. This prevents mistakes and speeds up the work.
Remove Interior Assembly
Removing the interior assembly of your Kwikset deadbolt is a crucial step in uninstalling the lock. This part holds the lock’s main mechanism and connects to the exterior side. Carefully removing it ensures you do not damage the door or the lock components.
Prepare a screwdriver and a small container to keep screws safe. Follow these steps to take off the interior assembly smoothly.
Locate The Mounting Screws
First, find the screws holding the interior assembly. They are usually on the faceplate or the edge of the lock. Use a screwdriver to spot these screws clearly. Keep your screwdriver steady for easy removal.
Unscrew The Interior Plate
Turn each screw counterclockwise to loosen it. Do this slowly to avoid stripping the screw heads. Place the screws in your container to keep them safe. The interior plate should come off easily after all screws are removed.
Disconnect The Thumb Turn
Behind the interior plate, locate the thumb turn. This part controls the lock from inside. Gently pull or slide the thumb turn off the spindle. This step might need a little force but avoid using tools that can break it.
Remove The Interior Assembly
Now, carefully pull the entire interior assembly away from the door. It should come off without resistance. If it feels stuck, check for hidden screws or clips. Keep the assembly and screws together for reinstallation or replacement.

Credit: diy.stackexchange.com
Detach Exterior Assembly
Start by removing the screws holding the exterior assembly in place. Gently pull the exterior part away from the door. Take care not to damage the door surface during removal.
Prepare The Door For Removal
Start by closing the door and locating the screws on the interior side. These screws hold the exterior assembly in place. Remove them carefully with a screwdriver. Keep the screws in a safe spot. This step frees the exterior part from the door.
Gently Pull The Exterior Assembly
Hold the exterior assembly firmly. Slowly pull it straight away from the door. Avoid twisting or forcing it. The assembly should come off smoothly. If it feels stuck, double-check for any remaining screws or clips.
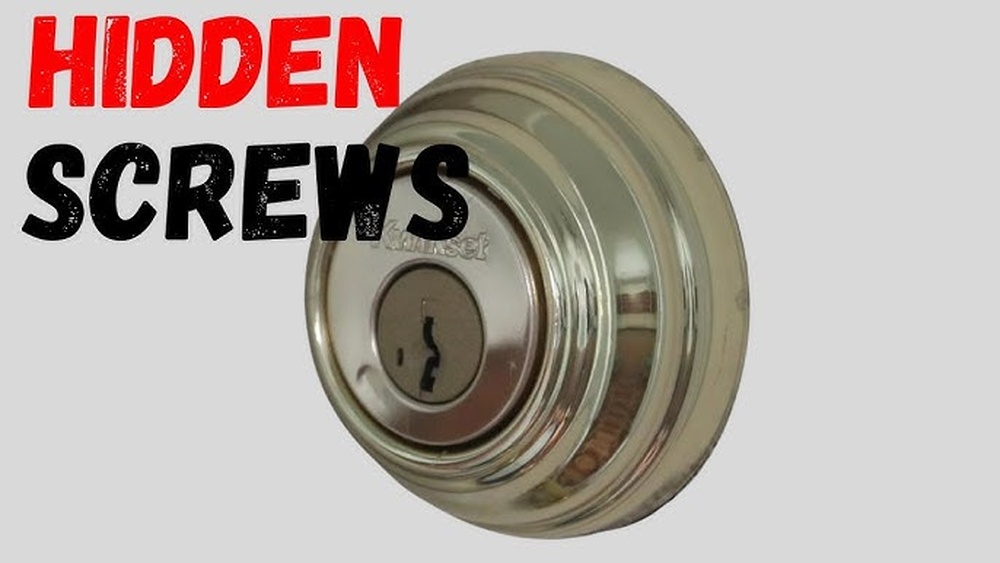
Handle The Key Cylinder With Care
The key cylinder is part of the exterior assembly. It may stay attached or come off with the whole piece. Handle it gently to avoid damage. Place it on a soft surface to keep it safe during the process.
Extract Deadbolt Mechanism
Extracting the deadbolt mechanism is a key step in uninstalling your Kwikset deadbolt. This part controls the lock’s movement and keeps your door secure. Removing it carefully ensures you can replace or fix the lock without damage.
Follow these steps to pull out the deadbolt mechanism safely and easily. Keep tools ready and work patiently for the best results.
Locate The Deadbolt Mechanism
First, open the door wide to access the edge. Look for the rectangular faceplate on the door’s edge. This covers the deadbolt mechanism. Remove the screws holding the faceplate with a screwdriver. Set screws aside safely for reuse.
Pull Out The Deadbolt
After removing the faceplate, gently pull the deadbolt out. Hold the bolt and slide it straight from the door edge. Avoid twisting or forcing it to prevent damage. If stuck, check for hidden screws or debris blocking removal.
Inspect The Deadbolt Mechanism
Once out, examine the deadbolt for wear or damage. Check the latch and bolt parts for smooth movement. Clean any dirt or old grease with a cloth. Proper inspection helps decide if replacement or repair is needed.

Credit: www.youtube.com
Check Door Condition
Checking the condition of your door is a vital step before uninstalling a Kwikset deadbolt. A door in poor shape can cause trouble during removal and affect the installation of a new lock. Take time to look closely at the door’s surface, edges, and frame. Spotting any damage early helps you plan the removal process better.
Inspecting the door also prevents hidden problems from ruining your work. This step makes sure the door will support the new deadbolt properly. Knowing the door’s condition saves time and effort in the long run.
Look For Cracks And Splits
Check the door for cracks or splits around the lock area. These can weaken the door and cause problems when removing the deadbolt. Small cracks might grow bigger during the process, so take note of them.
Check The Door Frame
Examine the door frame for any damage or warping. A bent or broken frame can stop the door from closing well after the deadbolt removal. Make sure the frame is sturdy and straight before starting.
Test The Door’s Fit
Open and close the door several times to test its fit. The door should move smoothly without sticking. Stiff movement can mean issues that could affect deadbolt removal and new lock installation.
Assess Weatherstripping Condition
Look at the weatherstripping around the door edges. Old or torn weatherstripping might need replacement during deadbolt removal. This helps keep your door sealed and energy efficient.
Tips For Reinstalling Or Replacing
After uninstalling your Kwikset deadbolt, take time to prepare for reinstalling or replacing it. Careful steps help ensure the new lock fits well and works smoothly. Planning ahead saves time and avoids common mistakes.
Follow these tips to make the process easier and more efficient. Proper installation keeps your door secure and your lock functioning properly.
Check The Door Alignment And Fit
Examine the door and frame for any damage or warping. A misaligned door can cause the lock to jam or not close properly. Make sure the holes match the new lock’s size and shape. Adjust or repair the door before installing the new deadbolt.
Use The Right Tools And Hardware
Gather all tools needed for the installation, such as a screwdriver and drill. Use the screws and parts that come with the new lock. Using the correct hardware ensures a secure fit and prevents damage to the door.
Follow Manufacturer Instructions Carefully
Read the installation guide provided with your new deadbolt. Every lock model has specific steps to follow. Skip no steps and double-check each stage. This prevents errors and ensures the lock functions correctly.
Test The Lock Before Finalizing
After installation, test the lock several times. Turn the key and knob to check smooth operation. Make sure the bolt extends fully and retracts without sticking. Fix any issues before tightening all screws completely.

Credit: diy.stackexchange.com
Frequently Asked Questions
How Do I Remove A Kwikset Deadbolt Lock?
To remove a Kwikset deadbolt, first unscrew the interior mounting screws. Then, gently pull both the interior and exterior assemblies away from the door. Finally, remove the latch mechanism by unscrewing it from the door edge.
What Tools Are Needed To Uninstall Kwikset Deadbolt?
You will need a Phillips screwdriver and possibly a flathead screwdriver. These tools help remove screws and pry off components carefully without damaging the door.
Can I Uninstall Kwikset Deadbolt Without Damaging The Door?
Yes, by carefully removing screws and parts, you can uninstall the deadbolt without damage. Avoid forcing or prying aggressively to keep the door intact.
How Long Does It Take To Uninstall A Kwikset Deadbolt?
Uninstalling a Kwikset deadbolt typically takes about 10 to 15 minutes. Experience and proper tools can reduce the time needed.
Conclusion
Removing a Kwikset deadbolt is simple with the right steps. Take your time and follow each part carefully. Keep your tools ready and work patiently. This guide helps you avoid damage and saves you effort. Now, you can change or fix your lock with ease.
Stay safe by checking your work after installation. A little care makes the process smooth and quick.