Are you struggling because your deadbolt won’t fit properly? Maybe the hole in your door isn’t deep enough, leaving you frustrated and stuck.
You’re not alone, and the good news is fixing this is easier than you think. You’ll discover simple, step-by-step tips to safely make your deadbolt hole deeper. By the end, you’ll have the confidence to handle the job yourself and secure your home like a pro.
Keep reading—you’re just moments away from solving a problem that’s been holding you back.

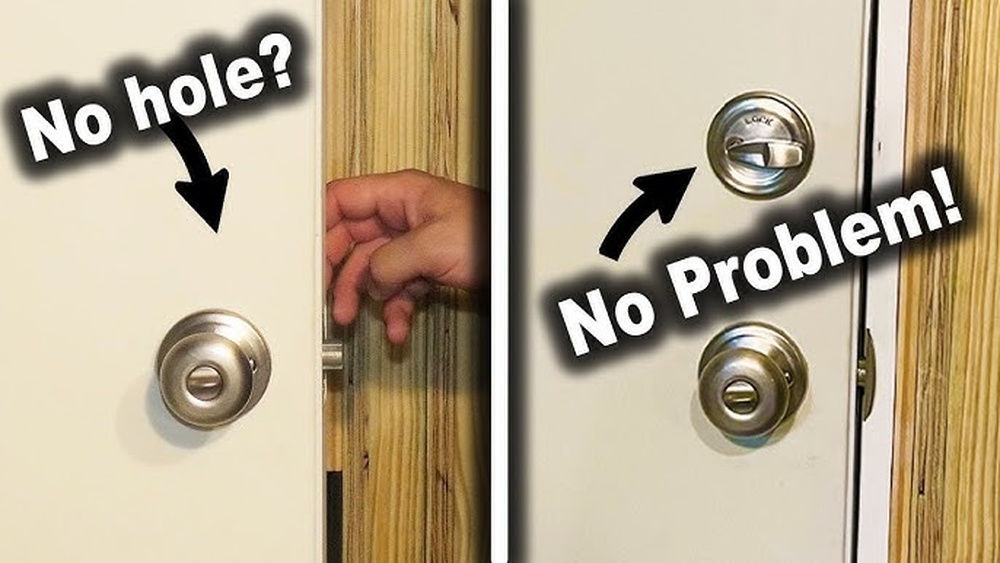
Credit: www.youtube.com
Tools Needed
Making a deadbolt hole deeper requires the right tools. Using proper equipment ensures safety and accuracy. Prepare all tools before starting the work. This saves time and avoids mistakes.
Essential Drills And Bits
A power drill is necessary for deepening the hole. Choose one with adjustable speed for better control. Use a spade bit or hole saw bit that matches the hole size. Long drill bits help reach deeper areas easily. Sharp bits reduce effort and create clean holes.
Safety Gear
Protect your eyes with safety goggles. Dust and wood chips can cause injury. Wear gloves to guard your hands against splinters. Ear protection is useful when drilling for long periods. Keep a dust mask handy to avoid breathing in particles.
Measuring Tools
Use a tape measure to check the current hole depth. Mark the drill bit with tape to control drilling depth. A ruler helps verify measurements after drilling. Accurate measuring prevents drilling too deep or too shallow.
Assessing The Current Hole
Before making your deadbolt hole deeper, start by assessing the current hole. This step helps you understand what changes you need. It also prevents mistakes and damage to your door. Careful assessment saves time and effort.
Check the size, material, and any obstacles inside the hole. These details affect how you will deepen the hole. Take notes and gather tools based on what you find.
Measuring Depth And Diameter
Use a ruler or depth gauge to measure the hole depth. Measure from the door surface to the hole’s end. Write down the exact measurement. Next, measure the hole diameter using a caliper or tape. Diameter tells you the hole’s width. These numbers guide your drilling or boring process.
Checking Door Material
Identify your door’s material before drilling. Common types include wood, metal, or fiberglass. Wood is easier to drill, but metal needs special bits. Fiberglass requires careful handling to avoid cracks. Knowing the material helps you choose the right tools and technique.
Identifying Obstacles
Look inside the hole for nails, screws, or metal plates. These can block your drill or damage your tools. Use a flashlight to see clearly. Tap gently around the hole to detect hidden obstacles. Remove or work around them carefully. This avoids problems during drilling.
Preparing The Door
Preparing the door is the first step to making your deadbolt hole deeper. Proper preparation makes the job easier and keeps the door safe. Take time to set up before drilling. This helps avoid mistakes and damage.
Marking The Drill Point
Find the exact spot where you need to drill. Use a pencil to mark the point clearly. Measure twice to ensure accuracy. A well-marked point guides the drill and keeps the hole straight.
Securing The Door
Keep the door steady before you start drilling. Use clamps or have someone hold the door firmly. A moving door can cause uneven holes or slips. Stability helps you drill precisely and safely.
Protecting Surrounding Areas
Cover areas around the drill point to prevent scratches or dents. Use painter’s tape or a thin piece of wood as a guard. Protecting the door surface keeps it looking new. It also prevents splinters and chips during drilling.
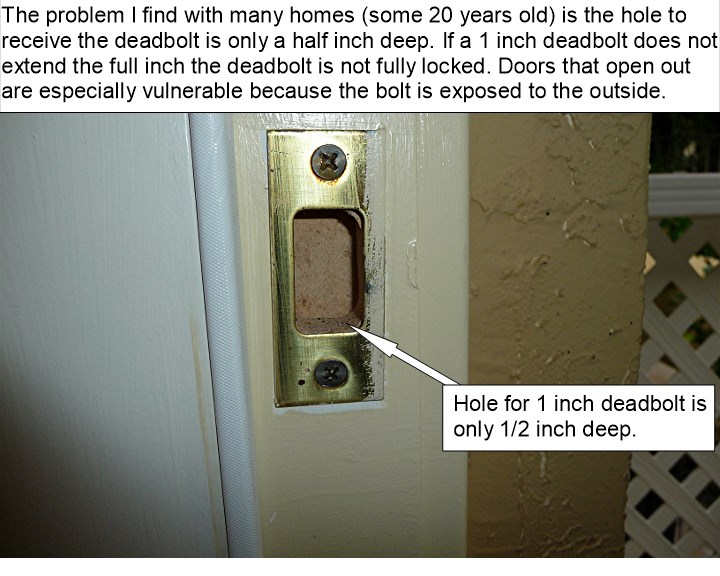
Credit: www.gaterslocksmith.com
Drilling Techniques
Drilling deeper holes for your deadbolt needs care and the right technique. Proper drilling ensures a clean, precise hole without damaging the door. Using the correct methods helps the deadbolt fit securely and work smoothly. Below are key drilling techniques to get the job done well.
Choosing The Right Drill Speed
Select a slow to medium drill speed for better control. High speeds can cause heat build-up and damage the wood. Slow drilling lets the bit cut cleanly and reduces the chance of mistakes. Adjust the speed based on the material of the door. Hardwoods need slower speeds than softwoods.
Using A Drill Guide
A drill guide keeps the drill bit straight and steady. It prevents the bit from slipping or tilting during drilling. Using a guide creates an even, accurate hole that fits the deadbolt perfectly. You can buy a drill guide or make one from scrap wood. Clamp it to the door for stable drilling.
Avoiding Splintering
Splintering ruins the door’s surface and weakens the hole edge. To avoid splintering, drill slowly and apply light pressure. Place tape over the drill spot to hold wood fibers in place. Use a sharp drill bit designed for wood. Drilling halfway from one side, then finishing from the other side helps too.
Finishing Touches
After deepening the deadbolt hole, the final steps ensure a smooth, secure fit. These finishing touches improve the lock’s performance and appearance. A clean, well-prepared hole helps the deadbolt operate without trouble. Take your time for these small but important tasks.
Cleaning The Hole
Remove dust and wood chips inside the hole. Use a small brush or vacuum to clear debris. Clean surfaces help the deadbolt fit tightly. Avoid leaving any particles that could block the lock.
Sanding Rough Edges
Check the hole edges for splinters or rough spots. Lightly sand these areas with fine-grit sandpaper. Smooth edges prevent damage to the deadbolt and door. Sanding also gives a neat, finished look to the hole.
Testing The Deadbolt Fit
Insert the deadbolt into the hole to test the fit. The bolt should slide in smoothly without force. Check if the deadbolt locks and unlocks easily. A proper fit ensures security and long-lasting function.
Common Mistakes To Avoid
Making your deadbolt hole deeper needs care and attention. Many people make simple mistakes that cause problems later. Avoiding these mistakes saves time and effort. It also keeps your door strong and safe.
Over-drilling
Drilling too deep can weaken your door. It may cause cracks or splits in the wood. Stop drilling as soon as the hole is deep enough. Measure the depth before you start. This way, you avoid damaging your door.
Ignoring Door Stability
Your door must stay stable after drilling. Removing too much wood weakens the door frame. Check the door’s strength after making the hole. If the door feels loose, it needs support. Use reinforcements or a stronger frame to keep it safe.
Incorrect Tool Use
Using the wrong tools makes the job harder. A drill bit not made for wood can cause splinters. Use a sharp, wood-specific drill bit for clean holes. Also, keep your drill steady to avoid uneven holes. Proper tools make the process easier and cleaner.
Alternative Solutions
Sometimes, making the deadbolt hole deeper is not the only option. There are other ways to solve the problem without drilling more into the door. These alternative solutions can save time and keep your door safe and strong. Below are three practical ideas to consider.
Using Extension Kits
Extension kits help adjust the deadbolt without changing the door. They add length to the bolt, fitting the existing hole better. These kits are easy to install and cost less than replacing parts. They work well if the bolt is too short for the door thickness.
Replacing The Door
Sometimes the door itself may cause the problem. A thicker or differently designed door fits the deadbolt better. Choose a door with the right thickness and hole size for your lock. This option is more expensive but gives a long-term solution for fitting the deadbolt securely.
Consulting A Locksmith
A locksmith can offer expert advice and services. They know how to fix deadbolt issues safely and quickly. Locksmiths may suggest alternatives based on your door and lock type. Their help ensures the lock works well without damaging your door.
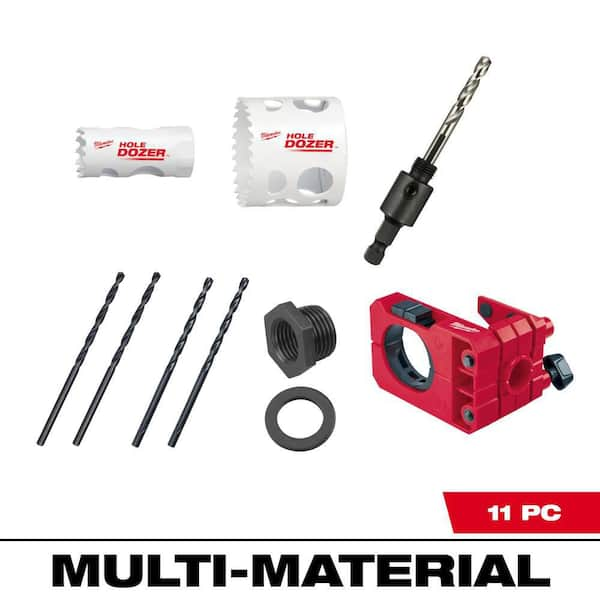
Credit: www.homedepot.com
Frequently Asked Questions
How Can I Safely Deepen A Deadbolt Hole?
Use a longer drill bit designed for wood. Mark the desired depth. Drill slowly to avoid splintering. Always wear safety goggles and check for wires or pipes behind the door.
What Tools Are Needed To Make A Deadbolt Hole Deeper?
You need a drill, an appropriate long spade or hole saw bit, a measuring tape, pencil, and safety goggles. These tools ensure precise and safe deepening of the deadbolt hole.
Can I Deepen The Deadbolt Hole Without Removing The Door?
Yes, you can deepen the hole with the door mounted. Support the door firmly to avoid movement. Measure and mark carefully to maintain hole alignment.
How Much Deeper Should I Make The Deadbolt Hole?
Make the hole about 1/4 to 1/2 inch deeper than the existing depth. This ensures the deadbolt fits securely without compromising door integrity.
Conclusion
Making your deadbolt hole deeper is a simple task with the right tools. Take your time and measure carefully before drilling. Use a drill bit that fits your deadbolt size to avoid mistakes. Always wear safety gear to protect yourself.
A deeper hole helps your deadbolt fit better and work smoothly. This small fix can improve your door’s security. Practice on scrap wood if you feel unsure. With patience and care, you can do this yourself. Keep your home safe and secure with a properly installed deadbolt.