If you’re installing a deadbolt, one crucial step is cutting the door jamb correctly. This task might seem tricky at first, but with the right guidance, you can do it yourself and ensure your lock fits perfectly.
Getting this right means better security and a smoother lock operation every time you use your door. In this guide, you’ll discover simple, clear steps to cut your door jamb for a deadbolt, saving you time and avoiding costly mistakes.
Ready to make your home safer with a professional-looking finish? Let’s get started.

Credit: www.familyhandyman.com
Tools Needed
Cutting a door jamb for a deadbolt needs the right tools. Using proper tools makes the job easier and safer. It helps you create a neat cut for the lock to fit perfectly.
Essential Tools
A measuring tape is needed to mark the exact spot for the deadbolt. A pencil helps you draw clear lines on the jamb. A chisel and hammer are key for removing wood cleanly. A drill with a hole saw bit creates the hole for the lock cylinder. A screwdriver is required to fix the deadbolt in place. These tools are the basics for the job.
Optional Accessories
A wood file or sandpaper smooths rough edges after cutting. A square tool ensures your lines are straight and precise. A utility knife can help trim small wood splinters. Safety glasses protect your eyes from dust and wood chips. These extras help make the job cleaner and safer but are not always necessary.
Preparing The Door Jamb
Preparing the door jamb is a key step before cutting for a deadbolt. It ensures the lock fits perfectly and works smoothly. Careful preparation saves time and avoids damage to the door frame. Follow simple steps to measure and mark the jamb correctly.
Measuring The Jamb
Start by measuring the door jamb thickness. Use a tape measure for accuracy. Check the height where the deadbolt will go. Mark the exact spot with a pencil. Measure the backset, the distance from the edge of the door to the center of the lock. This is usually 2 3/8 or 2 3/4 inches. Accurate measurements prevent mistakes during cutting.
Marking The Cut Area
Mark the area to cut clearly on the jamb. Use a square to draw straight lines. Mark both the face and edge of the jamb. These lines guide your saw and chisel. Double-check the marks before cutting. Proper markings help make clean, precise cuts for the deadbolt installation.
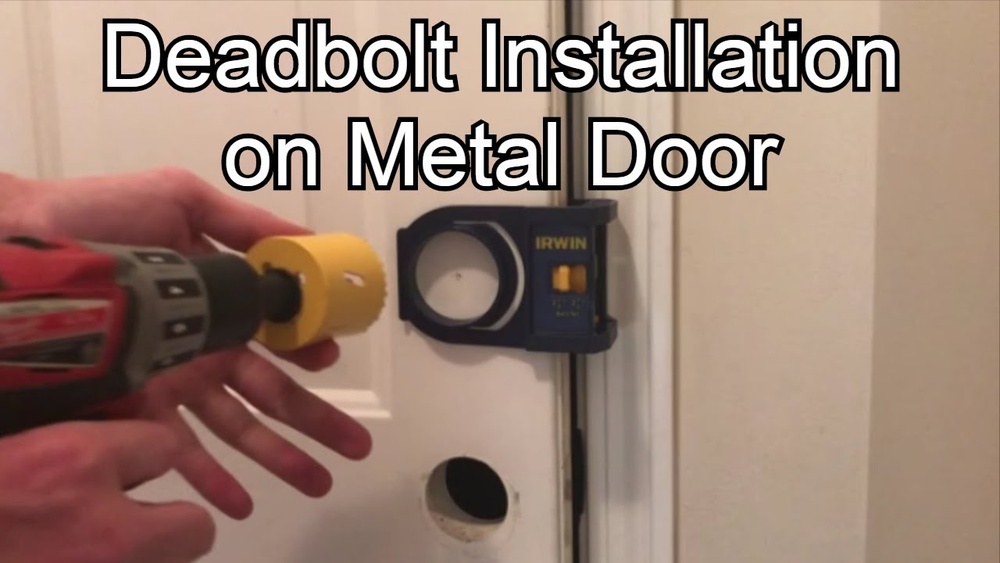
Cutting The Door Jamb
Cutting the door jamb is a key step when installing a deadbolt. This process creates space for the deadbolt’s latch to fit properly. Accuracy matters here. A wrong cut can cause the lock to sit unevenly or not work at all.
Take time to prepare the door jamb before cutting. Measure carefully and mark the spot where you will cut. Use the right tools to make clean, straight cuts. This helps the deadbolt function smoothly and keeps your door secure.
Choosing The Right Saw
Select a saw that fits the size and depth of the cut. A handsaw or a jigsaw works well for small cuts. Use a power saw for quicker, cleaner cuts on thicker wood. Make sure the blade is sharp to avoid splintering.
Making Precise Cuts
Follow your marks closely to keep the cut straight. Use a guide or clamp a straight edge for better control. Cut slowly and steadily. Check the cut frequently to avoid going too deep or off track.

Credit: www.reddit.com
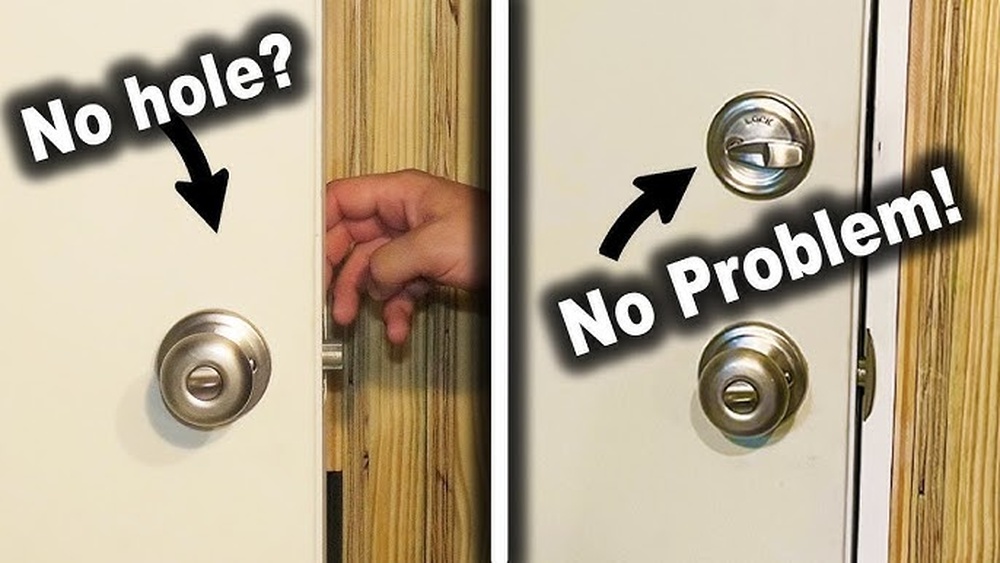
Fitting The Deadbolt
Fitting the deadbolt into the door jamb is a crucial step. It ensures the lock works smoothly and secures the door properly. This step requires patience and precision. Take your time to avoid mistakes. The deadbolt must sit flush and operate without resistance.
Test Fitting The Deadbolt
Start by placing the deadbolt into the cutout on the door jamb. Check if it fits snugly without forcing it. The bolt should move freely in and out. Try turning the key or thumb turn to see if it operates smoothly. This test helps identify any tight spots or misalignments early.
Adjusting The Cut As Needed
If the deadbolt does not fit well, adjust the cut carefully. Use a chisel or sandpaper to remove small amounts of wood. Make small adjustments and test fit again. Avoid removing too much material at once. The goal is a precise fit that allows smooth lock operation.
Finishing Touches
Finishing touches give your door jamb a clean and professional look. They help protect the wood and make sure the deadbolt fits well. Taking time with these final steps improves the strength and appearance of your door.
Sanding And Smoothing
Start by sanding the cut edges gently. Use fine-grit sandpaper to remove rough spots. Smooth edges prevent splinters and help the deadbolt fit tightly. Sand in the direction of the wood grain for best results. Wipe away dust with a dry cloth before moving on.
Painting Or Staining
Apply paint or stain to the sanded areas to protect the wood. Choose a color that matches your door or trim. Use a small brush for neat application. Let the first coat dry completely before adding a second layer. This step prevents moisture damage and keeps your door jamb looking fresh.
Common Mistakes To Avoid
Cutting the door jamb for a deadbolt requires care and attention. Mistakes can cause problems like poor lock fit or door damage. Avoiding common errors helps the deadbolt work smoothly and keeps your door secure.
Misaligned Cuts
Misaligned cuts are a frequent problem. If the cut is off, the deadbolt won’t fit properly. This causes the lock to stick or not close fully. The door may not lock securely. Always mark the cut line clearly before cutting. Use a level to keep the cut straight. Take your time to follow the marks exactly.
Incorrect Measurements
Incorrect measurements lead to wasted materials and poor fitting. Measuring twice and cutting once is key. Measure the door jamb thickness and the deadbolt size carefully. Use a tape measure with clear markings. Double-check all measurements before starting the cut. Small errors can cause big fitting problems later.

Credit: www.youtube.com
Frequently Asked Questions
How Do I Measure The Door Jamb For A Deadbolt?
Measure the height and width of the door jamb where the deadbolt will be installed. Mark the exact position for accurate cutting and fitting.
What Tools Are Needed To Cut A Door Jamb For Deadbolt?
You need a chisel, hammer, drill, measuring tape, pencil, and a saw for precise cutting of the door jamb.
Can I Cut The Door Jamb Without Removing The Door?
Yes, you can cut the door jamb with the door in place, but it requires careful measurement and steady tools.
How Deep Should I Cut The Door Jamb For A Deadbolt?
Cut the door jamb to the depth of the deadbolt faceplate, usually about 1/8 inch, for a flush and secure fit.
Conclusion
Cutting a door jamb for a deadbolt is simple with the right steps. Measure carefully and mark clearly before cutting. Use the proper tools to make smooth, straight cuts. Take your time and work safely to avoid mistakes. A well-cut jamb ensures your deadbolt fits snugly and works properly.
Practice makes perfect, so don’t rush. This small task can improve your door’s security and look. Try it yourself and see the difference it makes.