Are you ready to take control of your lighting and add a switch that works perfectly for your space? Connecting a switch for your light might sound tricky, but with the right steps, you can do it yourself quickly and safely.
Imagine turning your lights on and off with ease, saving energy, and creating the perfect atmosphere in any room. In this guide, you’ll discover exactly how to connect a switch without confusion or hassle. Keep reading, and by the end, you’ll feel confident handling this simple yet powerful home upgrade.
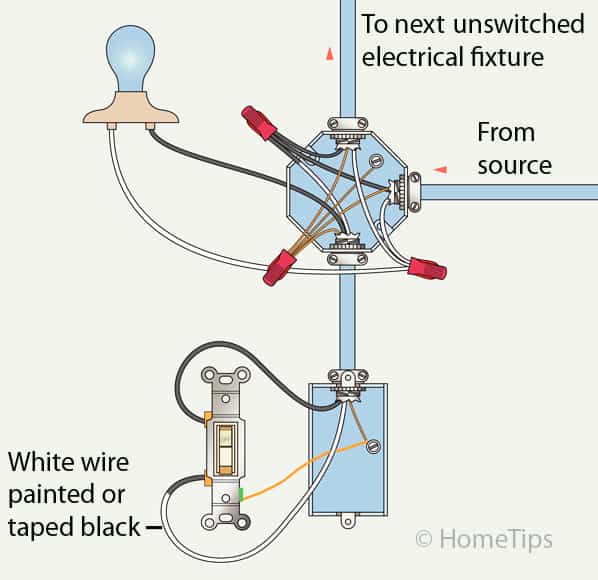
Credit: www.hometips.com
Types Of Light Switches
Light switches control the flow of electricity to your lights. Different types serve different needs. Knowing the right switch helps in easy installation and use. This guide explains the main types of light switches.
Single-pole Switch
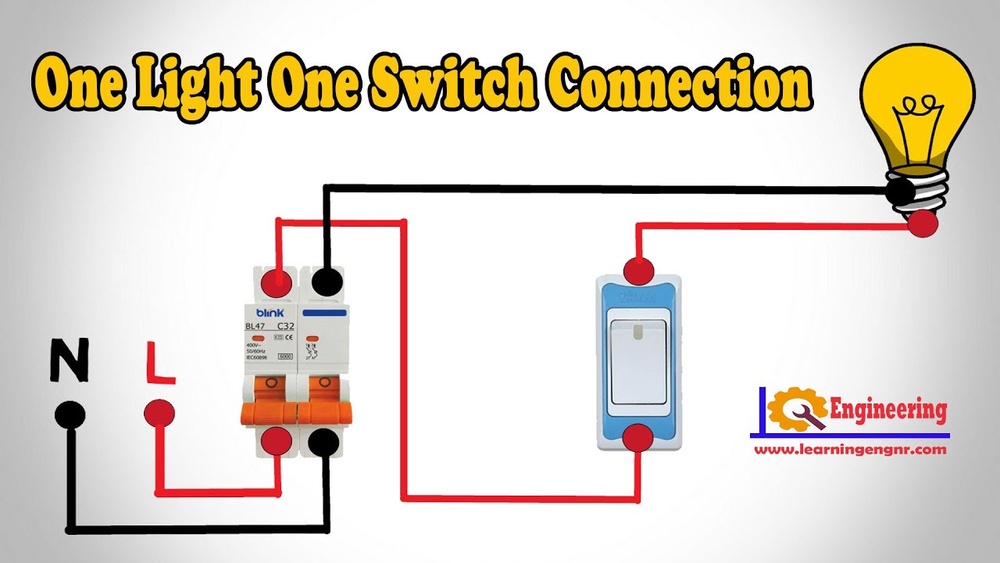
The single-pole switch is the most common type. It controls one light or set of lights from one location. It has two terminals and a simple on/off function. This switch is easy to install and use. It fits well in most rooms.
Three-way Switch
A three-way switch controls lights from two different places. It uses three terminals and works with another three-way switch. This setup is great for hallways and large rooms. It lets you turn lights on or off from multiple spots.
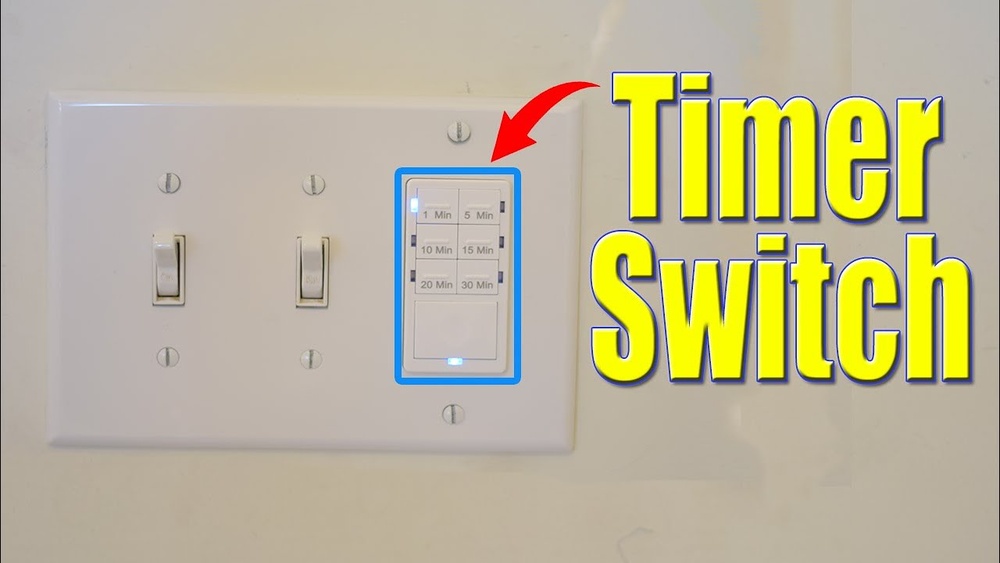
Dimmer Switch
The dimmer switch changes light brightness. It adjusts the power sent to the bulb. This switch helps create the right mood or save energy. Dimmer switches come in rotary, slide, or touch types. They work well in living rooms and bedrooms.
Tools And Materials Needed
Safety is the most important part of connecting a switch for light. Taking the right steps helps avoid shocks and accidents. Always prepare well before starting any electrical work. Follow these safety precautions to keep yourself safe and finish the job correctly.
Turning Off Power
Always turn off the power at the circuit breaker. This stops electricity from flowing to the switch. Double-check that the light or switch does not turn on. Never work on live wires. Turning off power is the first and easiest safety step.
Using A Voltage Tester
Use a voltage tester to check wires for electricity. This tool shows if wires are live or dead. Test all wires before touching them. A voltage tester gives extra safety by confirming no current flows.
Working In Safe Conditions
Work in a dry place to avoid slipping or shocks. Use insulated tools to protect your hands. Keep your workspace clean and well-lit. Wear rubber-soled shoes for extra safety. Clear space and good light help you work better and safer.
Safety Precautions
Understanding wiring basics is essential for connecting a switch to a light safely. Knowing the parts and how they work together helps prevent mistakes. This section explains the key points clearly and simply.
Understanding Wire Colors
Wire colors show their purpose in electrical wiring. Usually, black or red wires carry power. White wires return current and complete the circuit. Green or bare wires connect to the ground for safety. Recognizing these colors helps avoid wiring errors.
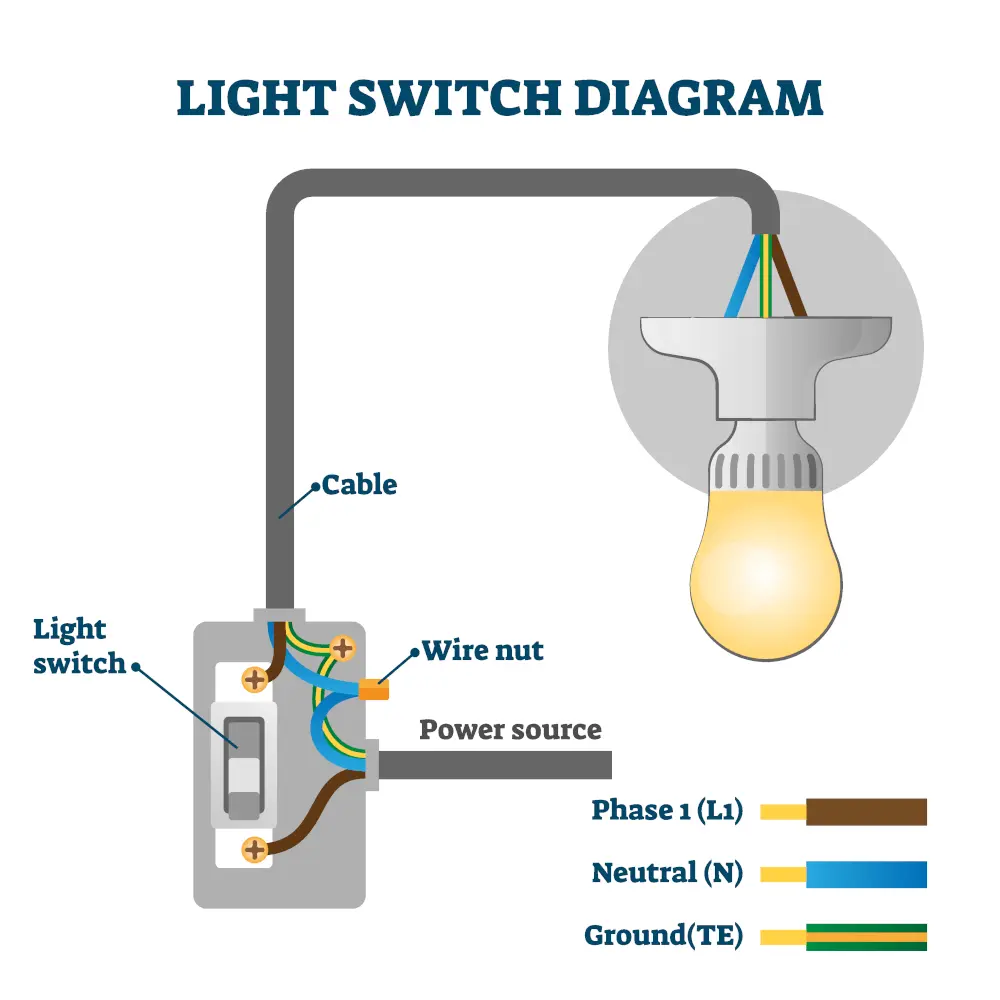
Identifying Live, Neutral, And Ground Wires
The live wire carries electricity to the switch or light. It is often black or red. The neutral wire completes the circuit and is usually white. The ground wire protects from electric shock and is green or bare copper. Correctly identifying these wires is crucial for safe connections.
Wire Stripping Tips
Strip wires carefully to avoid damage. Use a wire stripper tool for clean cuts. Remove only enough insulation to fit into the terminal. Avoid cutting into the copper wire. Twisting stranded wires before connecting improves contact. Proper stripping ensures a secure and safe connection.
Wiring Basics
Connecting a switch for your light is easy with clear steps. Follow this guide to replace or install a switch safely. Each step is simple to follow and helps you avoid common mistakes. Prepare your tools and let’s start.
Removing Old Switch
Turn off power from the main circuit breaker. Use a tester to check no electricity flows to the switch. Unscrew the switch cover plate carefully. Remove screws holding the old switch in place. Gently pull the switch out to see the wires. Note how the wires connect before removing them.
Connecting Wires To New Switch
Match each wire to the new switch terminal. Usually, black or red wires go to the brass screws. White wires connect to silver screws if present. Green or bare wires attach to the grounding screw. Tighten each screw securely to hold the wires. Avoid loose connections to prevent electrical issues.
Securing The Switch And Testing
Push the switch back into the box carefully. Screw the switch firmly to the wall box. Attach the cover plate and tighten screws. Turn on the power at the circuit breaker. Test the switch by flipping it on and off. The light should respond immediately. If not, double-check your wiring connections.
Step-by-step Switch Connection
Troubleshooting common issues with light switches helps keep your home safe and bright. Many problems are simple to fix. Knowing what to check saves time and frustration.
Below are the most frequent issues and how to address them. Follow these steps carefully to restore your switch’s function.
Switch Not Working
First, check if the circuit breaker is on. Sometimes it trips and cuts power. Next, test the switch by toggling it several times. If no light comes on, the switch might be faulty.
Turn off the power at the breaker before inspecting the switch. Use a voltage tester to confirm no electricity flows. Replace the switch if it shows no sign of working.
Flickering Lights
Flickering lights often mean a loose wire or poor connection. Check the bulb first. Tighten or replace it if needed. If flickering continues, the wiring behind the switch may be loose.
Turn off power and remove the switch cover. Look for any wires that are not secure. Tighten screws and ensure all connections are firm.
Loose Connections
Loose connections cause switches to fail or spark. Inspect all wires at the switch and the light fixture. Make sure wires are wrapped tightly around screws or inserted fully in push-in connectors.
Use pliers to gently twist wires if needed. Avoid over-tightening screws to prevent damage. Always restore power only after confirming all connections are secure.

Credit: community.smartthings.com
Credit: futurehousestore.co.uk
Frequently Asked Questions
How Do I Connect A Switch To A Light Fixture?
To connect a switch to a light, turn off power first. Connect the switch’s live wire to the power source. Attach the other wire from the switch to the light fixture’s live terminal. Finally, connect the neutral wires together and secure all connections.
What Tools Are Needed For Connecting A Light Switch?
You need a screwdriver, wire stripper, voltage tester, and electrical tape. A drill can help if mounting is required. Always use insulated tools for safety. These tools ensure safe and effective switch installation.
Can I Connect A Switch Without Professional Help?
Yes, if you understand basic electrical wiring and safety. Always turn off the power before starting. Follow wiring diagrams carefully. If unsure, consult a professional to avoid hazards and ensure proper connection.
What Type Of Switch Is Best For Lighting?
A single-pole switch is most common for simple light control. For controlling lights from multiple locations, use a three-way switch. Choose switches rated for your light’s voltage and current to ensure safety.
Conclusion
Connecting a switch for light is simple with the right steps. Always turn off power before starting work. Follow the instructions carefully to avoid mistakes. Use tools safely and check your connections twice. A well-connected switch helps control lighting easily at home.
Practice makes the task easier over time. Enjoy the comfort of lighting you can control yourself. Keep learning and stay safe while working with electricity.