Have you ever noticed an ugly anchor stuck out from your wall, ruining the smooth look you want? Painting over an anchor can be tricky, but it doesn’t have to be.
If you want your walls to look flawless and fresh, you need the right steps to cover that anchor perfectly. Keep reading, and you’ll learn how to make your wall look like new without any bumps or obvious spots. This simple guide will save you time and give you the confidence to tackle the job yourself.
Choosing The Right Materials
Choosing the right materials is key for a smooth paint job over wall anchors. The materials affect how well the paint sticks and looks. Picking the correct products helps cover the anchor and blends the surface. This section explains what types of anchors exist, which paint and primer to use, and the tools needed.
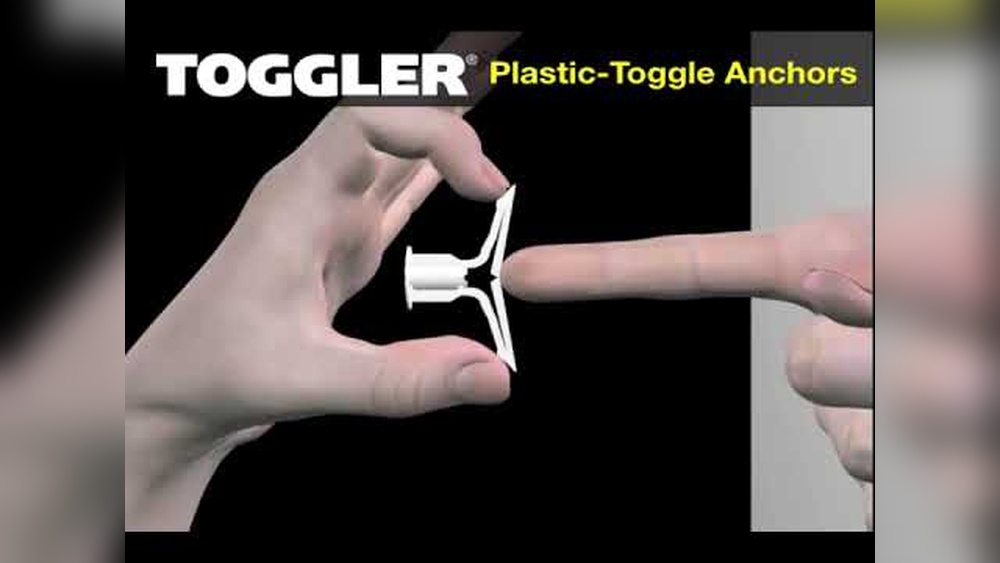
Types Of Wall Anchors
There are several common wall anchors. Plastic expansion anchors are simple and light-duty. They expand inside the wall when a screw enters. Metal anchors, like molly bolts, are stronger and hold heavier items. Toggle bolts use a spring mechanism to spread behind the wall. Each type has a different texture and surface that affects paint application.
Paint And Primer Selection
Choose a primer that sticks well to plastic or metal. This helps the paint bond tightly. Use a primer made for walls or multi-surface types. Select paint that matches your wall finish—matte, satin, or gloss. Paint with good coverage hides the anchor better. Water-based latex paint is easy to clean and dries fast.
Tools You’ll Need
Gather these tools for a neat paint job. Sandpaper smooths the anchor edges and wall surface. A putty knife helps apply filler or spackle around the anchor. Use a small brush or roller for precise paint application. Have a clean cloth ready to wipe dust before painting. Proper tools make the work easier and the result cleaner.
Credit: diy.stackexchange.com
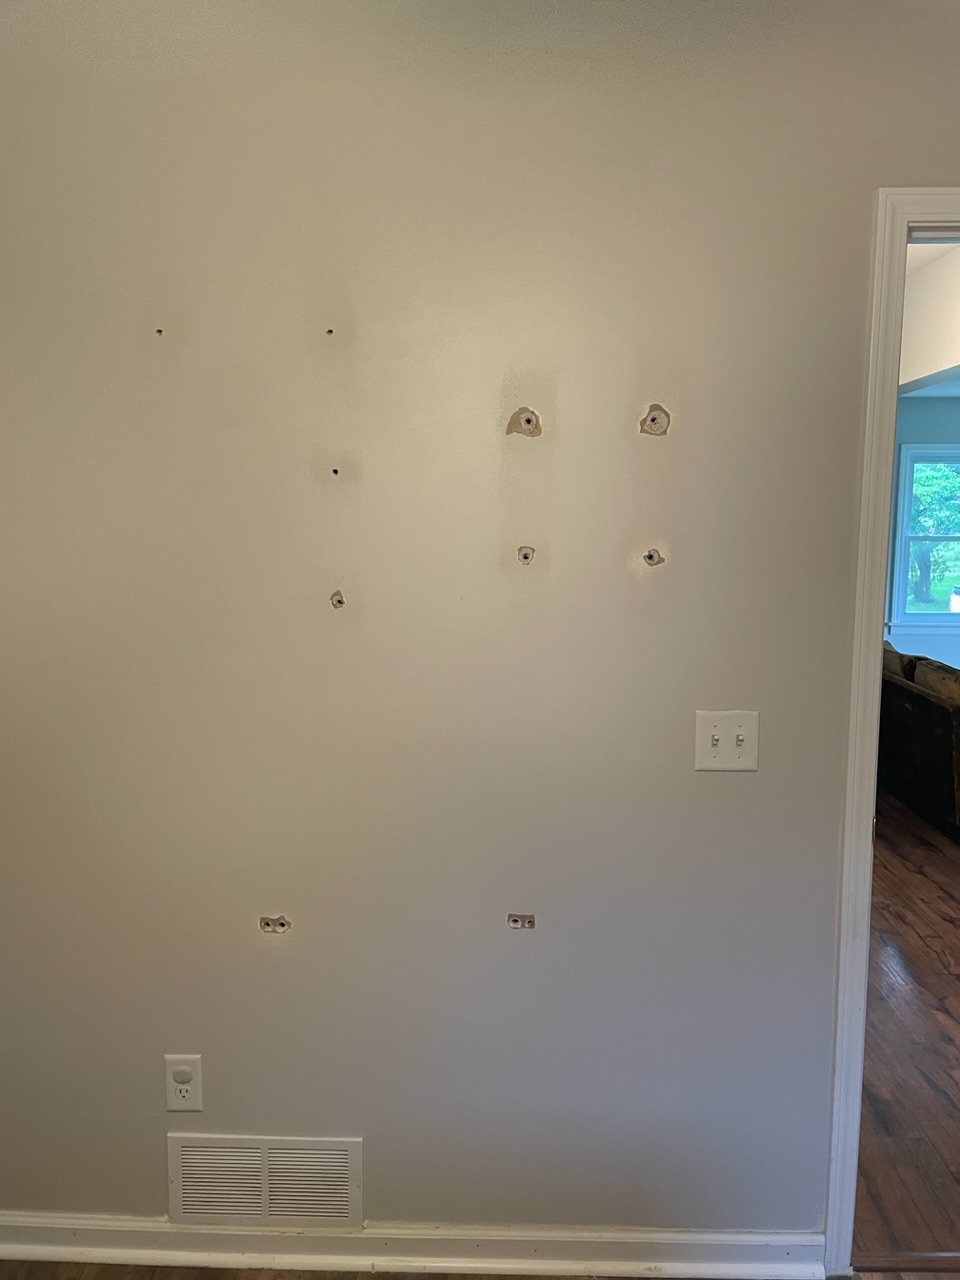
Preparing The Surface
Preparing the surface is an important first step before painting over an anchor in the wall. This step helps the paint stick better and makes the wall look smooth. Taking time here saves effort later.
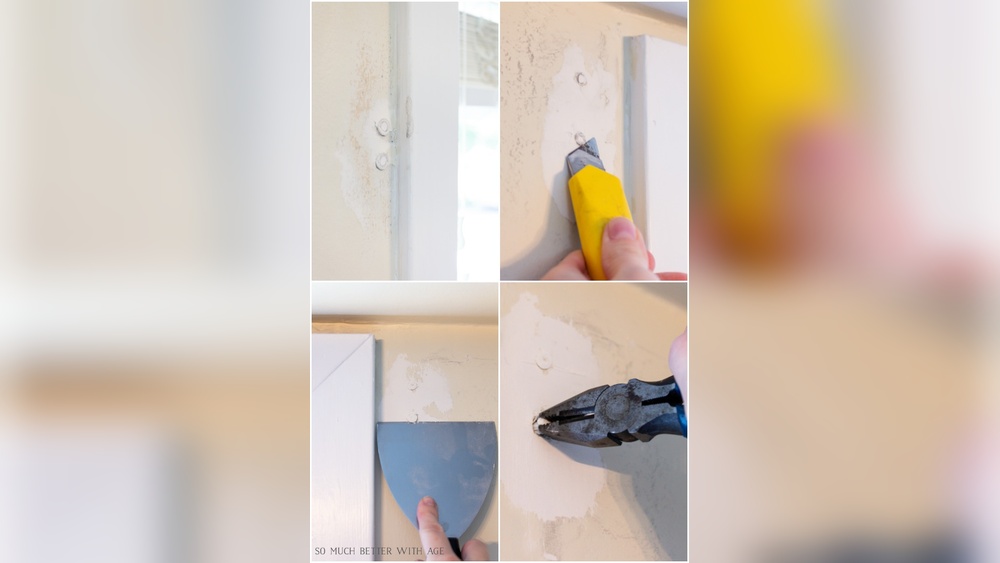
Removing Or Covering The Anchor
First, check if you can remove the anchor. Use pliers to pull it out gently. If it does not come out easily, cover it with a wall patch or drywall tape. This hides the anchor and keeps the surface even.
Cleaning The Wall
Clean the wall around the anchor area. Use a damp cloth to remove dust and dirt. A clean wall helps paint stick better and look fresh. Avoid harsh chemicals that can damage the paint or wall.
Filling Holes And Imperfections
Fill any holes or gaps left by the anchor with spackle or wall filler. Use a putty knife to apply it smoothly. Let it dry completely. Sand the area lightly to make it flat and ready for paint.
Applying Primer And Paint
Painting over an anchor in the wall needs a careful approach. Applying primer and paint correctly helps cover the anchor and creates a smooth surface. This step prepares the area for paint and prevents peeling or uneven color. Follow these tips to get the best results.
When To Use Primer
Use primer when the wall has patches or repairs. Primer seals the surface and stops paint from soaking unevenly. It also helps cover dark spots or metal parts like anchors. Choose a primer that suits your wall type for a better finish.
Techniques For Smooth Application
Apply primer with a small brush or roller to avoid drips. Use thin layers and spread evenly over the patched area. Let the primer dry fully before adding paint. Sand lightly if the surface feels rough to get a smooth finish.
Multiple Coats And Drying Time
Apply two or more coats of paint for full coverage. Wait for each coat to dry before adding the next. Drying times vary by paint type, so check the label. Patience ensures a clean, professional look over the anchor spot.
Finishing Touches
Finishing touches make your painted wall look smooth and natural. This step helps your repair blend into the rest of the wall. Small details create a big difference in appearance. Take your time to ensure the patch does not stand out.
Blending With Surrounding Wall
Start by feathering the paint edges around the patch. Use a small brush or roller for better control. Match the paint color exactly to the wall. Paint over the patch in thin layers to avoid thick spots. Let each layer dry before applying the next. This technique helps the patch blend with the wall.
Dealing With Texture Differences
Check if the patched area feels smoother or rougher than the wall. Use a sponge or brush to mimic the wall’s texture. Dab the surface lightly to create a similar pattern. For heavy textures, use a spray texture or texture paint. Allow the texture to dry fully before painting over it. Matching texture is key to hiding the repair.
Maintaining The Painted Area
Keep the area clean and dry to protect your work. Avoid scrubbing or bumping the patch for a few weeks. Touch up any chips or cracks as soon as they appear. Use the same paint and tools for consistent color and texture. Regular care helps your wall look fresh and flawless.
Common Mistakes To Avoid
Painting over an anchor in the wall can seem simple. Yet, many make mistakes that ruin the finish. Avoiding these errors helps your paint job look smooth and neat. Here are common mistakes to watch out for.
Skipping Surface Preparation
Cleaning and smoothing the wall matters. Dust, dirt, and rough edges stop paint from sticking well. Sand the area around the anchor carefully. Use a primer to cover any patches. This step makes paint last longer and look better.
Using Wrong Paint Type
Choose paint suited for your wall type. Using the wrong paint can cause peeling or uneven color. For drywall, use interior wall paint. For metal anchors, a rust-resistant paint works best. Match the paint finish to nearby walls for a seamless look.
Ignoring Drying Times
Let each coat dry fully before adding another. Rushing causes smudges and uneven texture. Follow the paint can’s drying instructions. Patience results in a clean, smooth surface. Proper drying helps the paint stick and last longer.

Credit: www.youtube.com
Credit: www.angiesroost.com
Frequently Asked Questions
How Do I Prepare The Wall Before Painting Over An Anchor?
First, remove the anchor carefully from the wall. Fill the hole with spackle or wall filler. Sand it smooth once dry. Clean the surface to remove dust before painting.
Can I Paint Directly Over An Anchor In The Wall?
No, painting directly over an anchor will cause uneven texture. Always fill and smooth the hole first. This ensures a seamless finish and better paint adherence.
What Type Of Paint Works Best Over Repaired Wall Anchors?
Use the same paint type as the existing wall finish. Latex or acrylic paints work well for most interior walls. Match the color for a flawless look.
How Long Should I Wait Before Painting Over Wall Filler?
Allow the filler to dry completely, usually 1 to 2 hours. Sand the surface smooth before painting. Drying time varies by product and room humidity.
Conclusion
Painting over a wall anchor is simple with the right steps. Clean the area first and use primer for best results. Apply paint evenly to blend the anchor with the wall. Take your time and let each coat dry well.
This small effort can make your wall look smooth and fresh. Now, your room will feel brighter and more polished. Try these tips next time you want a neat finish. It’s easy and worth the effort.