Are you noticing cracks or uneven floors in your home? It could be a sign that your floor jack foundation needs replacing.
Ignoring this problem might lead to costly damage and safety risks. But don’t worry—you don’t have to be an expert to handle this. You’ll learn simple, step-by-step guidance to replace your floor jack foundation safely and effectively. Keep reading, and you’ll gain the confidence to protect your home and avoid expensive repairs down the line.

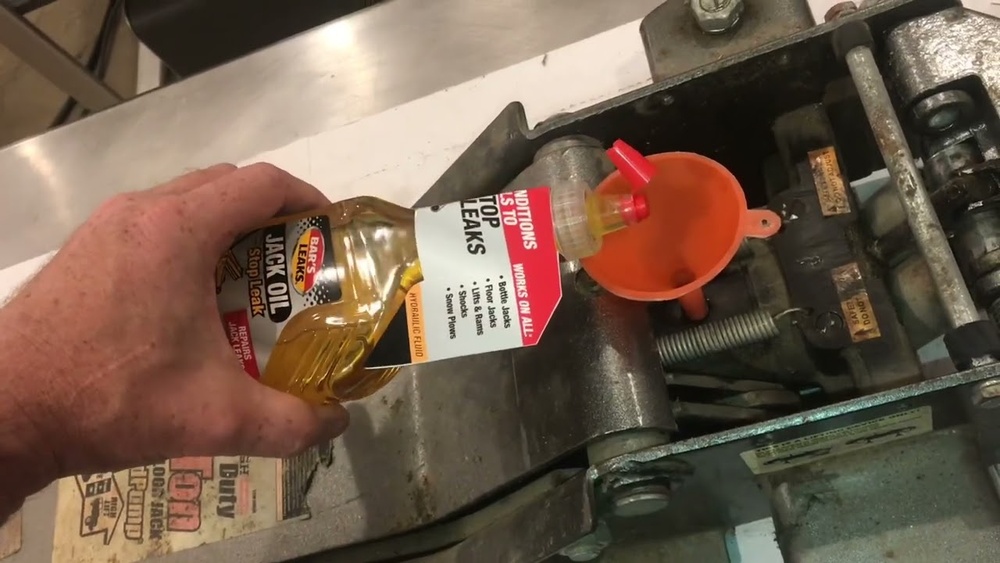
Credit: www.youtube.com
Signs Of A Damaged Floor Jack Foundation
Recognizing the signs of a damaged floor jack foundation is crucial for safety. Small problems can quickly turn into big issues if ignored. Early detection helps prevent costly repairs and structural damage. This section explains the key signs to watch for and the effects on your building’s stability.
Common Warning Indicators
Cracks appear around the base of the floor jack. These cracks may grow over time. Uneven floors near the jack show foundation shifting. You might notice slight tilting or sinking of the jack. Strange noises, like creaking or popping, can signal damage. Water pooling near the foundation increases risk. Rust or corrosion on metal parts also warns of trouble.
Effects On Structural Stability
A damaged foundation weakens the floor jack’s support. This causes uneven weight distribution across the structure. Walls and floors can develop cracks due to stress. Doors and windows may stick or fail to close properly. Over time, the entire building might lean or settle unevenly. These problems reduce safety and increase repair costs. Fixing foundation issues early maintains your building’s strength.
Tools And Materials Needed
Replacing a floor jack foundation requires the right tools and materials. Having everything ready helps the job go smoothly. It saves time and keeps the work safe. This section lists the essential equipment and safety gear needed for the task.
Essential Equipment List
- Floor jack – to lift and support the structure
- Jack stands – to hold the weight securely
- Wrenches and sockets – for loosening and tightening bolts
- Hammer and chisel – to remove old foundation parts
- Measuring tape – to check dimensions accurately
- Level – to ensure the new foundation is even
- Concrete mix – for setting the new foundation
- Trowel – to smooth and shape the concrete
- Bucket and water – to prepare the concrete mix
- Protective sheeting – to cover the floor and keep the area clean
Safety Gear Recommendations
- Safety glasses – to protect your eyes from debris
- Work gloves – to protect your hands from sharp objects
- Steel-toe boots – to protect your feet from heavy items
- Dust mask – to avoid breathing in dust or concrete particles
- Hearing protection – if using loud power tools
- Hard hat – in case of falling objects
Preparing The Work Area
Preparing the work area is the first step to replace a floor jack foundation. A clean and safe space makes the job easier and prevents accidents. Take time to organize everything before starting. This helps keep tools and materials close and ready.
Clearing And Securing The Space
Remove all furniture and objects near the work area. Clear the floor to avoid tripping hazards. Make sure pets and children stay away. Use barriers or signs to mark the work zone. Good lighting helps you see clearly and work safely.
Supporting The Structure Safely
Place strong support beams under the structure. Use quality jack stands or blocks designed for heavy loads. Check that supports are stable and level. Never rely on a single jack alone. Double-check all supports before removing the old foundation.

Credit: www.gothrasher.com
Removing The Old Floor Jack Foundation
Removing the old floor jack foundation is the first important step before installing a new one. This process requires care to avoid damage to the surrounding floor and structure. Proper removal makes the next steps smoother and safer.
Clear the area around the foundation. This gives you room to work and keeps the workspace safe. Use the right tools and follow safety rules to protect yourself and your home.
Step-by-step Removal Process
Start by loosening any bolts or screws holding the foundation in place. Use a wrench or screwdriver depending on the fasteners. Take your time to avoid stripping the heads.
Lift the floor jack foundation carefully. If it is heavy, get help to avoid injury. Use a pry bar to gently separate it from the floor if stuck. Work slowly to prevent floor damage.
Remove any nails or anchors left behind. Check the floor for cracks or holes. Repair these before installing the new foundation for better support.
Handling Debris And Waste
Collect all debris like wood pieces, screws, and dust. Use a broom and dustpan to clean the area completely. Proper cleanup prevents accidents during the next steps.
Dispose of old materials safely. Check local rules for recycling or trash disposal. Avoid leaving debris in the work area or outside where it can cause problems.
Keep your tools organized and clean after removal. This saves time and effort for the new installation.
Installing The New Floor Jack Foundation
Installing the new floor jack foundation is a key step in securing your floor jack properly. This process ensures safety and stability during use. Taking time to position and secure the foundation right prevents accidents and equipment damage.
Positioning And Aligning
Start by placing the new foundation in the correct spot. Make sure it aligns with the jack’s base and the floor surface. Check for level ground to keep the jack stable. Adjust the foundation until it sits flat and straight. Proper alignment helps the jack work smoothly and safely.
Securing The Foundation Properly
Use strong bolts or anchors to fix the foundation firmly. Tighten all fasteners to avoid any movement. Double-check the foundation for any wobbling or gaps. A secure foundation keeps the jack steady under heavy loads. This step is vital for long-term safety and performance.
Testing And Final Adjustments
Testing and making final adjustments is a key step after replacing a floor jack foundation. This step ensures the jack works correctly and safely. Checking every detail now can prevent future problems.
Careful testing shows if the floor jack holds weight steadily. It also reveals if any part needs fixing. Taking time here protects your work and safety.
Ensuring Stability And Safety
Start by placing the floor jack on a flat surface. Slowly lift a small load to test its balance. Watch closely for any wobbling or unusual sounds.
Check the base for even contact with the floor. The jack should not tilt or slide under pressure. Confirm that locking mechanisms engage firmly.
Test the jack several times to see if it stays steady. Safety depends on a solid, stable foundation. Never skip this important step.
Making Necessary Corrections
If the jack wobbles, adjust the base or foundation supports. Tighten loose bolts or screws carefully. Replace any worn or damaged parts immediately.
Use a level tool to check the surface again. Small shifts can cause big problems later. Double-check all connections and supports.
Repeat the testing process after each adjustment. This ensures the jack is safe and ready to use. Take time to do it right. Safety is the priority.
Maintenance Tips For Longevity
Maintaining your floor jack foundation is key to its long life and safe use. Simple care steps keep it working well and prevent costly repairs. Regular attention helps spot small issues before they grow. Follow these maintenance tips to extend your floor jack foundation’s lifespan and ensure it stays reliable.
Regular Inspection Practices
Check your floor jack foundation often for cracks or damage. Look closely at the base and lifting parts. Make sure all bolts and screws are tight. Watch for rust or corrosion, which can weaken the metal. Test the jack’s movement to confirm it lifts smoothly. Catching problems early helps avoid failures during use.
Preventative Care Measures
Keep the floor jack foundation clean by wiping off dirt and dust. Apply a light coat of oil to moving parts to stop rust. Store the jack in a dry place away from moisture. Avoid overloading the jack beyond its weight limit. Use a protective cover to shield it from dust and spills. These steps keep your jack foundation strong and ready.

Credit: www.sintannazorg.nl
Frequently Asked Questions
What Tools Are Needed To Replace A Floor Jack Foundation?
You need a hydraulic floor jack, wooden blocks, a pry bar, a hammer, and replacement foundation materials. Safety gear like gloves and goggles is essential. Having these tools ready ensures a smooth and safe replacement process.
How Do You Safely Lift A Floor Jack For Replacement?
Place the jack under a strong support beam. Use wooden blocks to stabilize the area. Lift slowly and evenly to avoid damage. Always follow safety guidelines to prevent accidents during the process.
When Should You Replace A Floor Jack Foundation?
Replace it if the jack shows signs of rust, cracks, or instability. Also, if it no longer supports weight properly, replacement is necessary. Regular inspections help identify when replacement is required for safety.
Can I Replace A Floor Jack Foundation Myself?
Yes, if you have basic tools and understand safety procedures. However, consult a professional for complex or heavy-duty jacks. DIY replacement saves cost but requires caution and proper knowledge.
Conclusion
Replacing a floor jack foundation takes care and patience. Follow the steps clearly and take your time. Safety matters most—always wear protective gear. Check your work often to avoid mistakes. A strong foundation keeps your floor stable and safe. This task is doable with simple tools and effort.
Keep your space clean and organized during the job. Soon, your floor will be solid and ready to use. Trust your skills and learn as you go.