Are you tired of struggling with loose screws or walls that just won’t hold your shelves, pictures, or hooks? Knowing how to properly install screws and anchors in your walls can save you time, frustration, and even damage to your home.
In this guide, you’ll discover simple steps that anyone can follow to get a strong, secure hold every time. Whether you’re hanging a heavy mirror or just putting up some light decor, mastering this skill will give you confidence and keep your walls looking great.
Keep reading, and you’ll learn exactly what you need to do to make your walls work for you.
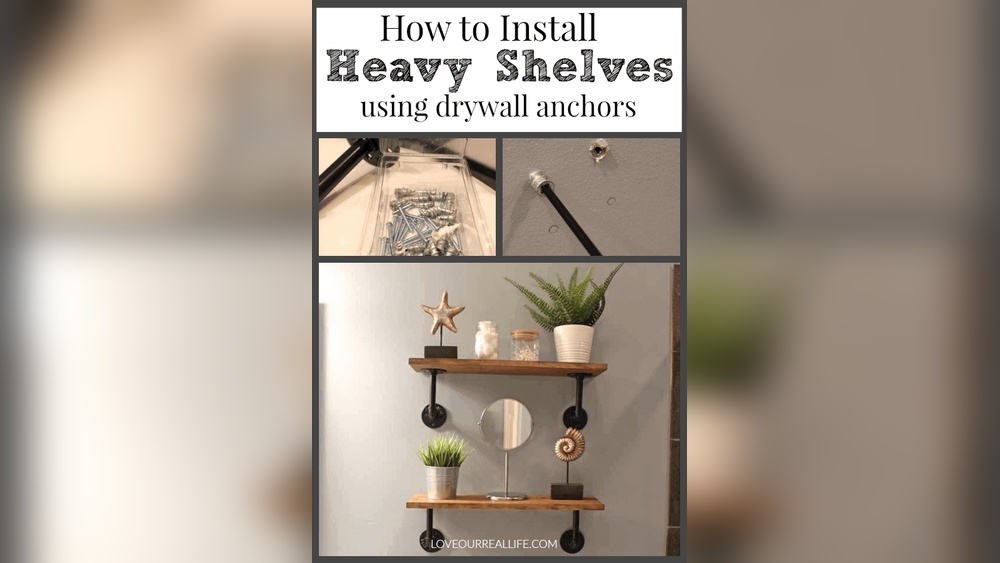
Credit: www.bobvila.com
Choosing The Right Screws And Anchors
Choosing the right screws and anchors is important for secure wall installations. The right choice depends on the wall type and the weight of the object. Using the wrong screws or anchors can cause damage or make the installation unsafe. Understanding the types of screws and anchors helps you pick the best option for your project.
Types Of Screws
Screws come in many shapes and sizes. Wood screws work well with wooden studs. Machine screws fit into pre-tapped holes or nuts. Sheet metal screws are best for thin metal surfaces. Drywall screws have coarse threads for gripping drywall. Choose screws based on the material you are working with.
Types Of Anchors
Anchors provide extra support when screws alone are not enough. Plastic anchors expand inside the wall for light loads. Metal anchors are stronger and hold medium weights. Toggle bolts spread wide behind the wall for heavy loads. Molly bolts expand inside the wall for extra grip. Use anchors that match the wall material and weight.
Matching Screws With Anchors
Match the screw size with the anchor size for a tight fit. Too small screws will not hold anchors properly. Too large screws can damage the anchor or wall. Check the anchor packaging for recommended screw sizes. This ensures a secure and lasting hold in the wall.
Tools Needed For Installation
Installing screws and anchors in walls requires the right tools. Having the proper tools makes the job easier and safer. It also helps to get strong and secure results. This section explains the basic and optional tools needed for a smooth installation process.
Basic Tools
A drill or screwdriver is essential for driving screws into walls. Choose a drill with adjustable speed for better control. A set of drill bits helps to make holes that match the size of anchors and screws.
A hammer is useful for tapping anchors into drywall or plaster. A tape measure ensures accurate placement of screws and anchors. A pencil marks the spots for drilling or hammering.
Optional Tools For Precision
A stud finder locates studs behind the wall, giving stronger support for screws. A level keeps screws straight and aligned, especially for shelves or pictures. A utility knife helps to clean or cut drywall if needed.
Using these optional tools can improve the quality and look of your installation. They help avoid mistakes and save time during the project.
Preparing The Wall
Preparing the wall is the first step before installing screws and anchors. It ensures a secure hold and prevents damage. Proper preparation saves time and effort during installation.
Start by understanding the wall structure. This helps to choose the right spots for screws and anchors. Careful preparation leads to strong, lasting results.
Locating Studs And Avoiding Hazards
Studs are wooden or metal beams behind the wall surface. Screws hold best when fixed into studs. Use a stud finder tool to locate them easily.
Check for hidden hazards like electrical wires or pipes. Avoid drilling into these to prevent accidents. Turn off power if you suspect wiring near your work area.
Marking The Spot
Mark the exact spots where screws or anchors will go. Use a pencil or painter’s tape for clear, removable marks. Measure twice for accuracy and symmetry.
Clear markings guide the drilling process. They help avoid mistakes and misplaced holes. Precise marks make installation smooth and easy.

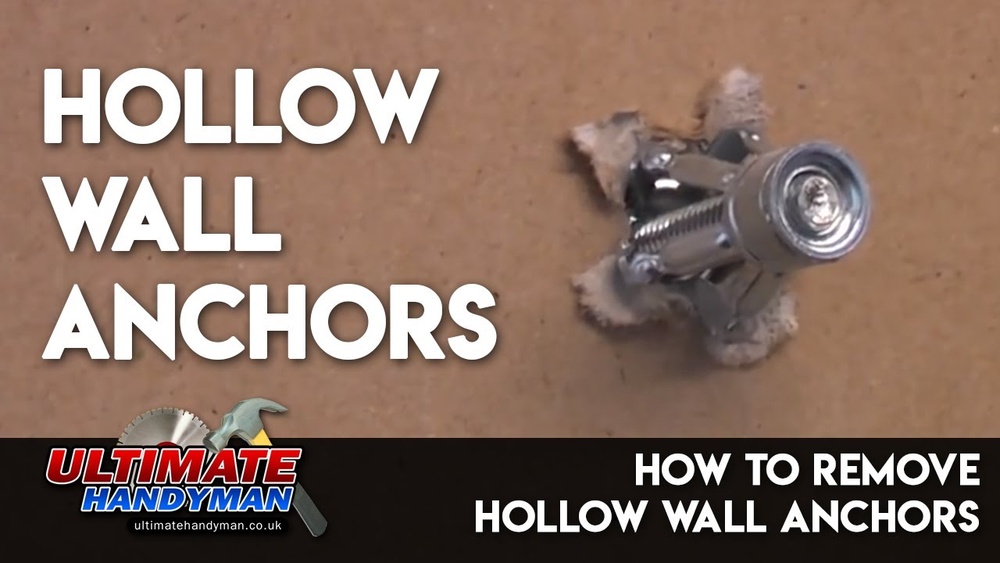
Credit: www.youtube.com
Drilling The Hole
Drilling the hole is a key step in installing screws and anchors in walls. It helps create a perfect space for the anchor to sit firmly. A clean, well-drilled hole prevents damage to the wall and improves the screw’s grip. Taking time and care here ensures a strong hold for your fixture.
Choosing The Right Drill Bit
Use a drill bit that matches the anchor size. The hole should be just wide enough for the anchor to fit snugly. For drywall anchors, choose a bit slightly smaller than the anchor diameter. For masonry anchors, use a bit made for concrete or brick. Check the package instructions for the recommended bit size.
Drilling Techniques
Mark the spot on the wall before drilling. Hold the drill steady and perpendicular to the surface. Start drilling slowly to avoid slipping. Apply light pressure and let the drill do the work. Drill to the depth of the anchor length. Clean out dust from the hole before inserting the anchor.
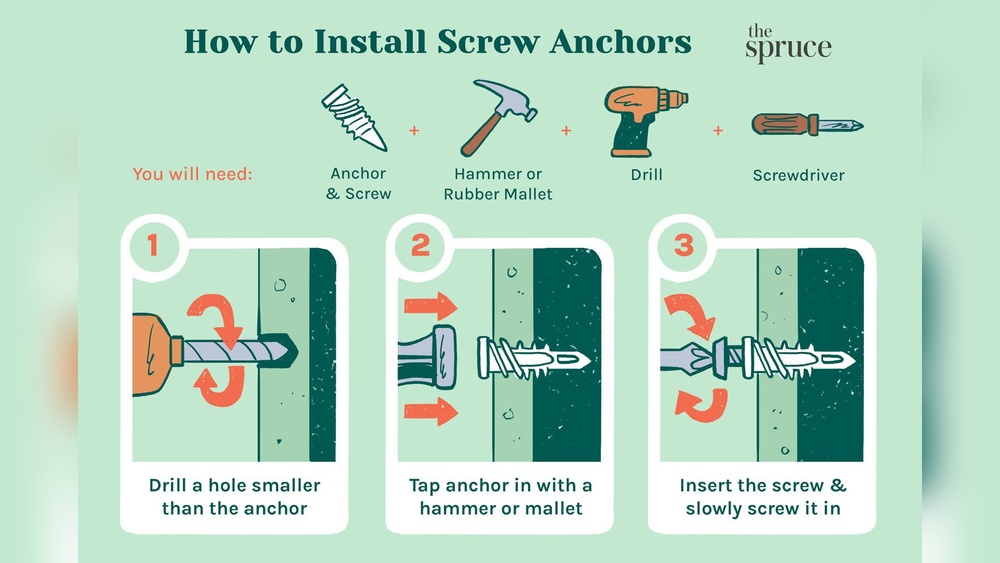
Installing Anchors
Installing anchors is key to securing screws in walls that cannot hold screws alone. Anchors spread the load and prevent damage to drywall or plaster. Different anchors suit different wall types and weights. Understanding how to install each type ensures a strong hold for your items.
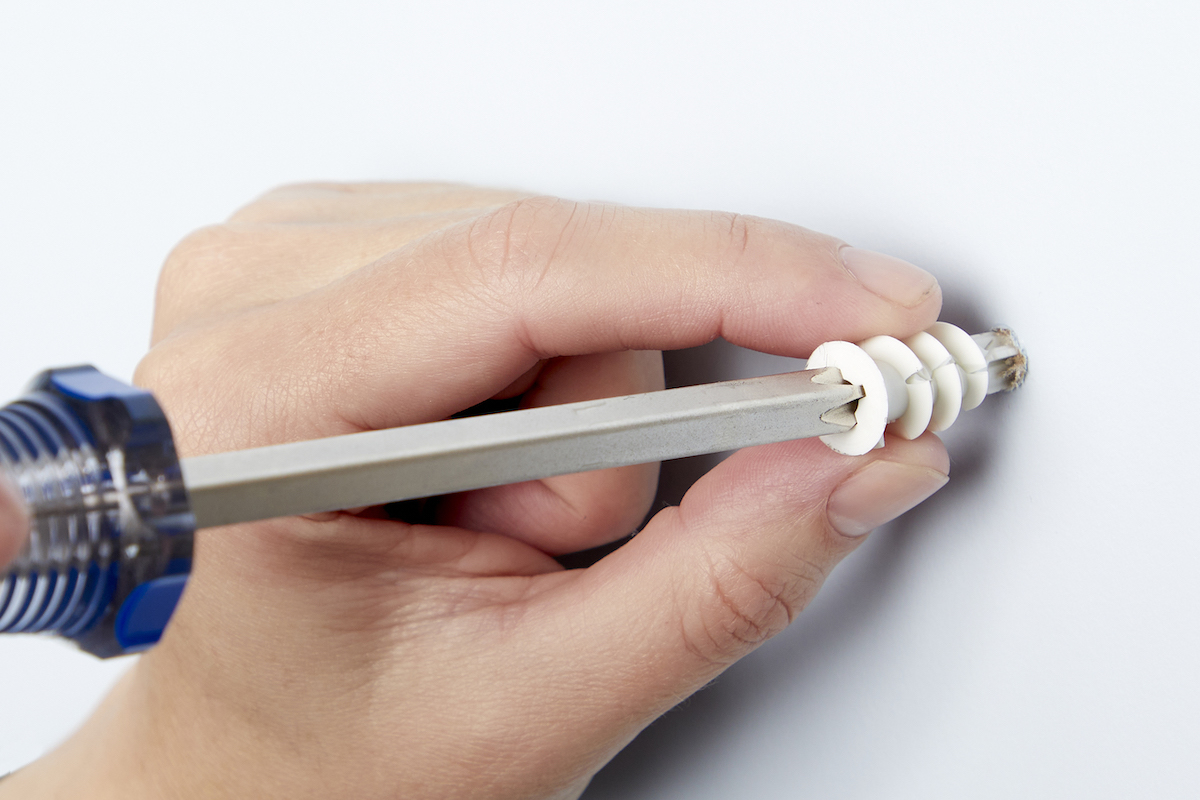
Inserting Plastic Anchors
Plastic anchors work well for light loads on drywall. Start by drilling a hole slightly smaller than the anchor. Push the plastic anchor into the hole until it is flush with the wall surface. Gently tap it with a hammer if needed. Insert the screw into the anchor and tighten it slowly. The anchor expands and grips the wall inside.
Using Toggle Bolts
Toggle bolts hold heavy items on hollow walls. Drill a hole large enough for the closed toggle wings. Thread the screw through the item to hang, then screw on the toggle wings. Push the toggle wings through the hole. They open behind the wall and provide strong support. Tighten the screw carefully to secure the item.
Installing Molly Bolts
Molly bolts are metal anchors for medium to heavy loads. Drill a hole matching the molly bolt size. Insert the bolt into the wall. Use a screwdriver to tighten the bolt, which expands the anchor inside the wall. This creates a firm grip. Remove the screwdriver and insert the screw into the anchor. Tighten the screw to secure the fixture.
Driving Screws
Driving screws into walls requires care and the right technique. This step holds your items firmly in place. Using the right tools and method prevents damage and ensures a strong hold.
Proper Screw Depth
Drive screws just deep enough for a secure fit. Screws that go too far can damage the wall or strip the anchor. Screws that are too shallow won’t hold weight well. Aim for the screw head to sit flush with the surface. This keeps your installation neat and stable.
Avoiding Wall Damage
Use a drill with the correct bit size to start the hole. This reduces pressure on the wall. Tighten screws slowly and steadily to avoid cracking. Stop when you feel resistance to prevent overdriving. If the wall shows signs of damage, remove the screw and try a larger anchor or different spot.
Testing The Installation
Testing the installation is an important step after placing screws and anchors in walls. It ensures the fixture is secure and safe to use. This step helps avoid damage to the wall and prevents items from falling.
Checking Stability
Gently pull or push the mounted object to test its hold. Check if the screw and anchor stay firm inside the wall. If there is any movement, the installation is not stable. Use light force to avoid damage while testing. Stability means the screw and anchor can support the weight without slipping.
Adjusting If Needed
Loosen or tighten the screw to improve grip. Replace the anchor if it feels loose or damaged. Use a bigger anchor for heavier objects. Make sure the screw fits well in the anchor. Repeat the stability test after every adjustment. Proper adjustment keeps the installation safe and lasting long.
Tips For Different Wall Types
Different walls need different types of screws and anchors. Using the right method keeps your fixtures safe and secure. Learn how to handle drywall, concrete, and plaster walls for the best results.
Drywall
Drywall is soft and easy to damage. Use plastic anchors or toggle bolts for heavy items. Drill a small pilot hole before inserting the anchor. Avoid screwing directly into drywall without support.
Concrete
Concrete walls are hard and dense. Use a hammer drill with a masonry bit to make holes. Insert concrete anchors or sleeve anchors for strong hold. Tighten screws slowly to avoid cracking the wall.
Plaster Walls
Plaster walls can be brittle and crack easily. Drill a small hole and use anchors made for plaster. Use wall plugs or molly bolts to spread the load. Avoid overtightening screws to prevent damage.

Credit: www.youtube.com
Frequently Asked Questions
What Types Of Anchors Work Best For Drywall?
Plastic expansion anchors work well for lightweight drywall items. For heavier objects, use toggle or molly bolts for better grip and support.
How Do I Choose The Right Screw Size For Walls?
Select screws based on wall material and object weight. Use longer screws for thicker walls and heavier items for secure installation.
Can I Install Screws Without Anchors In Walls?
Yes, if the wall is solid wood or studs are accessible. Drywall alone usually requires anchors to prevent screws from pulling out.
How Deep Should I Drill Before Installing Anchors?
Drill a hole slightly deeper than the anchor length. This ensures the anchor fits fully and holds firmly in the wall.
Conclusion
Installing screws and anchors in walls is simple with the right steps. Choose the correct anchor for your wall type. Drill holes carefully and insert anchors firmly. Screw in slowly to avoid damage. Take your time and check your work.
This helps secure items safely and prevents accidents. Practice makes perfect. Soon, you will feel confident handling basic wall fixes yourself. Keep these tips in mind for future projects. Small tasks can bring great results.