Are you looking to remove a light switch safely and easily? Whether you want to replace an old switch or fix a wiring issue, knowing the right steps can save you time and frustration.
In this guide, you’ll discover simple, clear instructions that anyone can follow—even if you’re not an expert. Keep reading, and you’ll gain the confidence to handle your light switch removal like a pro, without risking damage or injury. Your home improvement project starts here!
Gather Necessary Tools
Gathering the right tools is the first step to remove a light switch safely. Having everything ready makes the process smooth and quick. It also helps avoid mistakes and ensures your safety. Prepare your workspace and gather tools before starting.
List Essential Tools
To remove a light switch, you need a few basic tools. A screwdriver is the most important tool, usually a flathead or Phillips. A voltage tester helps check if the power is off. Wire strippers may be needed if you plan to replace the switch. Pliers can assist with pulling wires gently. Keep a small container for screws and parts.
Safety Gear To Wear
Safety gear protects you from electric shocks and injuries. Wear insulated gloves to avoid shocks. Safety glasses protect your eyes from dust and debris. Use closed-toe shoes for better grip and protection. Avoid loose clothing that might get caught. Always work with the power turned off at the breaker box.

Credit: www.youtube.com
Turn Off Power Supply
Turning off the power supply is the first and most important step before removing a light switch. This step keeps you safe from electrical shocks. Always make sure no electricity flows to the switch you want to remove. Safety comes first in all electrical work.
Locate Circuit Breaker
Find the circuit breaker box in your home. It is usually in the basement, garage, or utility room. Open the box and look for the switch that controls the power to the light switch. The breaker is often labeled with room names or numbers.
Flip the correct breaker to the off position. This stops electricity from reaching the switch. If you cannot find the right breaker, turn off the main breaker to cut power to the whole house. This is the safest option.
Verify Power Is Off
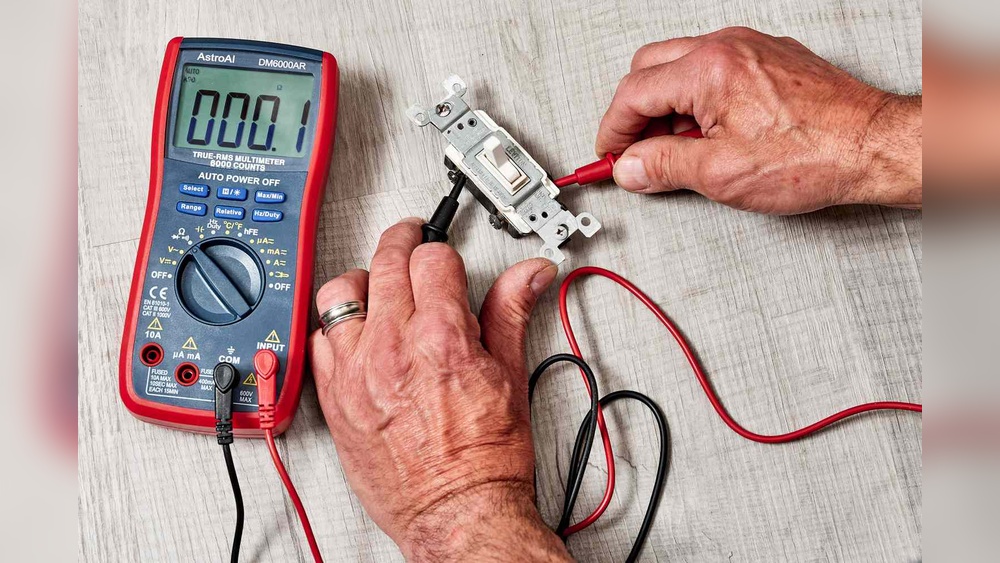
Check that the power is off before touching wires. Use a non-contact voltage tester near the switch. If the tester does not light up or beep, the power is off.
Try turning the light switch on and off. The light should not work. If it still turns on, double-check the breaker or main switch. Never touch wires if the power is still on.
Remove Switch Cover Plate
Removing the switch cover plate is the first step in taking out a light switch. This plate hides the screws and wiring behind it. Removing it carefully helps avoid damage to the wall or the switch itself.
Take your time and follow simple steps to remove the cover plate safely and easily.
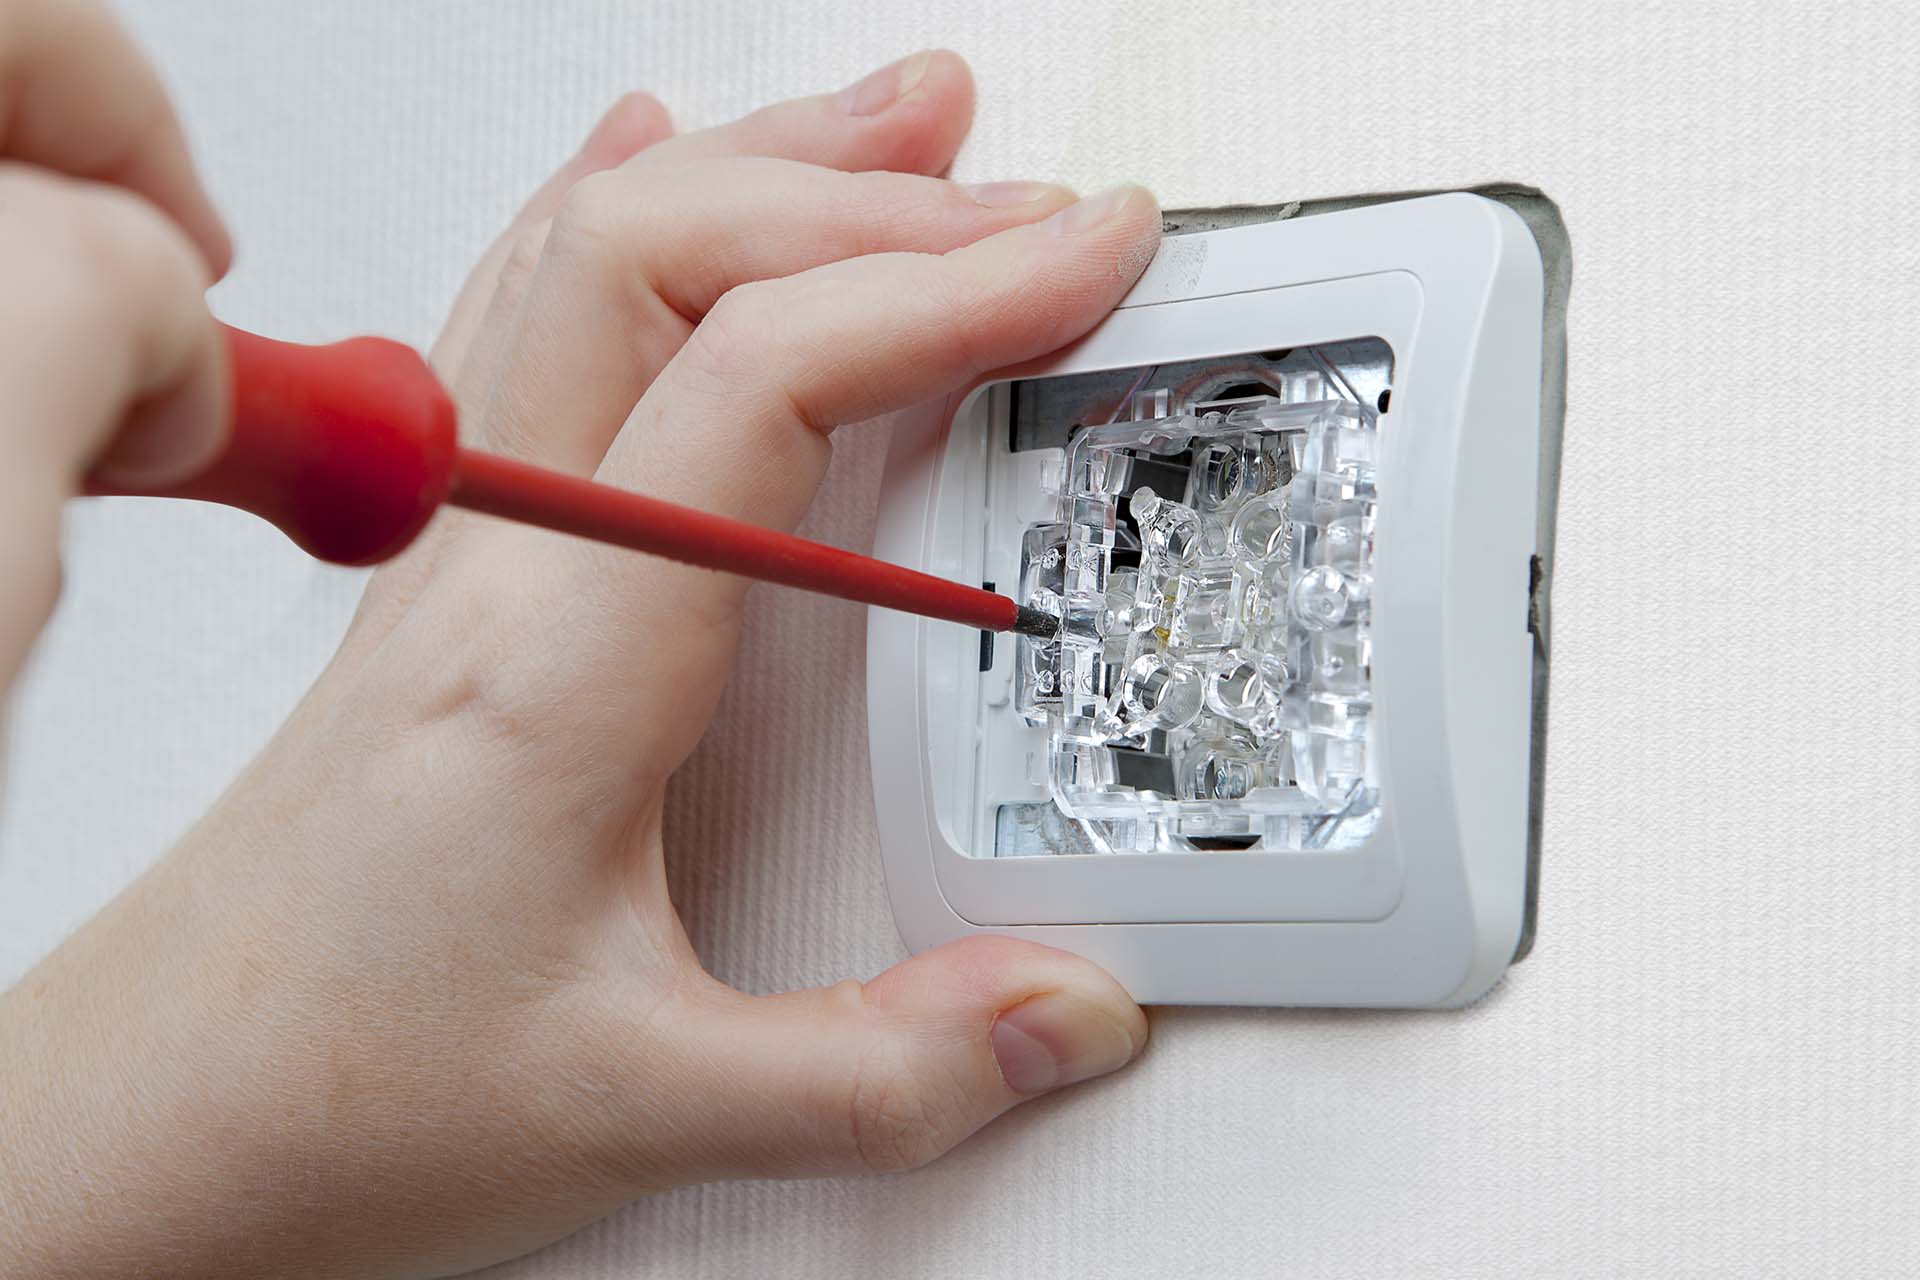
Unscrew Cover Plate
Find the screws holding the cover plate in place. They are usually located at the top and bottom. Use a screwdriver that fits the screws well. Turn the screwdriver counterclockwise to loosen the screws. Keep the screws safe for reassembly later.
Handle Cover Plate Carefully
Once the screws are out, gently pull the cover plate away from the wall. Avoid forcing it, as it may crack or break. If it feels stuck, check for hidden screws. Set the cover plate aside on a soft surface to prevent scratches or damage.
Detach Switch From Wall Box
Detaching the light switch from the wall box is a key step in the removal process. It allows you to access the wiring safely and prepare for replacement or repair. Taking your time here prevents damage to the switch or wall.
Be gentle but firm to avoid breaking any parts. Keep your tools ready and follow these steps carefully.
Unscrew Switch Mounting Screws
Locate the screws that hold the switch to the wall box. Usually, there are two screws, one at the top and one at the bottom.
Use a screwdriver that fits well to avoid stripping the screws. Turn the screws counterclockwise to loosen them. Keep the screws safe; you will need them later.
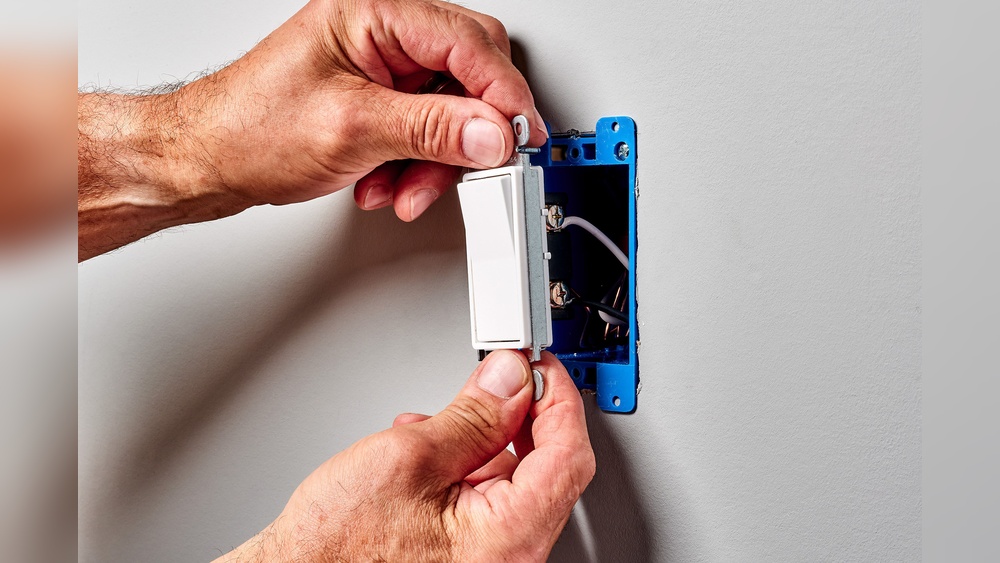
Gently Pull Out Switch
After removing the screws, carefully pull the switch out of the wall box. Pull slowly to avoid pulling on the wires.
Hold the switch by its sides, not the wires. Pull just enough to see the wiring behind it. This gives you space to work safely.
Disconnect Wires Safely
Disconnecting wires safely is a crucial step in removing a light switch. It protects you from electric shocks and prevents damage to the wiring. Always ensure the power is off at the breaker before touching any wires. Take your time to work carefully and follow each step closely.
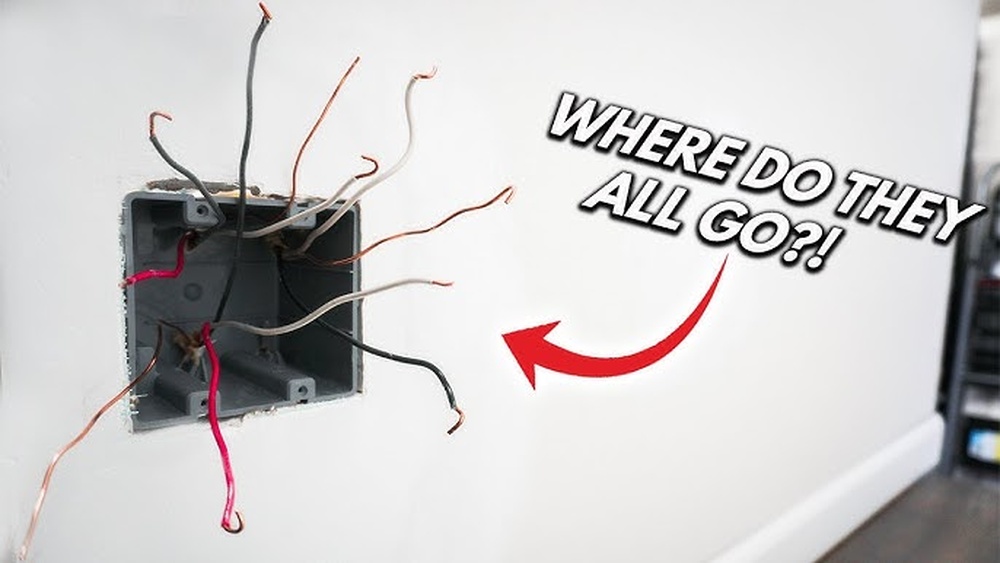
Identify Wire Types
Look at the wires connected to the switch. Usually, you will find black (hot), white (neutral), and green or bare copper (ground) wires. Knowing which wire is which helps you avoid mistakes. Use a voltage tester to confirm the power is off.
Loosen Terminal Screws
Use a screwdriver to loosen the screws holding the wires. Do not remove the screws completely. Gently pull the wires away from the switch terminals once loose. Keep the wires organized to avoid mixing them up later.
Cap Or Isolate Wires
After removing the wires, cover the ends with wire nuts or electrical tape. This stops the wires from touching each other or metal parts. Properly capping wires keeps the circuit safe until you install the new switch or finish the job.
Credit: www.checkatrade.com
Inspect Wiring And Switch
Before removing a light switch, it is important to inspect the wiring and the switch itself. This step helps ensure safety and prevents future problems. Careful inspection reveals any damage or wear that needs attention.
Understanding the condition of the wires and the switch makes the replacement process smoother. It also prepares you for installing a new switch without issues.
Check For Damage
Look closely at the wires connected to the switch. Check for frayed or broken wires. Damaged wires can cause electrical shorts or shocks. Examine the switch for cracks or burn marks. These signs show the switch might be faulty. If you find any damage, do not use the switch again. Replace it to keep the electrical system safe.
Prepare For New Installation
Turn off the power at the circuit breaker before touching any wires. Use a voltage tester to confirm the power is off. Organize the wires by straightening them out carefully. Remove any old tape or covers from the wires. This makes connecting the new switch easier. Keep the wire ends neat and ready for installation.
Dispose Or Store Removed Switch
After removing a light switch, the next step is deciding what to do with it. Proper disposal or storage helps keep your home safe and organized. It also protects the environment and saves resources. This section explains how to handle your removed switch.
Safe Disposal Methods
Light switches contain small parts and sometimes metals. Throwing them in the trash can harm the environment. Take your switch to an electronic waste recycling center. These centers handle electrical parts properly. You can also check if your local waste facility accepts switches. Avoid burning or breaking the switch. Doing so may release harmful chemicals. Always follow local rules for electronic waste disposal.
Storage Tips For Reuse
Storing a removed switch is smart if you plan to reuse it. Keep the switch in a dry, cool place to avoid damage. Use a small container or box to protect it from dust. Label the container with the switch type and location. This helps you find it easily later. Check the switch for any damage before storing. Do not store broken switches for safety reasons.
Credit: www.youtube.com
Restore Power And Test
Restoring power and testing the light switch is a key step after installation. It confirms the switch works and keeps you safe. Follow these steps carefully to avoid any electrical problems. Double-check everything before turning the power back on.
Switch On Circuit Breaker
Locate the circuit breaker panel in your home. Find the breaker that controls the light switch you worked on. Flip the breaker switch to the ON position. This restores power to the circuit. You should hear a click or see the switch move up. Wait a few seconds for the power to stabilize.
Verify Electrical Safety
Use a non-contact voltage tester near the switch. It confirms power is present without touching wires. Turn the light switch on and off slowly. Check if the connected light or fixture responds correctly. Watch for any flickering or unusual sounds. If everything works fine, the installation is safe. If not, turn off the breaker and recheck your wiring.
Frequently Asked Questions
How Do I Safely Remove A Light Switch?
Turn off the power at the circuit breaker first. Use a voltage tester to confirm no power. Unscrew the switch cover plate and then the switch itself. Carefully disconnect the wires before fully removing the switch.
What Tools Are Needed To Remove A Light Switch?
You will need a flathead or Phillips screwdriver, a voltage tester, and needle-nose pliers. These tools help safely remove the cover plate and switch, and test for live wires.
Can I Remove A Light Switch Without Turning Off Power?
No, never remove a light switch without turning off the power. It is dangerous and risks electrical shock. Always switch off the circuit breaker before starting.
How Do I Identify Wires On A Light Switch?
Typically, black or red wires are hot, white wires are neutral, and green or bare wires are ground. Use a voltage tester to confirm wire function before removal.
Conclusion
Removing a light switch is easier than it seems. Always turn off the power first. Use the right tools to avoid damage. Take your time and follow steps carefully. Double-check connections before putting everything back. Safety matters most during any electrical work.
You can do this with patience and care. Now, you know how to remove a light switch safely and simply.