Are your cabinet hardware looking dull or outdated? Imagine giving your kitchen or bathroom a fresh, stylish upgrade without spending a fortune on new knobs and handles.
Painting your cabinet hardware is a simple, cost-effective way to transform your space and add a personal touch. In this guide, you’ll learn easy steps to achieve a smooth, long-lasting finish that will make your cabinets stand out. Ready to turn your old hardware into a stunning focal point?
Let’s dive in and make your cabinets shine like new!
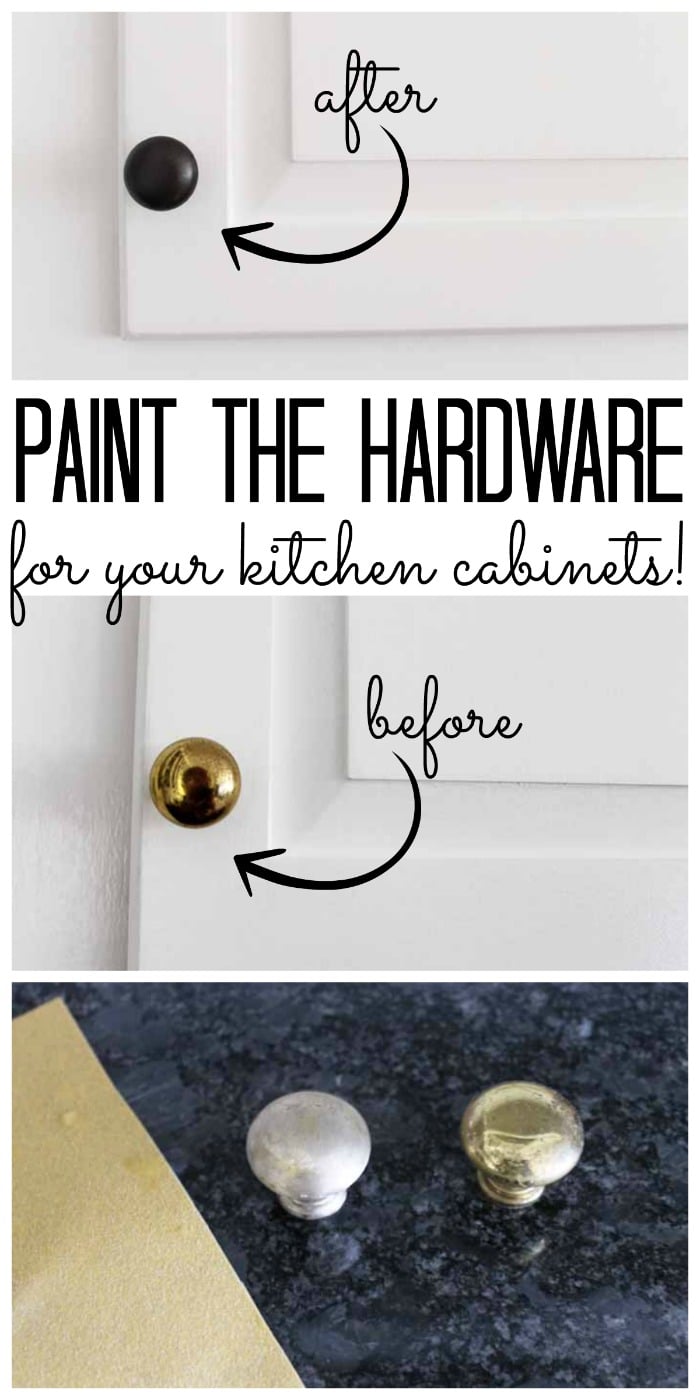
Credit: www.thecountrychiccottage.net
Choosing The Right Paint
Choosing the right paint for hardware on cabinets is very important. The right paint makes your hardware look good and last longer. It also protects the metal from damage and rust. Picking a paint that fits the material and style of your hardware gives the best results.
Types Of Paint For Hardware
Metal hardware needs paint that sticks well and resists chipping. Spray paint made for metal works great. Oil-based paints give a smooth, hard finish. Acrylic paints dry fast and clean up easily with water. Choose paint that says it is for metal or hardware use.
Finish Options
Hardware paint comes in different finishes. Glossy finishes shine and show off details. Satin finishes give a soft, smooth look. Matte finishes have no shine and hide fingerprints well. Pick a finish that matches your cabinet style and room design.
Color Selection Tips
Pick a color that fits your room’s theme. Neutral colors like black, white, or silver match many styles. Bright colors add a fun touch to plain cabinets. Think about the cabinet color and wall color when choosing hardware paint. Test small spots before painting all hardware.

Credit: www.thriftydecorchick.com
Gathering Supplies
Gathering the right supplies is the first step to paint hardware on cabinets. Having everything ready helps the job go smoothly. It also protects your cabinets and your workspace. This section covers what tools you need and how to prepare your area.
Essential Tools
Start with a good screwdriver to remove hardware from cabinets. You will need sandpaper or a sanding sponge to roughen the surface. Use painter’s tape to cover areas you do not want to paint. A small paintbrush or foam brush works best for hardware. Choose spray paint or metal paint made for cabinets. Lastly, have a clean cloth to wipe dust and dirt off.
Preparing Your Workspace
Work in a well-ventilated area, like a garage or outside. Cover your workspace with old newspapers or a drop cloth. This protects surfaces from paint drips and spills. Arrange your tools within reach to avoid constant moving. Use gloves to keep paint off your hands. Set hardware on a clean, flat surface to dry after painting.
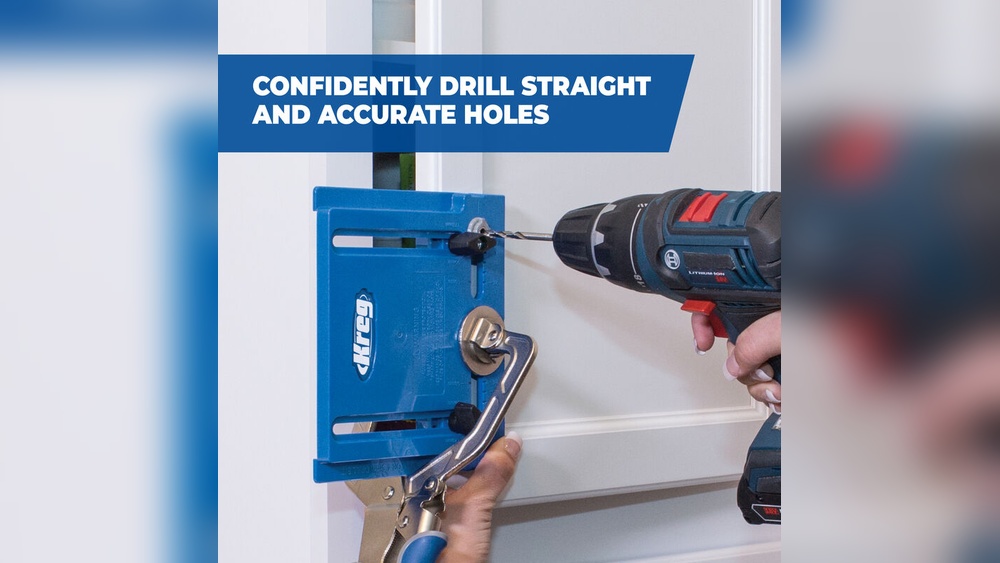
Removing And Cleaning Hardware
Removing and cleaning cabinet hardware is an important first step before painting. It helps the paint stick better and gives a neat finish. Taking off knobs, handles, and hinges carefully protects both the hardware and the cabinet surface. Cleaning the hardware removes dirt and grease, making the paint job last longer.
Detaching Cabinets Hardware
Use a screwdriver to remove screws from knobs and handles. Keep the screws in a small container to avoid losing them. For hinges, unscrew each part gently. Place all hardware on a clean cloth or tray. Avoid forcing any piece off to prevent damage. Label hardware pieces if needed to remember their place.
Cleaning Techniques
Start by wiping the hardware with a dry cloth. Use warm water mixed with mild soap to clean dirt. Soak metal pieces in the solution for 10 to 15 minutes. Use a soft brush to scrub stubborn grime. Rinse with clean water and dry thoroughly. For greasy hardware, try a little vinegar or baking soda paste. Make sure hardware is completely dry before painting.
Prepping Hardware For Painting
Prepping hardware for painting is the first step to a smooth, lasting finish. Proper preparation helps paint stick better and look cleaner. Taking time here saves effort later.
Start by cleaning the hardware. Remove all dirt, grease, and old paint flakes. Use warm soapy water and a soft brush. Let the hardware dry completely before moving on.
Sanding And Priming
Sanding creates a rough surface for paint to grip. Use fine-grit sandpaper and sand evenly. Focus on removing shine and smoothing bumps. Wipe off dust with a dry cloth.
Apply a metal primer after sanding. Primer helps paint stick and prevents rust. Use a thin, even coat. Let it dry fully before painting.
Avoiding Common Mistakes
Skipping sanding or primer leads to peeling paint. Avoid painting over dirt or oil. Don’t use thick paint layers. Thin coats dry better and last longer.
Removing hardware from cabinets prevents mess and damage. Paint in a dust-free area. Use gloves to keep oils off the surface. These steps improve the final result.
Painting Techniques
Painting hardware on cabinets requires careful technique to get smooth, lasting results. Choosing the right method and applying paint correctly can improve the final look. Understanding different painting styles helps you avoid common mistakes and save time. Follow these tips to paint your cabinet hardware perfectly.
Brush Vs. Spray Painting
Brush painting works well for small hardware pieces. It lets you control paint application easily. Use a small, soft brush to avoid streaks. Spray painting covers hardware quickly and evenly. It reaches tight spots that brushes miss. Choose spray paint designed for metal surfaces. Always spray in a well-ventilated area and use light coats.
Applying Even Coats
Apply thin, even coats of paint for the best finish. Thick coats cause drips and uneven texture. Let each layer dry before adding another. Move your brush or spray in smooth, steady strokes. Cover all sides of the hardware to avoid bare spots. Multiple thin layers produce a strong, smooth surface.
Drying Time Tips
Allow enough drying time to prevent smudges and fingerprints. Follow the paint manufacturer’s recommended drying times. Avoid rushing the process, as wet paint can peel easily. Place painted hardware in a dust-free, dry space to dry. Wait at least 24 hours before handling or reinstalling for full cure.
Sealing And Protecting
Sealing and protecting painted cabinet hardware is key to long-lasting results. It helps keep the paint from chipping or fading. A good seal also makes cleaning easier and stops rust or damage. This step ensures the hardware stays fresh and new for a long time.
Choosing A Clear Coat
Select a clear coat that fits your hardware use. Polyurethane is tough and works well on metal. Water-based clear coats dry fast and have less smell. Choose satin or gloss finish depending on your style. Satin hides fingerprints better, while gloss shines bright. Read labels to make sure the clear coat works with your paint type.
Application Methods
Use a small brush or spray for applying clear coat. Brush carefully to avoid drips or thick spots. Spray coats give even coverage and smooth finish. Apply thin layers and let each dry fully. Two or three coats protect best. Drying time depends on the product and temperature. Always work in a clean, dust-free area.
Reattaching Hardware
Reattaching hardware to painted cabinets completes the project. It makes your cabinets look fresh and new. Take care during this step. Proper reattachment keeps the hardware secure and functional. Follow simple tips to ensure success.
Ensuring Proper Fit
Check each piece of hardware before attaching. Make sure screws match the holes in the cabinet. Align handles or knobs carefully. Tighten screws just enough to hold hardware firmly. Avoid over-tightening to prevent damage or stripping.
Final Touches
Wipe any dust or fingerprints from hardware and cabinets. Look for paint touch-ups around screw holes. Fix any small paint chips with a fine brush. Test each handle or knob to confirm smooth operation. Enjoy your refreshed cabinets and neat hardware.
Maintenance And Care
Maintaining painted hardware on cabinets helps keep it fresh and lasting longer. Proper care stops paint from chipping or fading. Regular attention ensures your cabinets always look neat and stylish.
Cleaning Painted Hardware
Use a soft cloth to clean painted hardware gently. Avoid abrasive sponges or harsh chemicals. Mild soap mixed with water works best. Wipe the hardware softly, then dry with a clean cloth. This prevents damage and keeps the paint smooth.
Touch-up Tips
Small chips or scratches happen over time. Keep leftover paint for quick touch-ups. Use a fine brush to cover tiny spots carefully. Let the paint dry fully before using the hardware again. This keeps the finish even and fresh.
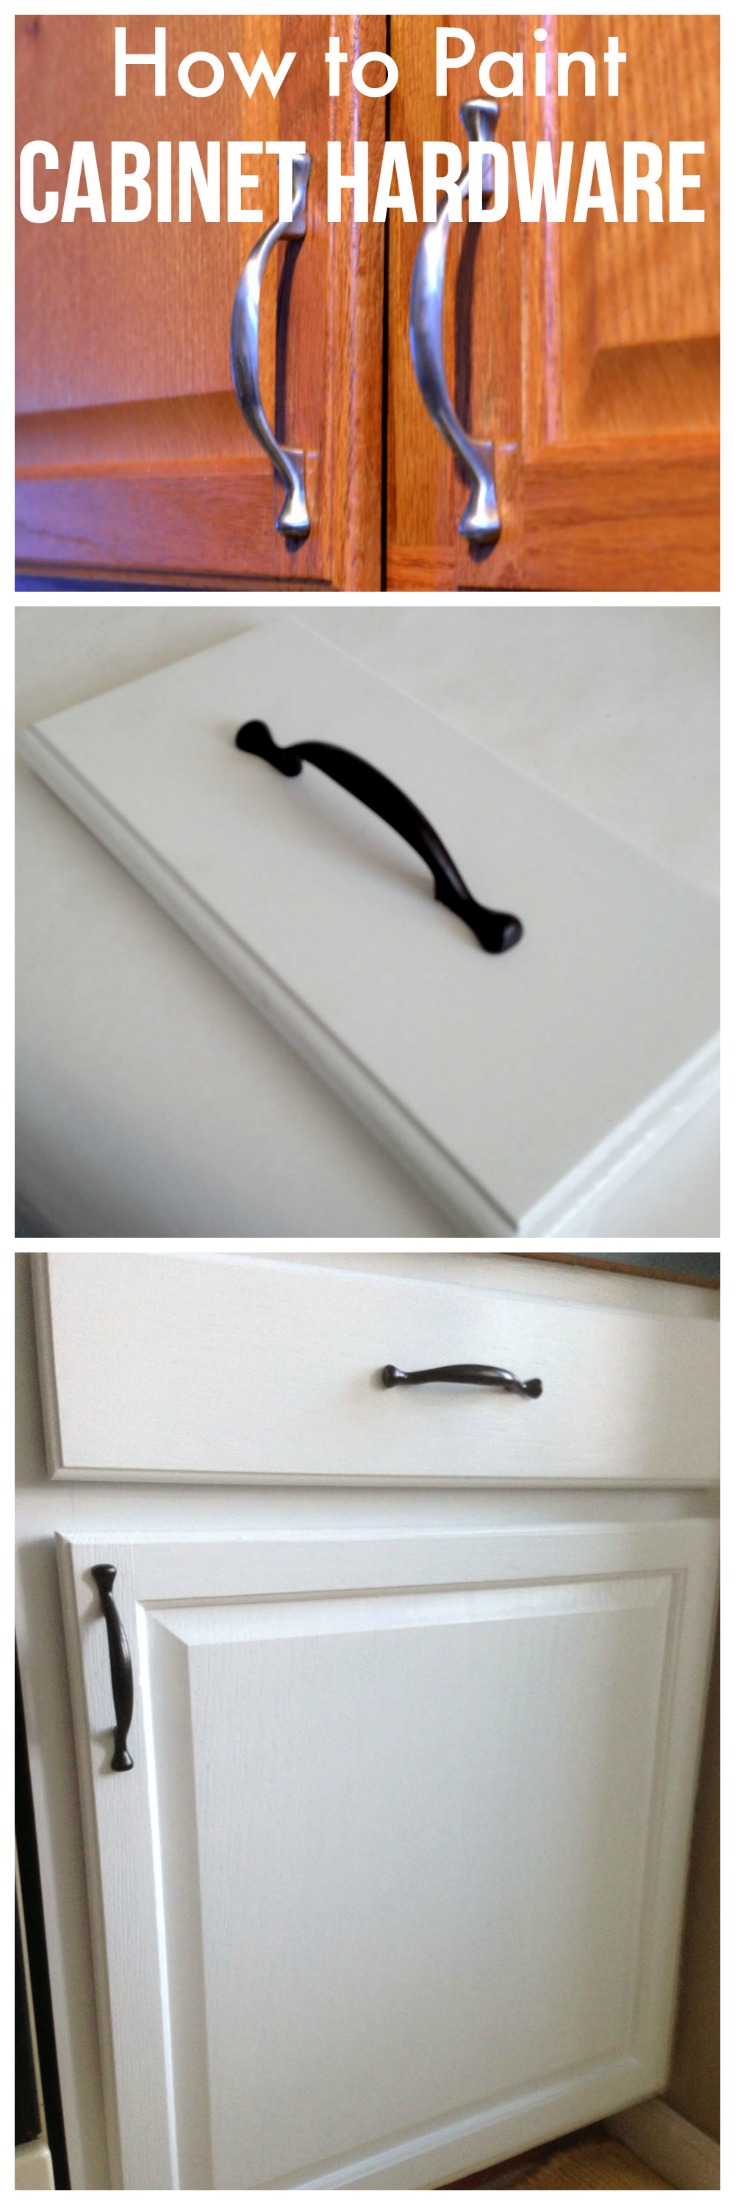
Credit: createandbabble.com
Frequently Asked Questions
How Do I Prepare Hardware Before Painting Cabinets?
Clean hardware thoroughly to remove dirt and grease. Lightly sand surfaces for better paint adhesion. Use primer designed for metal to prevent rust and improve finish quality.
What Type Of Paint Works Best On Cabinet Hardware?
Use durable spray paint designed for metal surfaces. Look for enamel or acrylic paint for a smooth, long-lasting finish. Avoid water-based paints to prevent chipping.
Can I Paint Hardware Without Removing It From Cabinets?
It’s best to remove hardware before painting. Removing ensures even coverage and prevents paint from getting on cabinets. If not removable, cover surrounding areas carefully with painter’s tape.
How Long Should I Let Painted Hardware Dry?
Allow hardware to dry for at least 24 hours. Drying time ensures paint fully cures and adheres properly. Avoid handling hardware too soon to prevent smudges.
Conclusion
Painting hardware on cabinets can refresh your kitchen’s look quickly. Clean the hardware well before you start painting. Use light coats to avoid drips and get smooth results. Let each coat dry fully for best finish. Choose the right paint for metal surfaces to ensure durability.
Small steps lead to a big change. Enjoy your updated cabinets and the new style they bring. This simple task can make your space feel fresh and bright. Give it a try and see the difference yourself.