Are you tired of struggling to hang your favorite portrait just right? Installing wall hooks might seem simple, but getting it perfect can be tricky.
Imagine having your portrait securely mounted, straight, and looking great every time. In this guide, you’ll discover easy steps to install wall hooks like a pro, saving you time and frustration. Keep reading, and you’ll learn how to make your walls showcase your art beautifully—without any guesswork.
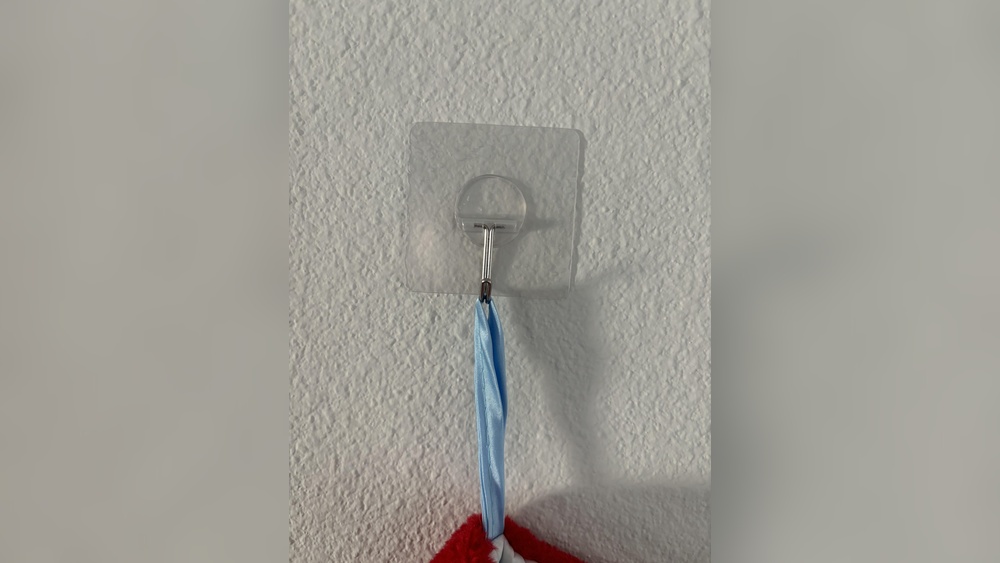
Credit: www.homedepot.com
Choosing The Right Wall Hook
Choosing the right wall hook is important for hanging a portrait securely. The correct hook keeps the portrait stable and protects your wall. It also makes sure the portrait looks good on display. Understanding the types of hooks, their weight limits, and the wall material helps you pick the best option.
Types Of Wall Hooks
There are many wall hooks available. Some hooks have nails, while others use adhesive. Picture hooks with small nails are common for portraits. Adhesive hooks do not damage walls but hold less weight. Screw-in hooks offer strong support for heavy portraits. Choose a type that fits your wall and portrait size.
Weight Capacity Considerations
Check the weight limit of the hook before buying. Light hooks hold small portraits only. Heavy portraits need hooks with higher weight capacity. Using a weak hook can cause the portrait to fall. Always pick a hook that supports more weight than your portrait.
Material Compatibility
Wall material affects the hook choice. Drywall, plaster, and brick need different hooks. Nail hooks work well on drywall. Screw hooks are better for brick or concrete walls. Adhesive hooks suit smooth surfaces like glass or tiles. Match the hook to your wall for a strong hold.
Preparing The Wall
Preparing the wall is an important step before installing wall hooks for a portrait. It ensures the hook stays secure and the portrait hangs straight. Taking time to prepare the wall helps avoid damage and keeps your artwork safe.
Selecting The Hanging Spot
Choose a spot that shows your portrait well. Consider eye level for the best view. Avoid places near strong sunlight to protect colors. Pick a wall space free of clutter and distractions.
Checking Wall Material
Check what type of wall you have. Drywall, plaster, or brick need different hooks. Use a stud finder for drywall to find strong support. For brick, use special anchors to hold the hook firmly.
Marking The Hook Placement
Measure the portrait size and mark the spot on the wall. Use a pencil to make light marks. Double-check the marks to keep the portrait straight. Accurate marking makes hanging easier and more secure.
Tools And Materials Needed
Installing wall hooks on a portrait requires the right tools and materials. Having everything ready makes the process faster and safer. Gather your supplies before starting. This helps avoid interruptions and mistakes.
Essential Tools
You need a drill or screwdriver to fix hooks securely. A tape measure ensures correct hook placement. Use a pencil for marking spots on the wall. A level helps keep hooks straight. A stud finder locates studs behind the wall for stronger support.
Safety Gear
Protect your eyes with safety goggles. Wear gloves to avoid splinters or cuts. Use a dust mask if drilling creates dust. Proper safety gear keeps you safe during installation.
Additional Supplies
Wall anchors are important if you cannot use studs. Choose anchors that fit your hook size and wall type. Have a small hammer ready for tapping anchors into place. Keep extra screws nearby in case you need replacements.
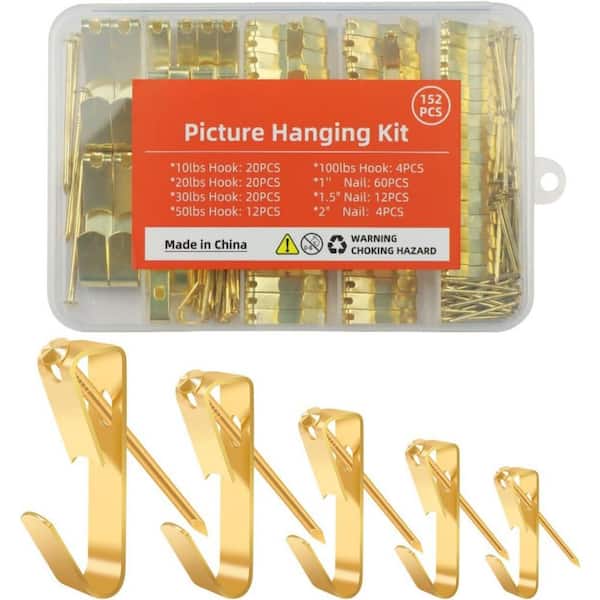
Credit: www.homedepot.com
Step-by-step Installation
Installing wall hooks on a portrait is simple with clear steps. Follow these instructions to place your hooks safely and correctly. This will help your portrait hang securely without damage.
Drilling Or Nailing The Hook
Choose the right tool based on your wall type. Use a drill for drywall or masonry walls. For wooden walls, a nail can work well. Mark the spot where the hook will go. Hold the hook against the mark. Drill or nail slowly to avoid cracks.
Securing The Hook Firmly
Push the hook into the wall until it feels tight. If using screws, turn them fully but don’t over-tighten. Check that the hook does not wobble. Adjust the position if needed for a snug fit. A firm hook holds weight better.
Testing The Stability
Hang the portrait gently on the hook. Observe if it stays balanced and steady. Give a slight shake to check for movement. If the hook shifts, tighten or reposition it. A stable hook keeps your portrait safe over time.
Hanging The Portrait
Hanging a portrait is an important step in displaying your art or photo. Proper hanging helps the portrait look its best. It also protects the wall and the frame from damage. This part explains how to hang your portrait with wall hooks.
Aligning The Portrait
Start by holding the portrait close to the wall. Check that the hooks on the back match the wall hooks. Align the top edges of the frame with the hooks. Make small adjustments until the portrait sits flush against the wall.
Ensuring Level Placement
Use a level tool to check the portrait’s position. Place the level on top of the frame. The bubble should be centered between the lines. Shift the portrait slightly left or right to find the perfect level.
Adjusting For Balance
Step back and look at the portrait from different angles. Notice if it tilts or leans to one side. Adjust the hooks or the frame until the portrait feels stable. A balanced portrait stays in place and looks neat.

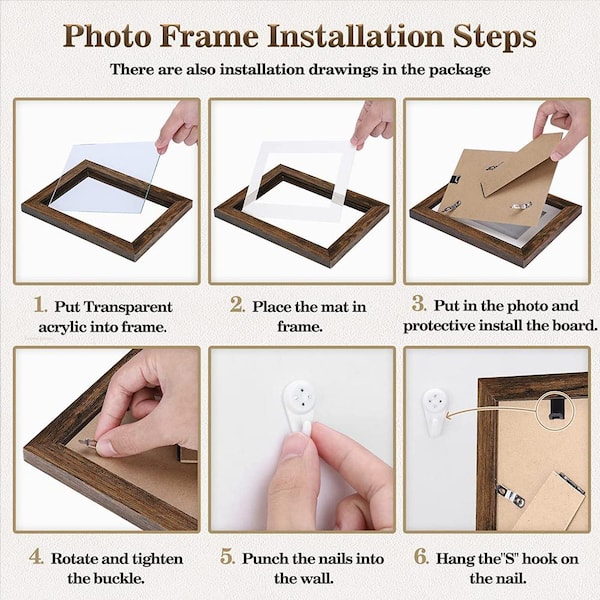
Credit: www.amazon.com
Tips For Long-lasting Hanging
Keeping your portrait hanging safely and securely requires some simple care. These tips help make sure your wall hooks last longer. They protect both your wall and the portrait. Follow these easy steps for a strong and lasting display.
Avoiding Wall Damage
Choose the right type of hook for your wall material. Use anchors for drywall to prevent holes from growing. Do not overload hooks with heavy portraits. Place hooks at studs when possible for extra support. Avoid hammering nails directly into fragile walls. Use gentle tools to reduce wall marks.
Regular Maintenance
Check hooks and portraits often for stability. Tighten screws or nails if they feel loose. Dust the portrait frame and hooks to keep them clean. Replace worn hooks to avoid sudden falls. Keep the hanging area dry to stop rust or damage. Small care steps extend the life of your setup.
Handling Different Portrait Sizes
Match hook size to the portrait’s weight and size. Large portraits need multiple hooks for balanced support. Small portraits work well with single, lightweight hooks. Use picture wire for odd-shaped frames to spread weight evenly. Adjust hook placement for heavy or wide frames. Proper hook choice prevents accidents and keeps portraits steady.
Frequently Asked Questions
How Do I Choose The Right Wall Hook For A Portrait?
Select a wall hook based on your portrait’s weight and wall type. Use heavy-duty hooks for large frames and lightweight hooks for smaller ones. Ensure the hook can support the portrait securely to prevent damage.
What Tools Are Needed To Install Wall Hooks For Portraits?
You will need a drill, screws, wall anchors, a measuring tape, and a level. These tools help ensure the hook is placed accurately and securely on the wall for safe hanging.
Can I Install Wall Hooks On Drywall Without Studs?
Yes, use wall anchors designed for drywall if no studs are available. They provide extra support and prevent the hook from pulling out, keeping your portrait safely mounted.
How High Should I Place Wall Hooks For Portraits?
Place hooks at eye level, typically 57-60 inches from the floor. This height ensures the portrait is viewed comfortably and looks balanced on the wall.
Conclusion
Installing wall hooks on a portrait is simple and quick. Measure carefully and mark where hooks will go. Use the right tools and materials for your wall type. Take your time to avoid mistakes or damage. This method keeps your portraits safe and straight.
Enjoy decorating your space with confidence and ease. Try this approach and see how neat your walls look. Small steps make a big difference in home decor.