Are you tired of Command Hooks falling off your walls? The secret isn’t just in the hook itself—it’s all about how you prepare your wall first.
Getting this step right means your hooks will stick better and hold stronger, saving you time, money, and frustration. You’ll learn simple, effective ways to prep your wall so your Command Hooks stay put exactly where you want them. Keep reading—you’re just a few easy steps away from hassle-free hanging!

Credit: www.amazon.com
Choose The Right Wall
Choosing the right wall is a key step before applying Command hooks. It helps the hooks hold better and last longer. Some walls work well, while others do not. Knowing which walls suit Command hooks can save time and prevent damage.
Check Wall Material
Command hooks stick best on smooth, hard surfaces. Painted drywall, wood, metal, and tile are good choices. Avoid walls that are damp or crumbly. Surfaces like brick or concrete usually do not hold the hooks well. Testing a small area first is a smart move.
Avoid Textured Surfaces
Textured walls cause problems for Command hooks. Rough or bumpy paint, wallpaper, and stucco stop the adhesive from sticking fully. The hook might fall off soon. Smooth walls give the strongest grip. Always pick flat walls for better results.

Credit: www.command.com
Clean The Surface
Preparing a wall properly is key to making Command Hooks stick well. Drying the wall is an important step. A wet or damp wall can cause the adhesive to fail. Taking time to dry the wall ensures better grip and longer hold.
Let Alcohol Evaporate
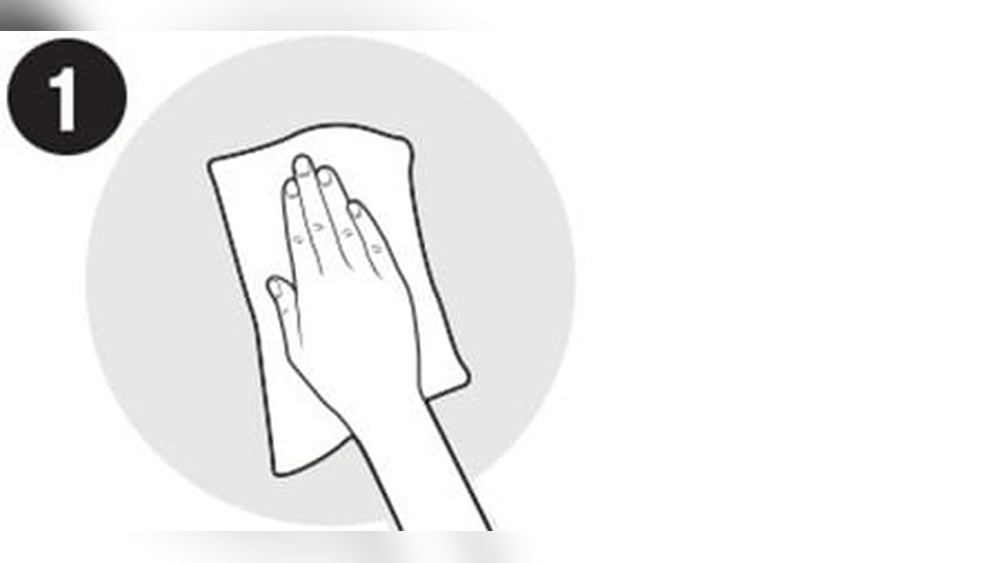
Use rubbing alcohol to clean the wall before placing the hook. Alcohol removes dirt and oils that stop hooks from sticking. After wiping, wait a few minutes. Let the alcohol fully evaporate. This keeps moisture from trapping under the hook.
Avoid Moisture
Do not place Command Hooks on wet or humid walls. Moisture weakens the adhesive tape. Avoid rooms with steam like bathrooms, unless fully dry. Check for leaks or damp spots on the wall. Use a dry cloth to wipe if needed. Dry walls help hooks stay in place longer.
Dry The Wall Properly
Marking the spot for your Command hooks is an important step. It ensures the hook goes exactly where you want it. This helps the hook hold items securely and looks neat on your wall.
Use A Pencil
Use a pencil to mark the spot lightly on the wall. This makes it easy to erase if you need to adjust. Avoid using pens or markers, as they may leave permanent marks. A pencil mark is subtle and perfect for this task.
Measure For Accuracy
Measure the distance from the floor or ceiling to the spot. Use a ruler or tape measure to get precise numbers. Accurate measuring helps keep hooks level and spaced evenly. This prevents items from hanging crooked or slipping off.
Mark The Spot
Applying the Command Hook correctly is key to making it stick well and hold weight. This step ensures the hook stays secure on the wall for a long time. Follow the instructions carefully for best results.
Press Firmly
Place the hook on the wall. Press it firmly against the surface. Apply steady pressure for about 30 seconds. This action helps the adhesive bond tightly to the wall. Avoid quick or light presses.
Hold For Adhesion
Keep holding the hook for a few seconds after pressing. This gives the adhesive time to set. Do not move or test the hook right away. Let it sit undisturbed for at least one hour before hanging anything.
Apply The Command Hook
Waiting before hanging Command Hooks is a key step. It helps the adhesive stick well to the wall. Rushing this step can cause the hook to fall off quickly.
Patience ensures the best hold and prevents damage to your wall.
Recommended Wait Time
After pressing the hook on the wall, wait at least one hour. This time lets the adhesive bond fully. Some brands suggest waiting up to 24 hours for heavy items. Check the package instructions for exact times. Avoid hanging anything before the wait time ends.
Check Hook Stability
After the wait, gently test the hook’s grip. Press down lightly to see if it moves or feels loose. A stable hook will hold firm with no wiggle. If it feels weak, wait longer before hanging your items. Proper stability keeps your things safe and your wall damage-free.

Credit: www.samsclub.com
Frequently Asked Questions
How Do I Clean A Wall For Command Hooks?
Clean the wall with rubbing alcohol to remove dirt and oils. Avoid using soap or water, as they leave residue. Let the wall dry completely before applying the Command hook for the best adhesion.
Can I Use Command Hooks On Painted Walls?
Yes, Command hooks work well on most painted walls. Ensure the paint is fully cured and not peeling. Follow proper wall prep by cleaning with rubbing alcohol for a strong hold without damage.
How Long Should I Wait After Cleaning To Apply Hooks?
Wait at least 5 minutes after cleaning the wall with rubbing alcohol. This ensures the surface is completely dry and ready for the Command hook adhesive. Applying too soon may reduce stickiness.
Is It Necessary To Avoid Textured Walls For Hooks?
Yes, smooth walls are best for Command hooks. Textured or rough surfaces reduce adhesive contact, leading to weak hold. For textured walls, consider alternative mounting methods.
Conclusion
Preparing your wall properly makes command hooks stick better. Clean the surface well and let it dry fully. Avoid rough or dirty walls to keep hooks secure. Press hooks firmly for a strong hold. These simple steps help you hang items safely and neatly.
Taking time to prep saves frustration later. Ready walls mean your hooks stay put longer. Small effort upfront brings great results. Easy to do, and worth every minute.