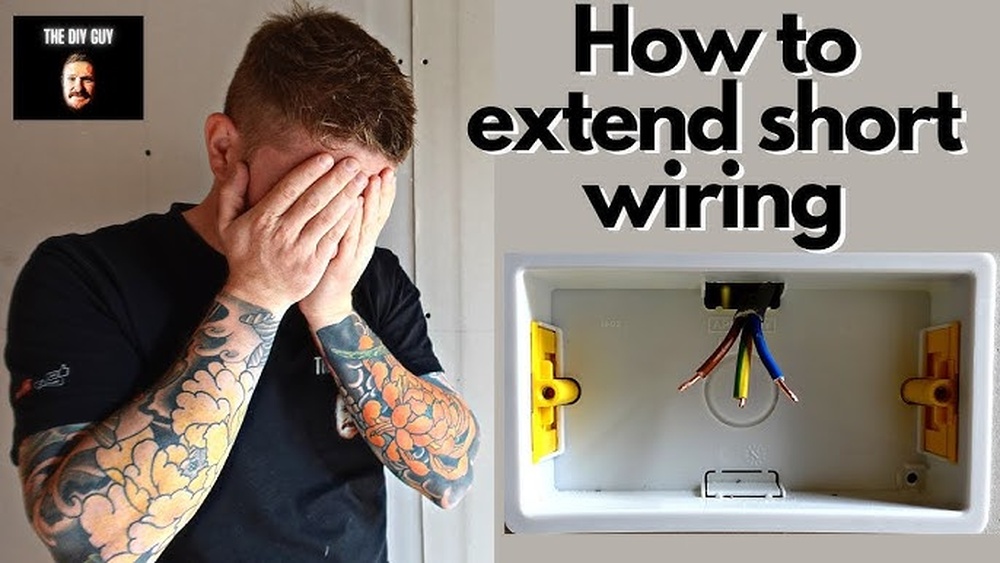
Have you ever faced the frustration of a light switch cable that’s just too short? Maybe you moved your furniture or installed a new fixture, and suddenly your switch won’t reach.
Don’t worry—extending a light switch cable is easier than you think. In this guide, you’ll discover simple, step-by-step instructions that anyone can follow. By the end, you’ll have the confidence to safely extend your cable and keep your lighting working perfectly.
Ready to save time and avoid costly repairs? Let’s get started!
Tools And Materials Needed
Extending a light switch cable requires specific tools and materials. Having the right items makes the job safe and simple. Gather everything before starting to avoid interruptions.
Wire Cutter And Stripper
These tools cut and remove insulation from wires. They prepare cables for connection. Choose a wire stripper that fits your cable size.
Extension Cable
Use a cable that matches the original wire type. Match the gauge and insulation to avoid electrical problems. Buy extra length to reach your needed distance.
Wire Connectors
These join wires securely. Use twist-on wire connectors or push-in connectors. They prevent loose connections and ensure safety.
Electrical Tape
Wrap connections with electrical tape. It insulates wires and protects against moisture. Use good quality tape for lasting results.
Screwdriver
A screwdriver helps open switch plates and tighten screws. Use the correct size to avoid damaging screws. A flathead or Phillips screwdriver often works.
Voltage Tester
This tool checks if wires carry electricity. Always test before handling wires. It keeps you safe from electric shocks.
Safety Gloves
Wear insulated gloves to protect your hands. They reduce the risk of electric shock and injury. Gloves also keep hands clean during work.
Safety Precautions
Safety is the top priority when extending a light switch cable. Working with electricity can be risky. Taking the right precautions helps prevent accidents and damage. Always prepare well before starting the job.
Turn Off The Power
Switch off the power at the main circuit breaker. Do not trust the wall switch alone. Use a voltage tester to confirm no current flows in the wires. Safety first.
Use Proper Tools And Materials
Choose tools made for electrical work. Insulated screwdrivers and wire strippers are best. Use cables that match the existing wire size and type. Cheap or wrong materials increase danger.
Wear Protective Gear
Wear rubber gloves and safety glasses. Protect your hands from electric shocks and your eyes from sparks. Avoid loose clothing that could catch on wires.
Work In A Dry Environment
Keep the work area dry and clean. Water and electricity do not mix well. Avoid working in damp or wet conditions to reduce shock risk.
Double-check Your Connections
Ensure all wire connections are tight and secure. Loose connections cause short circuits or fires. Use electrical tape or wire nuts to cover exposed wires.
Preparing The Existing Cable
Preparing the existing cable is the first step in extending a light switch cable. This process ensures a safe and secure connection. Taking time here helps avoid future electrical problems.
Start by turning off the power to the light switch. Safety is the top priority before handling any wires. Use a voltage tester to confirm the power is off.
Identify The Cable Type
Look closely at the cable running to the light switch. Most cables are either two-wire or three-wire. Knowing the type helps you choose the right extension cable.
Check the cable jacket for markings. This information shows wire gauge and insulation type. Match these specs when buying extension cables.
Strip The Cable Jacket
Remove about two inches of the outer cable jacket. Use a cable stripper tool for clean removal. Avoid cutting the inner wires.
Exposing the wires makes it easier to work with them. Handle the stripped wires carefully to keep insulation intact.
Strip Individual Wire Insulation
Strip about half an inch of insulation from each wire. Use a wire stripper sized for your wire gauge. Do not nick or damage the copper inside.
Exposed copper allows for a solid connection with the extension cable. Twisting the wire strands after stripping improves contact.
Selecting The Right Extension Cable
Choosing the right cable is important when extending a light switch. The cable must handle the electrical load safely. Using the wrong cable can cause problems like short circuits or fire hazards. This section helps you pick the right extension cable for your light switch project.
Understanding Cable Types
There are different types of cables for electrical work. The most common are twin and earth cables. These have two insulated wires and a bare earth wire. For light switches, twin and earth cables work well. Make sure the cable has the right number of wires for your switch.
Choosing The Correct Cable Size
Cable size is measured in square millimeters. It shows how much current the cable can carry. For most light switches, a 1.0mm² or 1.5mm² cable is enough. Using a thicker cable than needed is safe but not cost-effective. Too thin a cable risks overheating and damage.
Checking Cable Length Limits
Long cables can cause voltage drop, reducing light brightness. Keep the extension cable as short as possible. If the cable must be long, use a thicker cable size. This helps maintain proper voltage and keeps the switch working well.
Inspecting Cable Quality
Pick cables with good insulation and clear markings. Quality cables last longer and are safer to use. Avoid cables with cracks, cuts, or weak insulation. Use cables certified to meet safety standards in your area.
Stripping And Connecting Wires
Extending a light switch cable requires careful handling of wires. The process involves stripping the insulation and connecting the wires correctly. This step is key to a safe and lasting electrical connection.
Stripping Insulation Properly
Use a wire stripper to remove the insulation. Strip about one inch of the outer layer. Avoid cutting the copper wire inside. Damaged wires can cause poor connections or shorts. Strip only the needed length to keep wires neat.
Matching Wire Colors
Match wires by their color for correct connections. Typically, black or red wires carry power. White wires are neutral. Green or bare wires are ground. Connecting the right colors prevents electrical problems and ensures safety.
Using Connectors Safely
Twist wires together before using a connector. Use wire nuts or terminal blocks to secure connections. Tighten connectors firmly to avoid loose wires. Loose connections can cause sparks or failures. Check each connection to ensure it is tight and secure.
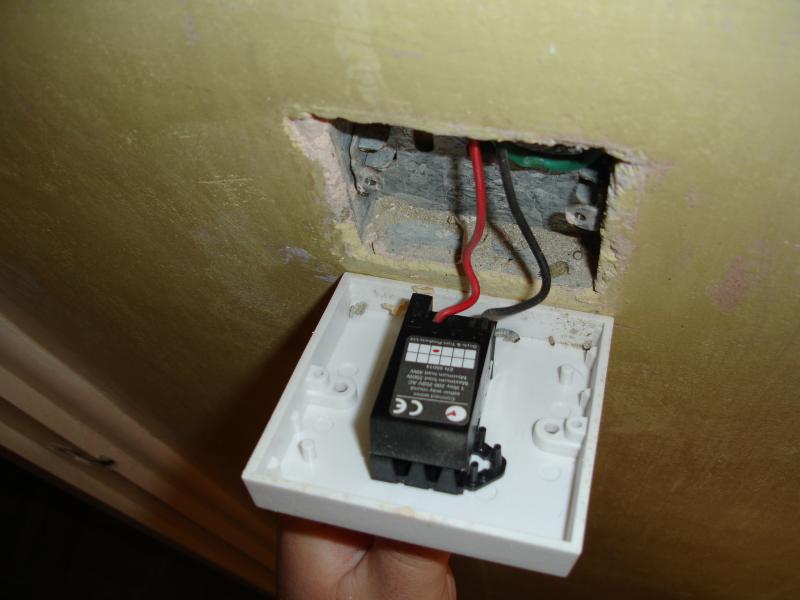
Credit: www.diynot.com
Securing The Extension Joint
Securing the extension joint is a crucial step in extending a light switch cable. It keeps the wires connected safely and prevents electrical hazards. Proper insulation protects the joint from moisture and damage. This helps maintain a steady flow of electricity. Choose the right method to secure your extension joint. Below are two effective ways to do this.
Using Electrical Tape
Electrical tape is a common and easy way to secure the joint. Wrap the tape tightly around the exposed wires after connecting them. Overlap each layer to cover all bare wires completely. Make sure to cover some of the cable insulation on both sides. This prevents the tape from slipping off. Check the tape regularly and replace it if it becomes loose or worn out.
Applying Heat Shrink Tubing
Heat shrink tubing offers strong protection for the joint. Slide the tubing over the wires before connecting them. After making the connection, move the tubing to cover the joint fully. Use a heat gun or lighter carefully to shrink the tubing. The tubing will fit tightly and create a waterproof seal. This method provides a durable and neat finish for the cable extension.
Testing The Extended Cable
Testing the extended light switch cable is a key step. It ensures safety and proper function. Skipping this step can cause faults or hazards. Follow simple tests to confirm the cable works well.
Using A Continuity Tester
A continuity tester checks if the cable is connected fully. Turn off the power first. Attach the tester probes to each cable end. The tester beeps if the connection is good. No beep means a break in the wire. Fix any breaks before moving on.
Checking With A Multimeter
Set the multimeter to the resistance mode. Connect the probes to both ends of the cable. A low resistance reading means the cable is fine. High or infinite resistance shows a fault. Replace or repair the cable if needed.
Powering On And Observing
Restore power after all tests are clear. Turn the light switch on and off several times. Watch for any flickering or unusual behavior. Stable light means the cable extension is successful. Unstable light requires rechecking connections.
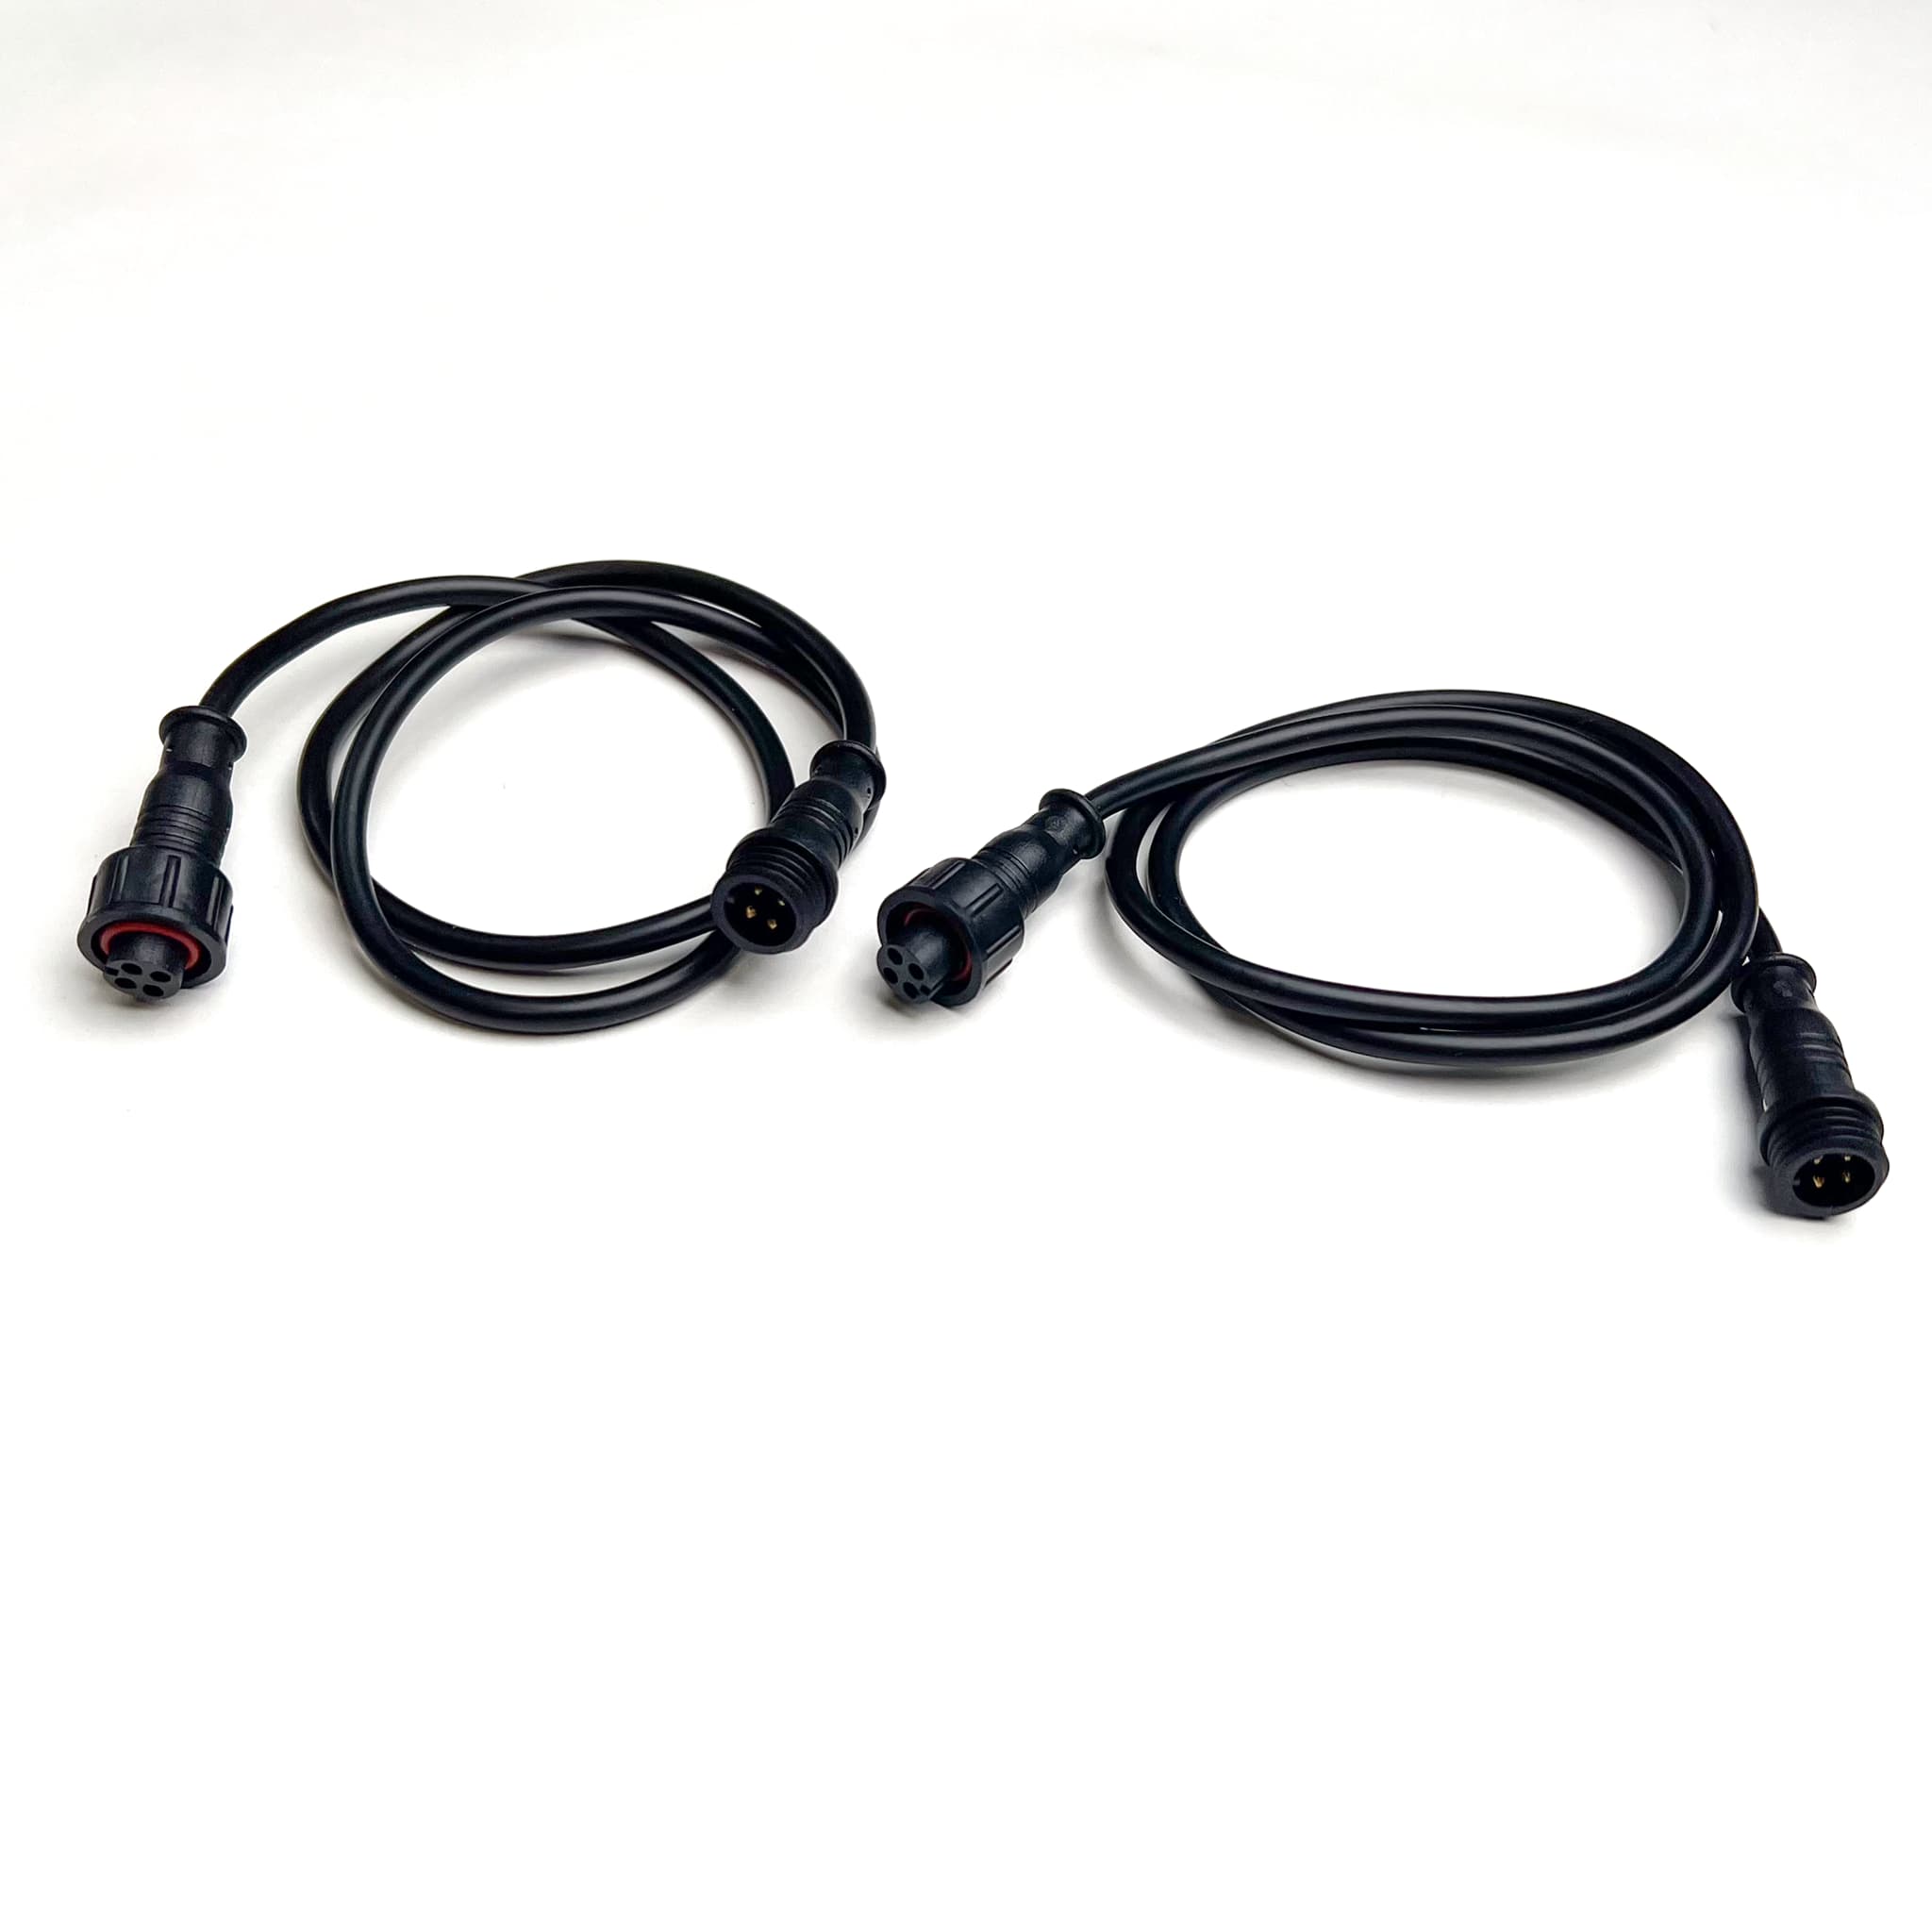
Credit: nocqua.com
Final Installation Tips
Final steps matter a lot in extending a light switch cable. Proper finishing keeps the switch safe and working well. Paying attention here prevents future problems and ensures smooth use.
Check All Connections
Make sure every wire is tightly connected. Loose wires can cause sparks or stop the switch from working. Use a screwdriver to tighten screws firmly. Double-check each wire before closing the box.
Use Electrical Tape
Wrap electrical tape around wire joints. This adds extra protection against short circuits. Tape also keeps wires from touching metal parts inside the box. Cover exposed copper fully with tape for safety.
Secure The Cable Properly
Fix the cable firmly to the wall or inside the box. Loose cables can pull on connections and cause damage. Use cable clips or ties to hold it in place. Avoid bending the cable sharply.
Test The Switch
Turn the power back on and test the switch. Check if the light turns on and off smoothly. Listen for any buzzing or unusual sounds. If something feels wrong, turn off the power and inspect again.
Close The Switch Box Carefully
Put the cover plate back on without forcing it. Make sure no wires get pinched. Tighten screws evenly to keep the plate flat. A well-closed box stops dust and moisture from entering.

Credit: www.youtube.com
Frequently Asked Questions
How Do I Safely Extend A Light Switch Cable?
Turn off the power at the breaker. Use proper connectors and insulated cable. Follow electrical codes and double-check connections.
What Tools Are Needed To Extend Light Switch Cables?
You need wire strippers, screwdrivers, electrical tape, cable connectors, and a voltage tester for safety and precision.
Can I Use Any Cable To Extend A Light Switch?
Use cables matching the original gauge and type. Always check local electrical codes before proceeding.
How Long Can A Light Switch Cable Extension Be?
Keep extensions as short as possible, ideally under 10 feet, to avoid voltage drop and maintain safety.
Conclusion
Extending a light switch cable is easier than it seems. Follow safety rules and use the right tools. Double-check all connections before turning power back on. Take your time and work carefully. This simple skill can save you money and time.
A little effort brings better lighting control at home. Keep practicing to improve your confidence. Safe and steady work leads to great results.