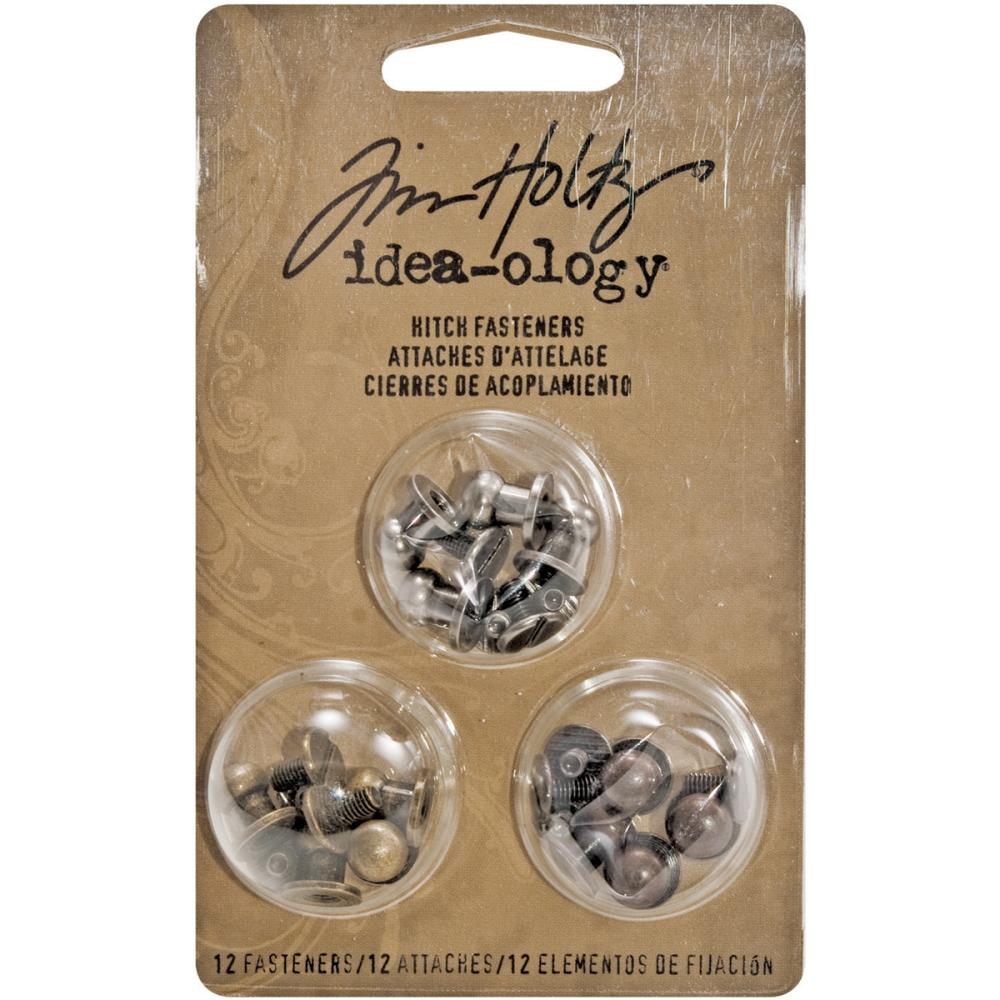
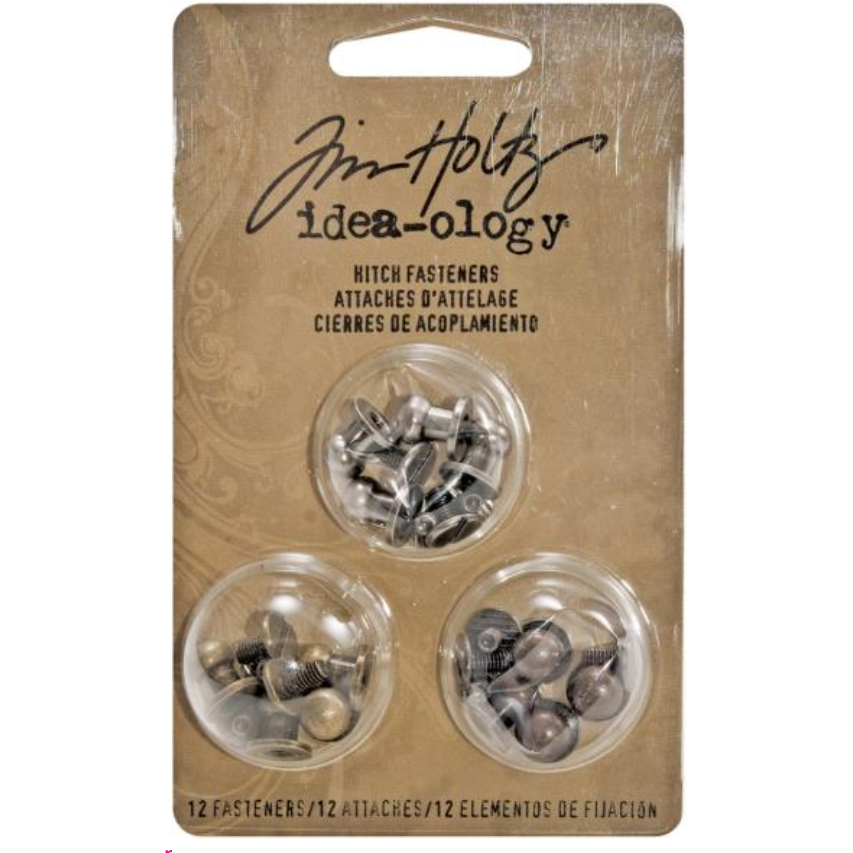
If you love crafting and want to add a unique touch to your projects, Tim Holtz Hitch Fasteners are a game-changer. But how do you use them to their full potential?
You’re about to discover simple, step-by-step tips that make these fasteners easy to work with, even if you’re new to them. By the end, you’ll know exactly how to secure your creations with style and strength. Ready to take your craft projects to the next level?
Let’s dive in!
What Are Tim Holtz Hitch Fasteners
Tim Holtz Hitch Fasteners are small, metal pieces used in crafting and scrapbooking. They help attach layers of paper or fabric securely. These fasteners add both function and style to projects.
They come in various finishes like antique brass and silver. This variety allows crafters to match them with different designs. Their vintage look fits many creative styles.
What Do Tim Holtz Hitch Fasteners Look Like?
Each fastener has a round head and two prongs on the back. The prongs bend to hold materials tightly. The head is decorative and visible on the project.
What Materials Can You Use Them With?
These fasteners work well with paper, leather, and fabric. They hold layers firmly without glue or tape. Ideal for scrapbooks, journals, and handmade cards.
Why Choose Tim Holtz Hitch Fasteners?
They provide a strong hold and add vintage charm. Easy to use with simple tools like pliers. Durable and reusable for many craft projects.

Credit: www.ebay.com
Materials Needed
Gathering the right materials makes using Tim Holtz Hitch Fasteners easier. Prepare everything before starting to save time. This ensures smooth and neat results for your project.
Tim Holtz Hitch Fasteners
These fasteners come in different sizes and finishes. Choose the size that fits your project needs. They hold papers and layers securely together.
Paper Or Cardstock
Use sturdy paper or cardstock for your project. Thin paper may tear when fasteners are used. Test the material to see if it holds well.
Hole Punch Or Awl
Make holes to insert the fasteners. A hole punch or awl works best for clean holes. The hole size should match the fastener size.
Scissors Or Craft Knife
Cut paper or trim edges if needed. Sharp scissors or a craft knife help shape your pieces. Always cut carefully for neat edges.
Ruler And Pencil
Measure and mark where to place the fasteners. Use a ruler for straight lines and a pencil for light marks. Precise placement improves the look of your project.
Step-by-step Installation
Installing Tim Holtz Hitch Fasteners is simple with clear steps. Follow this guide to attach them properly. Each step ensures your project stays secure and looks great.
Preparing Your Project
Choose the spot for the fastener carefully. Make sure the surface is clean and dry. Mark the exact point where you want to place the fastener. Use a small tool to create a hole if needed. This helps the fastener fit perfectly and stay strong.
Inserting The Fastener
Take the fastener and push it through the hole. The prongs should go all the way through the material. Check that the fastener sits flat and straight. Avoid forcing it to prevent damage. A gentle push is enough to secure it in place.
Securing The Backing
Flip the project to access the back side. Place the backing piece over the prongs. Press down firmly to bend the prongs outward. This locks the fastener securely. Make sure the prongs are bent evenly to avoid loosening.
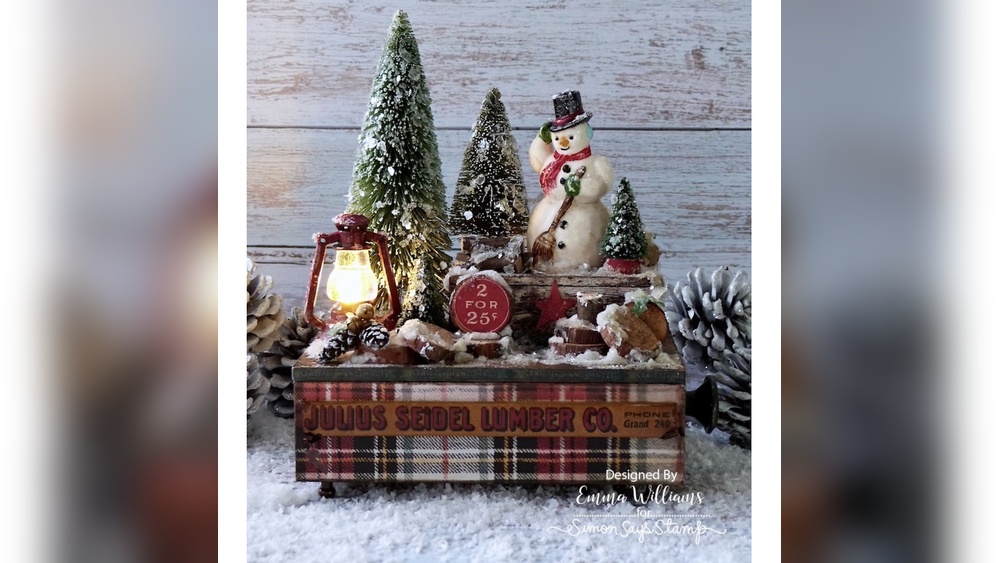
Credit: www.shop.artbyjenny.com.au
Creative Uses In Crafting
Tim Holtz Hitch Fasteners offer a versatile way to add both function and style to your crafting projects. These fasteners are small, easy to use, and perfect for joining materials with a vintage touch. They open creative doors for many craft ideas. Below are some popular ways to use them.
Journals And Notebooks
Use Hitch Fasteners to bind pages in journals or notebooks. They allow easy page removal or addition. The fasteners give a rustic, handmade look to your books. You can also attach charms or tags for decoration. They work well with leather, paper, and fabric covers.
Photo Albums
Secure photo album pages with these fasteners for a vintage feel. They keep photos safe but let you change layouts quickly. The fasteners blend well with scrapbook designs and aged paper styles. Use them to add small notes or memorabilia alongside photos. They hold thick pages firmly without damage.
Mixed Media Projects
Hitch Fasteners fit perfectly in mixed media art. They join paper, fabric, metal, and other materials smoothly. The fasteners add texture and interest to your artwork. Use them as accents or functional connectors in collages or altered books. Their unique look enhances creative layers and details.
Tips For Best Results
Using Tim Holtz Hitch Fasteners is simple but getting the best results needs care. Follow these tips to make your project strong and neat. Proper steps help your fasteners last longer and look better.
Choosing The Right Size
Pick the fastener size that fits your material. Too small can be weak. Too large may damage your project. Measure the thickness before selecting. This ensures a secure hold and neat finish.
Tools To Make Installation Easier
Use a hole punch or awl to make holes clean and precise. A small hammer or mallet helps set fasteners firmly. Tweezers can hold small parts steady. These tools save time and avoid mistakes.
Avoiding Common Mistakes
Do not force fasteners into thick material. This can bend or break them. Check that holes line up before pressing fasteners. Avoid over-tightening to prevent damage. Always work on a soft surface to protect your tools and project.
Alternatives And Complements
Tim Holtz Hitch Fasteners offer a strong hold and a vintage look. Sometimes, different projects need other types of fasteners or extra decoration. Exploring alternatives and complements can make your craft stand out. It helps to know what else works well with these fasteners.
Other Fastener Options
Brads, eyelets, and rivets are good alternatives to Hitch Fasteners. Brads come in many colors and shapes. Eyelets add a neat, finished hole to your paper or fabric. Rivets give a sturdy, industrial feel to your project. Each option offers a unique style and strength level. Choose the one that fits your design and materials best.
Combining With Other Embellishments
Mixing Hitch Fasteners with ribbons, buttons, or charms adds visual interest. Ribbons soften the look and add texture. Buttons bring color and a playful touch. Charms create a personal or thematic element. Layering these with fasteners creates depth and detail. It makes your project look more complex and special.
Cleaning And Maintenance
Cleaning and maintaining Tim Holtz hitch fasteners is simple. It helps keep them working well for a long time. Dirt and dust can cause the fasteners to stick or not close properly. Regular care prevents damage and saves you money on replacements.
Cleaning The Surface
Use a soft, dry cloth to wipe the fasteners. Remove dust and loose dirt gently. For sticky spots, dampen the cloth slightly with water. Avoid harsh chemicals that can damage the metal finish. Dry the fasteners completely after cleaning.
Removing Rust
Rust can form if the fasteners get wet. Use a small brush with mild soap and water to scrub rust spots. Rinse and dry well. For tough rust, try a bit of white vinegar on a cloth. Test on a small area first to avoid damage.
Lubricating Moving Parts
Fasteners work smoothly with light oil or silicone spray. Apply a tiny amount on the hinge or moving areas. Wipe off any extra oil to stop dirt buildup. Regular lubrication keeps the fasteners easy to open and close.
Proper Storage Tips
Store fasteners in a dry place. Keep them away from moisture and dust. Use small containers or bags to protect fasteners from scratches. Organized storage saves time and keeps parts clean.
Credit: www.simonsaysstamp.com
Frequently Asked Questions
What Are Tim Holtz Hitch Fasteners Used For?
Tim Holtz Hitch Fasteners secure papers and embellishments in crafting projects. They hold layers firmly without damage. They are ideal for scrapbooks, journals, and mixed media art. Their unique design adds a vintage, industrial look to creations. They are easy to install and reposition if needed.
How Do You Install Tim Holtz Hitch Fasteners?
To install, punch a hole in your material using a hole punch. Insert the fastener prongs through the hole. Fold the prongs flat on the backside to secure. Use a metal or bone folder tool to press prongs firmly. This ensures a strong and neat attachment.
Can Tim Holtz Hitch Fasteners Be Reused?
Yes, these fasteners can be reused if handled carefully. Gently unfold the prongs without bending them excessively. This preserves their shape for multiple uses. However, repeated bending may weaken the metal. Reusability makes them cost-effective and versatile for various projects.
What Materials Work Best With These Fasteners?
Tim Holtz Hitch Fasteners work best with paper, cardstock, thin leather, and fabric. They require materials thick enough to hold without tearing. Avoid very thin or fragile papers for durability. They add decorative and functional value to mixed media crafts.
Conclusion
Tim Holtz Hitch Fasteners offer a simple way to join materials securely. They work well for many craft projects and add a nice touch. Using them is quick once you understand the steps. Practice a little, and you will gain confidence.
These fasteners help your work stay neat and strong. Keep experimenting to find new creative uses. Enjoy making your projects both functional and stylish.