Are you tired of wall anchors that stick out or don’t sit flush with your walls? Learning how to countersink wall anchors can make a huge difference in the look and strength of your installations.
When you countersink correctly, your anchors blend seamlessly into the wall, giving your project a clean, professional finish. You’ll discover simple steps and expert tips to make your anchors sit perfectly every time. Keep reading to transform your DIY skills and achieve flawless results that will impress everyone.
Choosing Wall Anchors
Choosing the right wall anchor is key to a secure hold. Different walls need different anchors. Picking the correct one saves time and effort. It also keeps your items safe on the wall.
Types Of Wall Anchors
Plastic expansion anchors are common for light loads. They work well in drywall and plaster. Metal anchors offer stronger support for heavy items. Toggle bolts expand behind the wall for extra grip. Molly bolts create a strong hold in hollow walls. Each type fits certain wall materials and weights.
Selecting The Right Anchor For Your Wall
Know your wall type first: drywall, concrete, or brick. Choose anchors made for that material. Check the weight of the item to hang. Light objects need small anchors. Heavy objects require larger or metal anchors. Match the anchor size to the drill bit. Use anchors that fit tightly to avoid wall damage.

Credit: www.overstock.com
Tools Needed
To countersink a wall anchor, having the right tools is important. These tools help create a clean, secure hole for the anchor. Using proper tools makes the task easier and ensures a professional finish.
Drill And Drill Bits
A drill is essential for making holes in the wall. Choose a drill with adjustable speed for better control. Use drill bits that match the size of your wall anchor. This prevents the hole from being too big or too small.
Countersink Bits
Countersink bits create a small, angled recess around the hole. This allows the anchor head to sit flush with the wall. Choose a countersink bit that fits the anchor size for a neat finish.
Measuring Tools And Markers
Measuring tools help mark the exact spot for drilling. Use a tape measure or ruler for accuracy. A pencil or marker makes clear marks on the wall. Accurate marks prevent mistakes and wasted effort.
Preparing The Wall
Preparing the wall is the first important step in countersinking a wall anchor. This step helps ensure the anchor fits well and holds firmly. Proper preparation makes the entire process smoother and safer.
Marking The Drill Spot
Start by choosing the exact spot for the anchor. Use a pencil to make a small mark on the wall. This mark guides your drill and keeps the hole in the right place. Measure twice to avoid mistakes. Check that the spot aligns with what you want to hang or fix.
Checking For Obstacles
Look behind the wall before drilling. Use a stud finder or a small mirror to find pipes, wires, or studs. Avoid these obstacles to prevent damage and accidents. Make sure the wall area is clear to drill safely. This step protects both your home and your tools.

Credit: www.amazon.com
Drilling The Pilot Hole
Drilling the pilot hole is a key step in countersinking wall anchors. It prepares the wall for the anchor and ensures a secure fit. The right pilot hole size and depth help the anchor hold firmly without damaging the wall.
Choosing The Drill Bit Size
Select a drill bit that matches the anchor size. The hole should be slightly smaller than the anchor’s outer diameter. This tight fit keeps the anchor from spinning or slipping. Check the anchor packaging for the recommended drill bit size. Use a sharp bit to make a clean hole without cracking the wall.
Drilling At The Correct Depth
Drill the hole just deep enough for the anchor to fit fully. Too shallow, and the anchor won’t hold properly. Too deep, and the anchor may not expand correctly. Mark the drill bit with tape to measure the depth. Stop drilling once the mark reaches the wall surface. This control helps keep the anchor secure and the wall intact.
Countersinking The Hole
Countersinking the hole is an important step when installing wall anchors. It allows the screw head to sit flush or below the surface. This helps create a neat finish and prevents damage to the wall.
Proper countersinking also improves the anchor’s hold. It gives the screw a better grip and reduces the chance of the anchor slipping out.
Using A Countersink Bit
A countersink bit is a special drill bit designed for this task. It creates a conical hole that fits the screw head perfectly. Attach the bit to your drill and match it to the screw size.
Start drilling slowly at the hole’s edge. Drill just enough to make space for the screw head. Avoid drilling too deep to keep the anchor secure.
Creating A Clean, Even Countersink
Clean edges make the installation look professional. Use steady pressure and keep the drill straight. This prevents uneven or rough edges around the hole.
After countersinking, remove any dust or debris. A clean hole helps the screw and anchor fit better. Check the depth by placing the screw in the hole before final installation.
Installing The Wall Anchor
Installing a wall anchor correctly is key for a strong hold. It helps your screws stay firm in drywall or other soft materials. Taking time to place the anchor right ensures your wall mount or shelf stays safe and steady.
Inserting The Anchor Flush
Start by pushing the anchor into the drilled hole. It should sit evenly with the wall surface. Use gentle pressure to avoid breaking the anchor. If it sticks out, tap it lightly with a hammer. The anchor must be flush to keep the screw straight.
Ensuring A Secure Fit
Check the anchor fits tightly in the hole. It should not wiggle or move. A loose anchor weakens the hold and risks damage. If loose, use a bigger anchor or drill a new hole. The anchor needs firm contact with the wall for best support.
Finishing Touches
Finishing touches are important after countersinking a wall anchor. They ensure the anchor fits well and holds strong. This step prevents damage and keeps your wall neat. Follow these simple tips to complete the job perfectly.
Checking Anchor Stability
Push the anchor gently into the hole. It should fit snugly without moving. If it feels loose, remove and try a bigger anchor. A stable anchor prevents your screws from falling out later. Test by wiggling the anchor slightly. No movement means it is secure and ready.
Preparing For Screw Installation
Choose the right screw size for your anchor. Insert the screw slowly to avoid damaging the wall. Keep the screw straight while turning. Stop tightening when the screw head is flush with the wall. Too tight can crack the anchor or wall. Proper preparation makes your installation last longer.

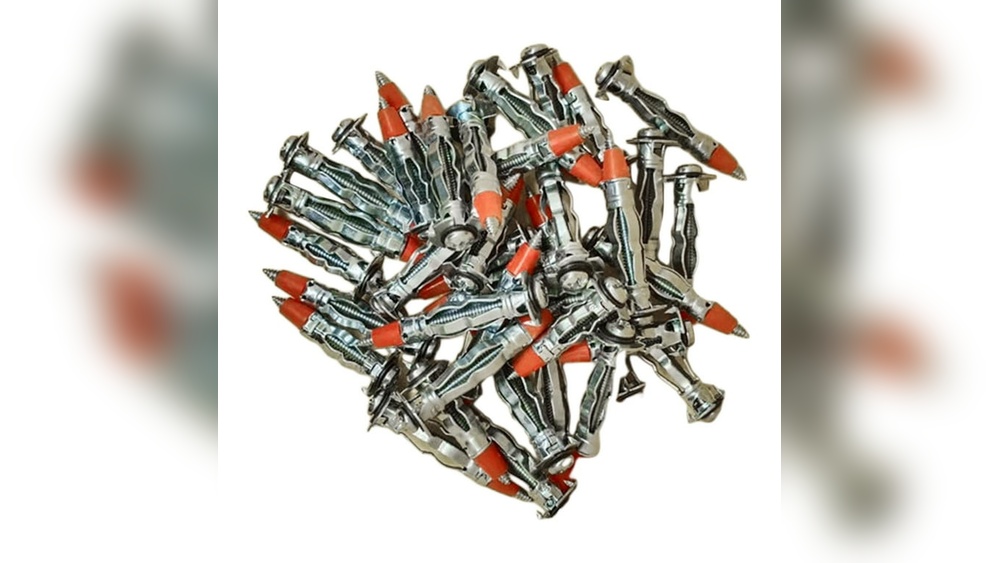
Credit: steeldoor.org
Frequently Asked Questions
What Tools Are Needed To Countersink Wall Anchors?
You need a drill, countersink bit, wall anchors, and a screwdriver. These tools ensure precise holes and secure anchor placement. Always choose the right size countersink bit for the anchor to avoid damage and improve stability.
How Deep Should I Countersink A Wall Anchor?
Countersink depth should match the anchor’s collar thickness. This depth ensures the anchor sits flush with the wall surface. Proper depth prevents wall damage and improves the anchor’s holding strength.
Can I Countersink Wall Anchors In Drywall?
Yes, you can countersink wall anchors in drywall carefully. Use a suitable countersink bit and avoid making holes too large. Proper countersinking improves anchor grip and keeps the wall surface neat.
Why Is Countersinking Important For Wall Anchors?
Countersinking helps anchors sit flush and distribute load evenly. This prevents anchor pull-out and wall damage. It also enhances the finished look by hiding screw heads within the wall surface.
Conclusion
Countersinking wall anchors helps create a smooth, secure finish. It keeps anchors flush with the wall surface. This method prevents damage and improves stability. Using the right tools makes the process easier. Take your time and measure carefully. Practice on scrap material if unsure.
Proper countersinking leads to stronger, neater installations. Now, you can hang items with confidence and safety. Simple steps bring great results every time.