If you want to make your home safer, adding a deadbolt to your wood door is one of the best steps you can take. But how do you do it right?
You might feel unsure about the tools you need or the steps to follow. Don’t worry—this guide will walk you through each part clearly and simply. By the end, you’ll have the confidence to secure your door like a pro.
Keep reading to learn how to protect your home with a strong, reliable deadbolt.
Credit: www.reddit.com
Choosing The Right Deadbolt
Choosing the right deadbolt is an important step to secure a wood door properly. It affects how well your door will protect your home. A good deadbolt fits well, works smoothly, and lasts a long time. This section covers the main points to help pick the best deadbolt for your wood door.
Types Of Deadbolts
Deadbolts come in three common types: single-cylinder, double-cylinder, and lockable thumbturn. Single-cylinder deadbolts use a key outside and a thumbturn inside. They are easy to use and common for homes.
Double-cylinder deadbolts need a key on both sides. They offer more security but can be risky in emergencies. Lockable thumbturn deadbolts allow locking the thumbturn from inside with a key. This type adds extra protection against break-ins.
Selecting The Correct Size
Deadbolts come in different sizes. The main size to check is the backset, the distance from the door edge to the center of the hole. Most doors have a 2-3/8 inch or 2-3/4 inch backset. Measure your door before buying to ensure a proper fit.
The bolt length is also important. It must fit the door thickness and frame. Most deadbolts fit standard door thickness of 1-3/8 to 1-3/4 inches. Check this detail to avoid installation problems.
Material Considerations
Deadbolts are usually made of brass, stainless steel, or zinc. Brass offers good strength and resists rust. Stainless steel is very strong and ideal for outdoor doors exposed to weather. Zinc is less expensive but may wear out faster.
Choose a deadbolt with a durable finish to protect against corrosion. Satin nickel and oil-rubbed bronze are popular finishes that last long and look good on wood doors.
Tools And Materials Needed
Installing a deadbolt on a wood door needs the right tools and materials. This makes the job easier and safer. Gathering everything before starting saves time and avoids frustration.
This section lists the must-have tools and materials. It also covers the safety gear to protect yourself during the installation.
Essential Tools List
- Drill with drill bits for wood and metal
- Hole saw kit sized for deadbolt
- Phillips and flat-head screwdrivers
- Chisel for mortising the door edge
- Tape measure for accurate markings
- Pencil to mark drill points
- Hammer to help with chiseling
- Level to ensure straight installation
- Utility knife for clean cuts
Recommended Materials
- Deadbolt lock set designed for wood doors
- Wood screws that fit the lock plate
- Wood filler to patch any mistakes
- Sandpaper to smooth rough edges
- Weatherstripping to seal around the lock
- Primer and paint for finishing touch
Safety Gear
- Safety glasses to protect your eyes
- Work gloves to protect your hands
- Ear protection if using loud power tools
- Dust mask to avoid inhaling wood dust
Preparing The Door
Preparing the door is the first step in installing a deadbolt. This phase ensures the lock fits perfectly and works well. Careful preparation helps avoid mistakes and saves time later.
Marking The Deadbolt Position
Start by deciding where the deadbolt will go. Usually, it is placed about six inches above the doorknob. Use a pencil to mark the spot on the door edge and face. These marks guide your drilling and cutting.
Measuring And Aligning
Measure twice to confirm the marks are correct. Check the height and distance from the door edge. Make sure the marks line up straight. Proper alignment keeps the deadbolt secure and easy to use.
Drilling The Pilot Holes
Drill small pilot holes at the marked points. Use a drill bit that matches the size of screws or bolts. Pilot holes prevent the wood from splitting. They also make it easier to drill larger holes later.

Credit: www.youtube.com
Installing The Deadbolt
Installing the deadbolt is a key step to secure your wood door. It needs precise measurements and careful work. Follow each step to fit the lock correctly and ensure it works well.
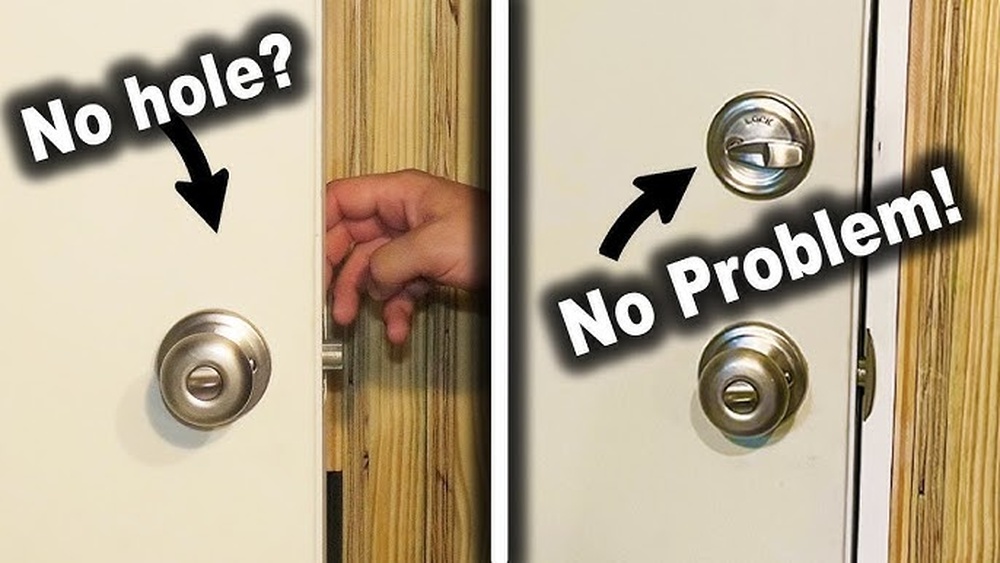
Drilling The Main Borehole
Mark the spot on the door where the deadbolt will go. Use a hole saw bit to drill through the door. Drill slowly and keep the drill straight. This hole is for the lock cylinder and must be clean and round. Check the size matches the deadbolt instructions.
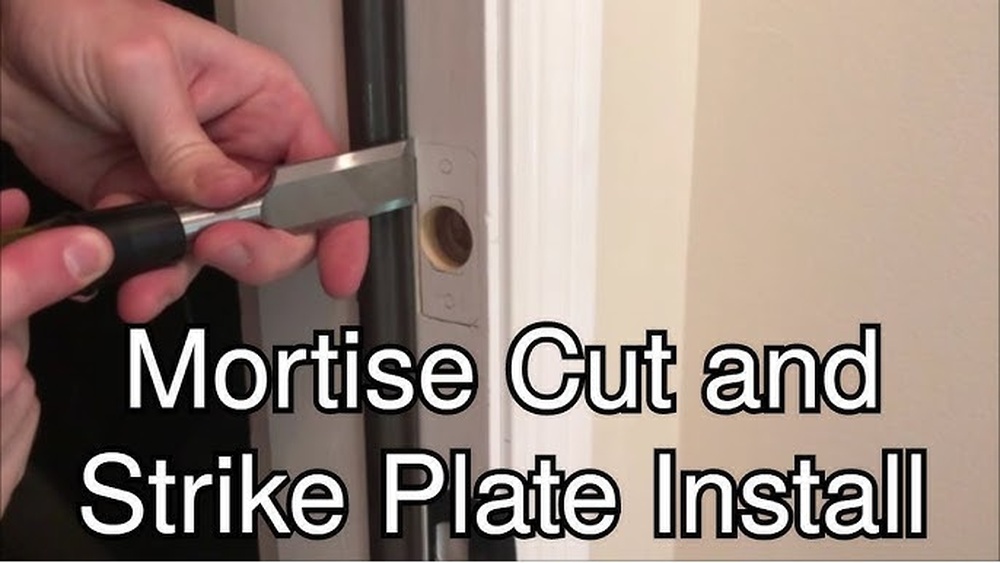
Cutting The Latch Recess
Next, mark the edge of the door for the latch plate. Use a chisel or router to create a shallow recess. The latch plate should fit flush with the door edge. Make the recess smooth to avoid gaps. This step keeps the latch secure and neat.
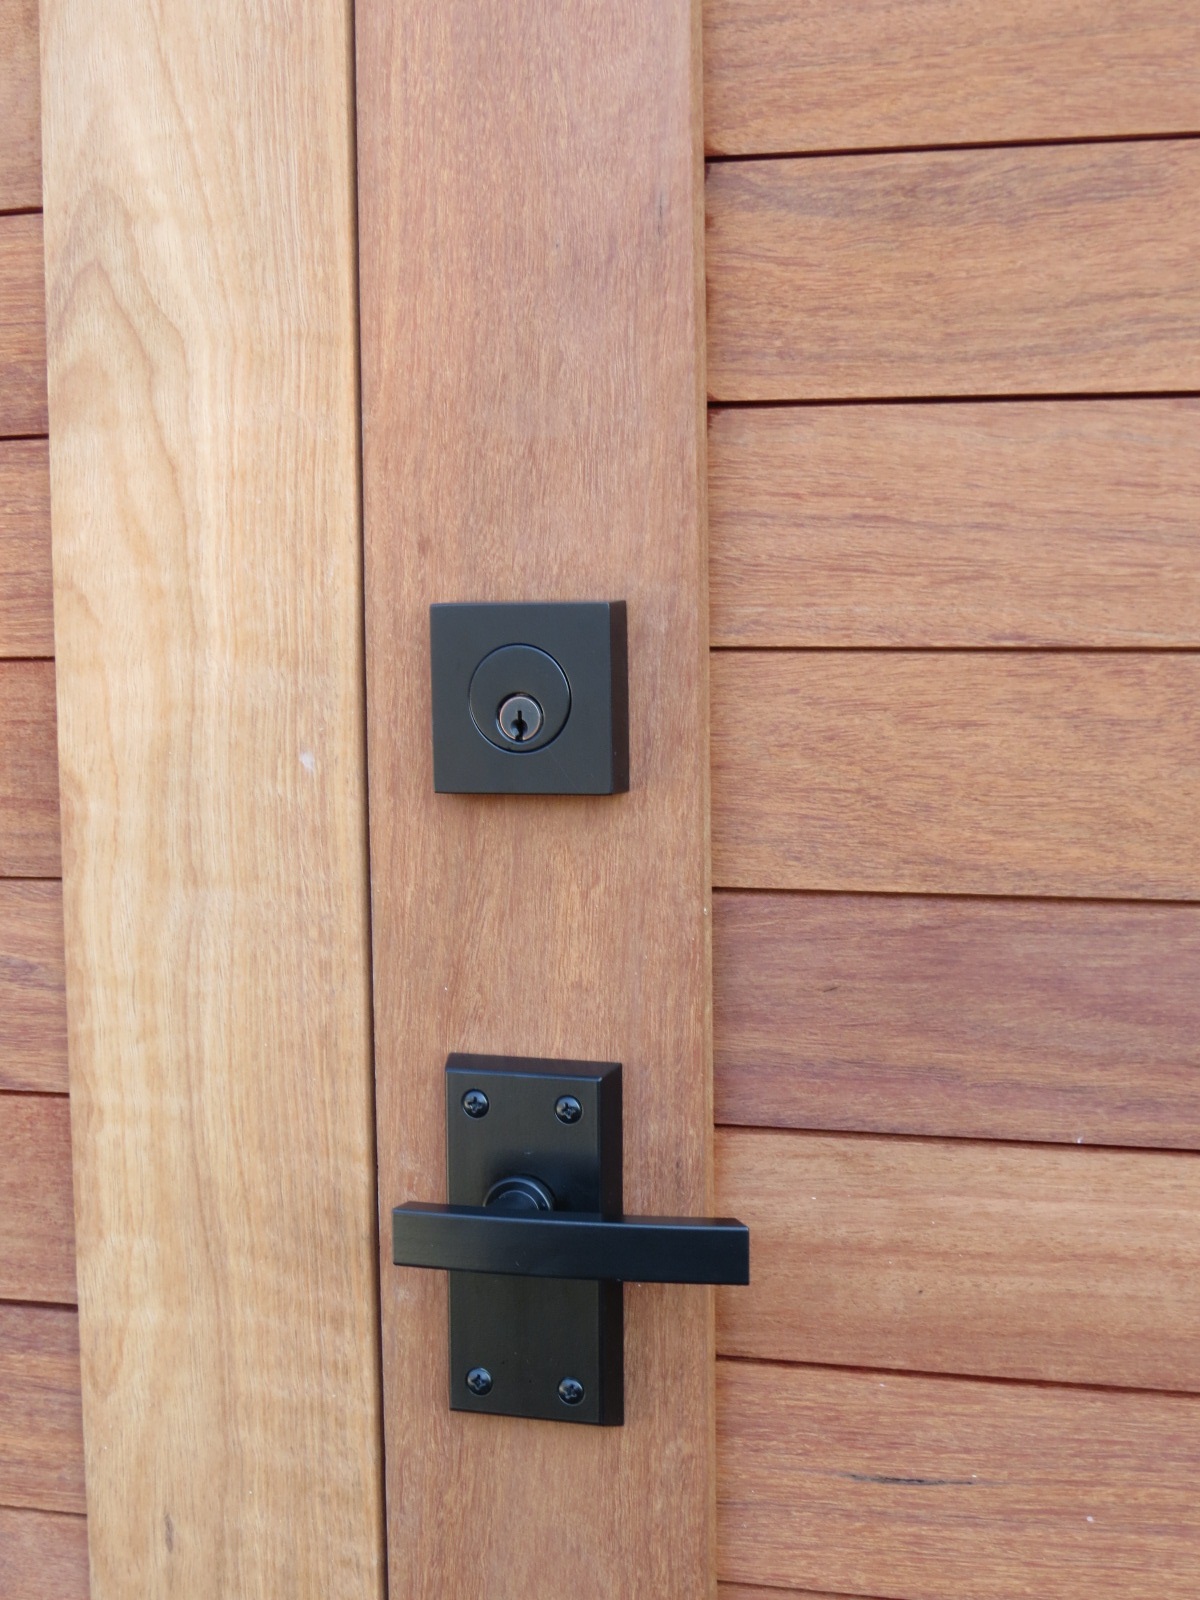
Fitting The Deadbolt Mechanism
Insert the latch into the recess and screw it tightly. Place the deadbolt cylinder through the main hole. Align the inside and outside parts carefully. Secure all screws firmly. Test the deadbolt by turning the key or thumb turn. It should move smoothly without sticking.
Securing The Strike Plate
Securing the strike plate is a key step in installing a deadbolt on a wood door. It helps keep the door locked tightly and adds extra safety. The strike plate holds the deadbolt latch firmly in place. Proper installation makes the lock work smoothly and stops the door from being forced open.
Locating The Strike Plate Position
Start by closing the door and marking where the deadbolt latch hits the door frame. This spot is where the strike plate will go. Use a pencil to draw the outline of the strike plate on the wood. Check that the mark is level and in line with the deadbolt latch on the door.
Chiseling The Mortise
Use a chisel to make a shallow recess inside the marked area. This space, called a mortise, allows the strike plate to sit flush with the door frame. Work slowly and carefully to avoid splitting the wood. The mortise should be deep enough for the strike plate to fit flat.
Attaching The Strike Plate
Place the strike plate into the mortise. Align the screw holes with the wood. Use screws to fix the strike plate tightly in place. Make sure the plate does not move or wiggle. Test the deadbolt by locking and unlocking the door to confirm a secure fit.
Testing And Adjustments
After installing the deadbolt in your wood door, testing and adjustments are crucial. This step ensures the lock works well and fits perfectly. A well-tested deadbolt gives better security and smooth use.
Checking Lock Functionality
Turn the key several times to test the lock. The bolt should move easily in and out of the door frame. Try locking and unlocking from both sides. The lock must catch firmly without sticking or jamming.
Adjusting Alignment
Check if the bolt lines up with the strike plate on the door frame. Misalignment causes the lock to stick or not close fully. Adjust the strike plate by moving it slightly up, down, or sideways. Use a screwdriver to loosen screws, reposition the plate, and tighten again.
Ensuring Smooth Operation
Open and close the door several times to check smoothness. The deadbolt should slide without resistance. If it feels stiff, apply graphite lubricant to the bolt and keyhole. Avoid oil-based lubricants as they can attract dirt. Smooth operation makes the lock last longer and easier to use.
Maintenance Tips
Keeping your deadbolt working well means regular care. Small actions help your lock last longer and stay secure. Follow these tips to keep your wood door deadbolt in good shape.
Lubricating The Lock
Apply a small amount of graphite or silicone spray inside the keyhole. Avoid oil-based lubricants as they can attract dirt. Lubricate twice a year to keep the lock smooth and easy to turn. This prevents sticking or jamming of the deadbolt mechanism.
Inspecting For Wear
Check the lock and door area for signs of damage or rust. Look at screws, plates, and the bolt itself. Tighten any loose screws to keep the lock stable. Watch for cracks in the wood around the lock, which may affect security.
When To Replace Components
Replace parts if the lock feels stiff or the key turns roughly. Change worn or broken screws and strike plates immediately. If the deadbolt no longer locks securely, install a new lock. Regular checks help avoid sudden lock failure and keep your home safe.
Credit: 360yardware.com
Frequently Asked Questions
How Do I Choose The Right Deadbolt For A Wood Door?
Select a deadbolt that fits your door’s thickness and style. Measure accurately and consider single or double cylinder types for security.
What Tools Are Needed To Install A Deadbolt On Wood?
Common tools include a drill, hole saw, screwdriver, chisel, tape measure, and pencil. These help create precise holes and secure the lock.
Can I Install A Deadbolt Without Professional Help?
Yes, with basic tools and careful measurements, you can install a deadbolt yourself. Follow step-by-step instructions for best results.
How Do I Ensure My Deadbolt Is Properly Aligned?
Mark and drill holes accurately. Test the deadbolt to confirm smooth locking and unlocking. Adjust the strike plate if needed.
Conclusion
Installing a deadbolt on a wood door adds strong security. Follow each step carefully for the best results. Take your time to measure and drill correctly. Use the right tools to avoid mistakes and damage. A properly fitted deadbolt keeps your home safer.
You can protect your family and belongings better now. Try this easy project and see how secure your door becomes. Small effort, big peace of mind.