If you’ve just installed a Brinks deadbolt or want to upgrade your home security, learning how to program it yourself is a smart move. You might think it’s complicated, but it’s easier than you expect—and doing it yourself puts you in full control.
Imagine never fumbling for keys again or quickly changing your code whenever you need. In this guide, you’ll find simple, step-by-step instructions to program your Brinks deadbolt quickly and confidently. Keep reading to secure your home the easy way.
Tools Needed
Programming a Brinks deadbolt requires a few basic tools. These tools help you work safely and efficiently. Having the right tools saves time and avoids mistakes. Gather everything before you start the process.
Screwdriver
A screwdriver is essential for removing and securing screws. Most deadbolts use Phillips-head screws. A flat-head screwdriver may also be useful. Choose a screwdriver that fits the screws well to avoid damage.
Batteries
Many Brinks deadbolts need batteries for programming. Check the deadbolt’s manual for the battery type. Usually, AA or AAA batteries work. Fresh batteries ensure the deadbolt powers on correctly.
Programming Instructions
Keep the Brinks deadbolt manual or programming guide close. It contains step-by-step instructions. Follow the guide carefully to avoid errors. A printed copy or a digital version on your phone works well.
Pen And Paper
A pen and paper help record your new codes. Write down the master code and user codes. Keep the notes safe and private. This prevents code loss and helps with future programming.

Credit: brinkslocks.com
Preparing The Deadbolt
Before programming your Brinks deadbolt, prepare it properly. This step ensures the lock works smoothly during setup. Preparation helps avoid errors or interruptions. Take your time to follow these simple tasks carefully.
Start by accessing the lock’s internal components. Check its power source to prevent failure during programming. These actions make programming easier and faster.
Removing The Cover
Locate the screws on the interior side of the deadbolt. Use a screwdriver to remove them. Keep the screws safe for later use. Gently lift the cover off the lock. Avoid forcing it to prevent damage. This exposes the battery compartment and programming buttons. Now, you can access the parts needed for setup.
Checking The Batteries
Look inside the battery compartment. Check if the batteries are installed correctly. Remove old or weak batteries and replace them. Use fresh batteries of the recommended type. This prevents power loss during programming. Ensure the batteries fit snugly without moving. Close the battery compartment securely after replacing.
Entering Programming Mode
Entering programming mode is the first step to customize your Brinks deadbolt. This mode lets you add or remove user codes easily. It is simple to activate but needs careful attention to avoid errors.
Follow the steps below to enter programming mode correctly. This ensures smooth setup and secure access to your lock.
Locating The Programming Button
Open the battery cover on the inside part of the lock. You will see a small black button. This is the programming button.
The button is usually near the batteries or on the lock’s interior panel. It might be labeled “Program” or “P.”
Activating The Mode
Press and hold the programming button for about 5 seconds. You will hear a beep or see a light flash.
This sound or light means the lock is now in programming mode. Release the button right after the beep.
After entering programming mode, you can start adding or deleting user codes. The lock will stay in this mode for a limited time.

Credit: www.youtube.com
Setting A New Code
Setting a new code on your Brinks deadbolt is simple and quick. It helps keep your home safe and lets only trusted people enter. Follow these easy steps to set a new code correctly.
Choosing A Secure Code
Pick a code that is easy to remember but hard to guess. Avoid simple patterns like 1234 or 1111. Use a mix of numbers that do not relate to your birthday or address. A strong code keeps your door more secure.
Entering The Code
Press the keypad buttons to enter your chosen code. Enter each number slowly and clearly. If you make a mistake, start over to ensure accuracy. Correct entry is crucial for the deadbolt to accept the new code.
Confirming The Code
After entering the code, you must confirm it. Re-enter the same code exactly as before. The lock will signal if the code matches. If it does not match, repeat the steps to avoid errors.
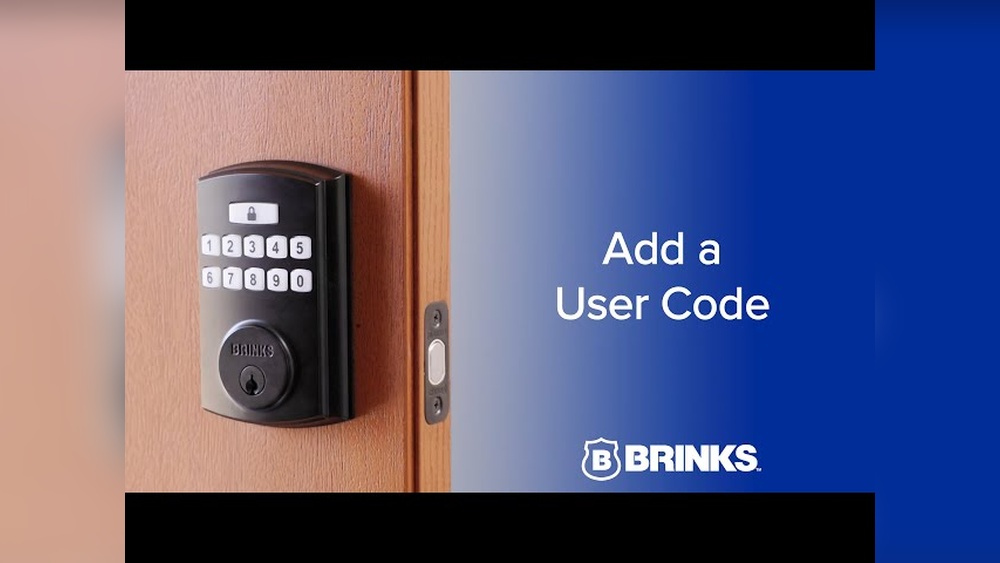
Adding Additional Users
Adding additional users to your Brinks deadbolt is simple. It lets family members or trusted friends have their own codes. This feature increases convenience and security. You control who can access your home without sharing one code.
Accessing User Settings
Start by opening the lock’s programming mode. Press the programming button found inside the lock. It may require the master code to activate. Wait for the lock to beep or flash to show it is ready. This step lets you manage user codes safely.
Programming User Codes
Enter the new user code using the keypad. Codes usually have 4 to 8 digits. Confirm the code by pressing the lock or check button. The lock will beep to confirm the code is saved. Repeat for each new user you want to add. Each user will have their unique code to use.
Deleting Existing Codes
Deleting existing codes on your Brinks deadbolt is essential for security. Removing old or unused codes prevents unauthorized access. It also keeps your lock system organized and easy to manage. This process is simple and quick.
Selecting Codes To Remove
Start by identifying which codes you want to delete. These could be codes given to guests or old family members. Use your lock’s keypad or app to view saved codes. Choose the codes that are no longer needed. This step helps keep your deadbolt secure and up to date.
Resetting To Factory Settings
Resetting the lock erases all saved codes at once. This is useful if many codes need removal. To reset, press and hold the reset button. The button is usually inside the lock housing. Release it after the indicator light flashes. Your lock will now have only the master code active. Remember, you must reprogram new codes after reset.
Testing The Deadbolt
Testing the deadbolt is a key step after programming it. This step confirms that the lock works correctly and keeps your home safe. Testing helps catch any mistakes in the code or lock setup early. Follow simple checks to ensure everything functions as it should.
Verifying Code Entry
Start by entering the new code you programmed. Press the buttons firmly and slowly. Listen for a beep or watch for a light signal. These signs show the code is accepted.
Try entering the wrong code. The lock should not open. This test confirms the deadbolt only reacts to the correct code. Repeat the correct code entry several times to check consistency.
Checking Lock Functionality
Turn the thumb turn or handle to lock and unlock. The bolt should move smoothly without sticking. Test the lock from both inside and outside the door.
Ensure the deadbolt extends fully when locked. Check that it retracts completely when unlocked. If the bolt jams or feels loose, adjust the lock or door alignment.
Troubleshooting Tips
Programming a Brinks deadbolt usually goes smoothly. Yet, some problems might appear during setup or daily use. Troubleshooting helps fix these issues fast. It keeps your deadbolt working well and secure.
Below are key tips to solve common problems. These tips also guide you on battery care. Proper attention makes your deadbolt last longer and stay reliable.
Common Issues
Sometimes the keypad may not respond. This could be due to low battery or dirt on the buttons. Clean the keypad gently with a soft cloth. Check for stuck keys or debris.
Another issue is the deadbolt not locking or unlocking properly. Make sure the deadbolt is aligned with the strike plate. Misalignment can block smooth operation.
Programming errors happen if the wrong code is entered too many times. Wait a few minutes before trying again. Resetting the lock might be needed in some cases.
Battery Replacement Advice
Low battery is the top cause of deadbolt issues. Replace batteries every six months for best results. Use fresh, high-quality alkaline batteries only.
Open the battery compartment carefully. Remove old batteries and insert new ones with correct polarity. Close the compartment securely to prevent damage.
After changing batteries, test the keypad and lock function. A quick test ensures the deadbolt works perfectly before use.

Credit: www.walmart.com
Frequently Asked Questions
How Do I Program A Brinks Deadbolt Keypad?
To program your Brinks deadbolt keypad, enter the programming code, then press the “Program” button. Follow the prompts to set your new access code. Always consult the manual for specific model instructions.
Can I Add Multiple User Codes On Brinks Deadbolt?
Yes, Brinks deadbolts allow multiple user codes. You can program up to 19 unique codes, depending on the model. This feature helps manage access for family or employees efficiently.
What If I Forget My Brinks Deadbolt Programming Code?
If you forget your programming code, reset the deadbolt to factory settings. This erases all codes, allowing you to start fresh. Refer to your manual for exact reset steps.
How Do I Change The Master Code On Brinks Deadbolt?
To change the master code, enter the current master code, then press the “Program” button. Follow prompts to enter a new master code. This keeps your lock secure and updated.
Conclusion
Programming a Brinks deadbolt is simple with clear steps. Follow the instructions carefully to set your codes right. Test the lock after programming to ensure it works well. Keep your code safe and change it if needed. This helps protect your home and loved ones.
Enjoy the peace of mind that a secure lock brings. Stay safe and confident with your newly programmed deadbolt.