Are your floor joists sagging or uneven? Knowing how to lift floor joists with jacks can save you time, money, and frustration.
Whether you’re fixing a dip in your floor or preparing for new construction, this guide will walk you through the simple steps to safely and effectively raise your joists. You don’t need to be a pro or have fancy tools—just follow clear instructions, and you’ll see your floors level and strong again.
Ready to take control of your home repair? Keep reading to learn exactly what you need to do.
Tools And Materials Needed
Preparing to lift floor joists with jacks requires the right tools and materials. Using proper equipment ensures the job is safe and effective. This section lists the essential items you need to gather before starting the work.
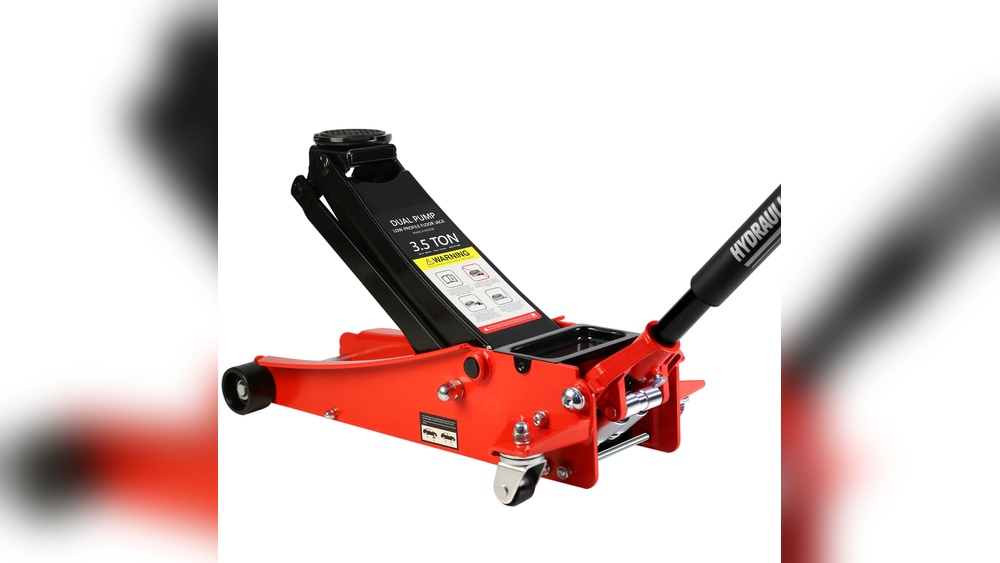
Types Of Jacks For Floor Joists
Choose a jack designed for lifting heavy structures. Bottle jacks are strong and compact, ideal for small spaces. Hydraulic jacks offer smooth lifting and better control. Screw jacks work well for gradual, precise adjustments. Always pick a jack with enough weight capacity for your floor joists.
Safety Gear Essentials
Protect yourself with basic safety gear. Safety goggles shield your eyes from dust and debris. Work gloves protect your hands from splinters and sharp edges. Wear sturdy boots to avoid foot injuries. A hard hat adds extra protection in case of falling objects.
Additional Repair Supplies
Have extra materials ready to fix or support joists. Wooden shims help level the joists during lifting. Steel plates can reinforce weak spots. Use heavy-duty straps or chains to secure the joists safely. Keep a sturdy pry bar and hammer nearby for adjustments.

Credit: www.youtube.com
Preparing The Work Area
Preparing the work area is the first step before lifting floor joists with jacks. A clean and safe space helps the job go smoothly. It also protects the structure and workers from damage or injury. Proper preparation sets a strong foundation for the repair process.
Clearing And Inspecting The Floor
Remove all furniture and objects from the work area. Sweep the floor to clear dust and debris. Check the floor surface for cracks or holes. Clean floors make it easier to place jacks and supports. Inspect the floor for any signs of water damage or mold. Early detection avoids future problems.
Identifying Weak Joists
Look closely at each joist for cracks, splits, or sagging. Tap the joists with a hammer to hear hollow sounds. Soft or damaged wood needs extra support or replacement. Mark weak joists with chalk or tape for easy identification. Knowing which joists need help guides the lifting process.
Setting Up Support Structures
Place sturdy blocks or beams under the joists to hold weight. Use adjustable jack stands to keep the floor steady. Make sure supports are level and secure before lifting. Position jacks carefully to avoid slipping or tipping. Proper supports prevent accidents and damage during the lift.
Positioning The Jacks
Positioning the jacks correctly is key to lifting floor joists safely. Poor placement can cause damage or injury. Take time to set the jacks in the right spots. This ensures steady support and smooth lifting.
Choosing The Right Jack Placement
Place jacks under strong points of the joists. Look for solid beams or joist centers. Avoid weak or damaged wood. Space the jacks evenly to spread the load. Too close or too far apart can cause issues.
Securing The Jacks Properly
Make sure jacks sit firmly on a stable surface. Use wooden blocks or steel plates if needed for support. Tighten all screws and bolts. Check that the jack base won’t slip during lifting. Secure jacks prevent accidents and wood damage.
Checking Stability Before Lifting
Test each jack by applying light pressure first. Watch for any movement or wobbling. Adjust placement if the jack shifts or feels unstable. Confirm all jacks hold steady before lifting the joists. Stability keeps the process safe and controlled.
Lifting The Floor Joists
Lifting floor joists requires care and attention. It is important to raise them slowly to avoid damage. Using jacks correctly can help restore the floor’s level and strength. This part explains how to lift the joists safely and evenly.
Raising Joists Slowly And Evenly
Lift the joists a little bit at a time. Move the jacks slowly to avoid sudden shifts. Raise all the joists evenly to keep the floor balanced. Quick or uneven lifting can cause cracks or breaks. Take breaks and check the joists often as you lift.
Monitoring Floor Movement
Watch the floor carefully while lifting. Look for any signs of cracking or bending. Use a level to check if the floor is rising evenly. Stop lifting if you see any damage. Monitoring helps prevent accidents and keeps the floor safe.
Adjusting Jack Height Safely
Adjust the jack height in small steps. Make sure the jack is stable before lifting more. Never force the jack higher than it can hold. Use blocks or shims to support the joists if needed. Safety is key when adjusting the jacks.
Reinforcing And Repairing Joists
Reinforcing and repairing floor joists is key to keeping your floor strong and level. Over time, joists can weaken or get damaged. Fixing these issues prevents further damage and improves safety. Simple methods can restore your joists without full replacement.
Installing Sister Joists
Installing sister joists means adding a new joist next to the old one. This strengthens the weak or cracked joist. Cut the new joist to the same length as the damaged one. Nail or screw them tightly together. This creates a solid, sturdy support.
Adding Support Blocks
Support blocks help share the weight between joists. Cut blocks from strong wood pieces. Place them between joists at regular intervals. Nail or screw them firmly in place. This stops joists from twisting or bending under pressure.
Replacing Damaged Sections
Sometimes, parts of the joist are too damaged to fix. Cut out the bad section carefully. Measure and cut a new piece of wood to fit. Attach the new section tightly using nails or screws. This restores the joist’s full strength and function.
Lowering And Final Checks
After lifting the floor joists, the next important step is lowering them carefully. This step ensures the joists settle properly without damage. Final checks help confirm the structure’s safety and strength. Proper cleanup keeps the workspace safe and organized.
Lowering Joists Gradually
Lower the jacks slowly and evenly. Avoid dropping the joists quickly. This prevents cracks and damage to the wood. Lower each jack a little at a time. Check the joist position after every adjustment. Stop if you notice any unusual movement. Take your time to keep the joists stable.
Inspecting For Stability
Look closely at all lifted joists. Make sure they sit flat and secure. Check for gaps between joists and supports. Test by pressing gently on the joists. They should not shift or wobble. Tighten any loose bolts or screws. Stability is key to a strong floor.
Cleaning Up The Work Area
Remove all tools and debris from the site. Clear away wood scraps and old nails. Store jacks and equipment properly for future use. Sweep the floor to avoid slips or trips. A clean area helps prevent accidents. It also shows the job is complete.
Common Mistakes To Avoid
Lifting floor joists with jacks requires careful attention. Many people make common mistakes that cause delays or damage. Avoiding these errors ensures a smoother, safer job. Learn what to watch out for below.
Overloading Jacks
Do not put too much weight on the jacks. Every jack has a weight limit. Exceeding this can cause the jack to fail. Always check the maximum load before lifting. Use multiple jacks to spread the load evenly. This reduces the risk of accidents and damage.
Ignoring Safety Precautions
Safety is crucial when lifting joists. Wear protective gear like gloves and safety glasses. Keep the area clear of unnecessary tools and people. Never stand directly under a raised joist. Use sturdy supports to hold the joist in place after lifting. Taking these steps prevents injuries and accidents.
Skipping Structural Assessments
Assess the floor structure before lifting. Check for damage, rot, or weak spots in the joists. Ignoring this can cause joists to break during the lift. Consult a professional if unsure about the condition. Proper assessment helps plan the lift safely and effectively.

Credit: oldhousecrazy.com

Credit: www.youtube.com
Frequently Asked Questions
How Do You Safely Lift Floor Joists With Jacks?
To safely lift floor joists, place the jack under a strong support beam. Raise slowly and evenly. Use wooden blocks to distribute pressure and prevent damage. Always wear protective gear and work with a partner for safety.
What Tools Are Needed To Lift Floor Joists?
You need a hydraulic or screw jack, wooden shims, a pry bar, and safety gear. A level and measuring tape help ensure even lifting. Proper tools prevent damage and ensure accurate lifting of floor joists.
How Much Can A Jack Lift Floor Joists?
Most hydraulic jacks can lift up to 12 tons, enough for floor joists. Always check the jack’s weight rating before use. Never exceed the jack’s capacity to avoid accidents or structural damage.
When Should You Lift Floor Joists?
Lift floor joists during foundation repairs, sagging floors, or leveling uneven surfaces. Early lifting prevents further damage and maintains structural integrity. Consult a professional if unsure about the timing.
Conclusion
Lifting floor joists with jacks takes care and focus. Safety matters most during every step you take. Use the right tools and check them well. Work slowly and watch the joist move up. Keep the area clean and clear of clutter.
This task helps keep your floor strong and level. Taking your time will bring good results. A steady hand and careful work make all the difference. Now, you can handle this job with confidence.